How To Cool Your House With DIY External Window Sun Shades
Step-by-step guide to make your own external solar window shades to keep your house cool.
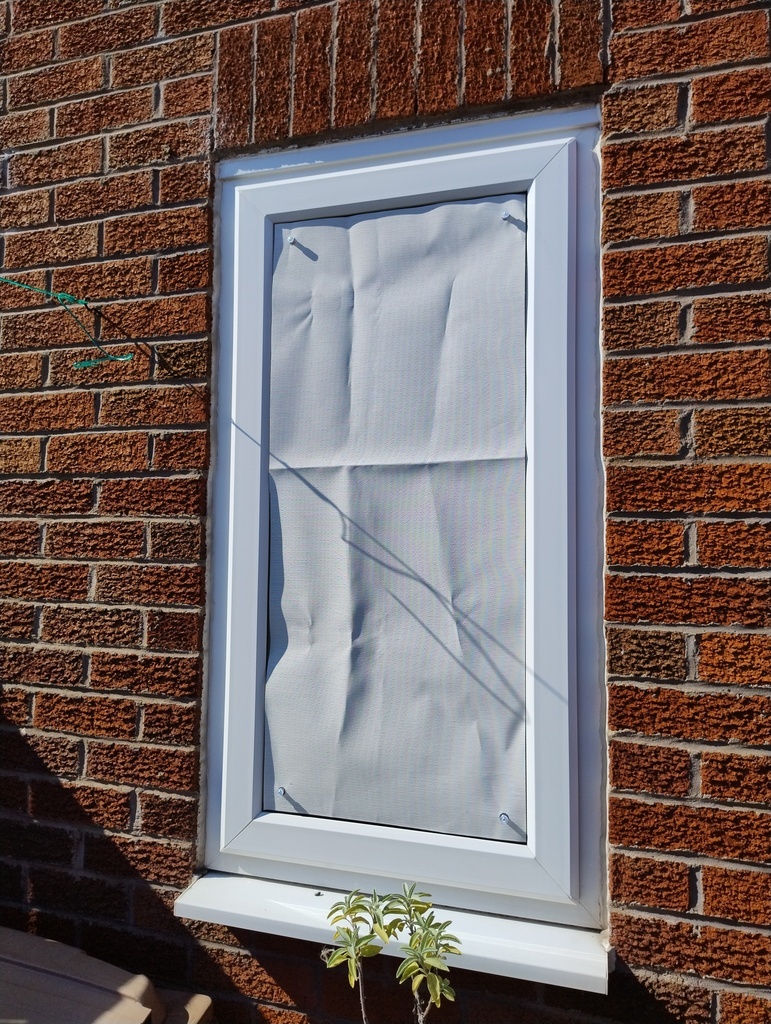
Hot Summer Heatwaves
With the recent particularly hot summer and strong heatwaves we’ve realised that our houses are great at keeping heat in during the winter, but not so good at keeping heat out when ambient temperatures are reaching levels of 30 degrees Celcius and beyond.
Most of the heat was coming from the direct sunlight beaming through the windows, and even closing curtains during the day did little to slow down the rise in temperature.
We experimented with a few different techniques including hanging an old bed sheet outside to cover the big french windows. It quickly became obvious that blocking or significantly reducing the direct sunlight before it comes through the glass has the greatest impact in keeping indoors cool.
Shutters
In much of southern Europe you’ll see shutters on a lot of buildings, and you’ll notice that the windows probably also open inwards. In the UK, our windows mainly open outwards, and even if we swapped them, there probably isn’t room either side on the outside wall to put door-like shutters. Planning permission is also primarily aimed at security shutters on domestic properties which generally don’t look that attractive either on houses.
Temporary versus Permanent Fittings
Having something that reduces solar heating in the summer is desired, but not so in the winter months where this can actually help reduce heating requirements (and also help keep the bills down). So a temporary fitting that can be put up and taken down when needed is desired. There are some window foils that you can retrofit to the outside of your glass windows, but again these would reduce the benefits of winter sun warming the house. They also have other risks depending on the nature of the reflectivity that may results in bird strikes and perhaps redirecting strong sunlight in unintended and unhelpful ways.
Temporary Solar Shades
The solution we’ve settled on is a temporary external solar shade that blocks 95%+ of the direct sunlight whilst still letting you see out.
This can be easily put up and taken down as needed, and easily rolled up and stored away in the loft or garage or under a bed until the next summer if it is needed. The shade materials are fully rated for external use in strong sunlight being waterproof and UV resistant, as seen in the supplier’s performance details.
- UV Protection: Up to 95%*
- Glare Reduction: Up to 94%*
- Natural Daylight: Filters Natural Daylight While Maintaining Outward Visibility
- Openness Factor: 3%
- …
- Weather Resistance: Suitable for Long-Term Outdoor Exposure
- UV Stability: Excellent Outdoor UV Stability
- …
- *Performance values are based on the manufacturer’s technical data and may vary depending on installation, colour selection and environmental conditions.
As an added bonus the material also has sustainable attributes, which is nice:
- “…it is manufactured from 100% recyclable materials, making it suitable for sustainable building and design projects.”
- “Technical Woven Mesh, 100% Recyclable”
How to make DIY External Solar Window Shades
This is a comprehensive step by step guide on how to make your own shades. If you find this useful or have any constructive feedback on improving the approach if you’ve tried this out then please do let me know.
Materials and Tools
- Solar Shade Material (in colours of your choice) from FabricUK available by the metre (“Sun Shade Mesh Wide Width” from 267cm roll).
- Glass Suckers with M4 mounting thread from Amazon or your preferred supplier.
- Grommet Tool and Grommets from Amazon or your preferred supplier. 6mm hole diameter for the grommets.
If you want to use different glass suckers make sure that the grommets are just bigger than the thread size and that the screw cap will secure the shade onto the glass sucker.
Measuring the Windows
The fabric will be fixed to the glass with glass suckers so we want it to sit within the outer PVC/Wooden frame.
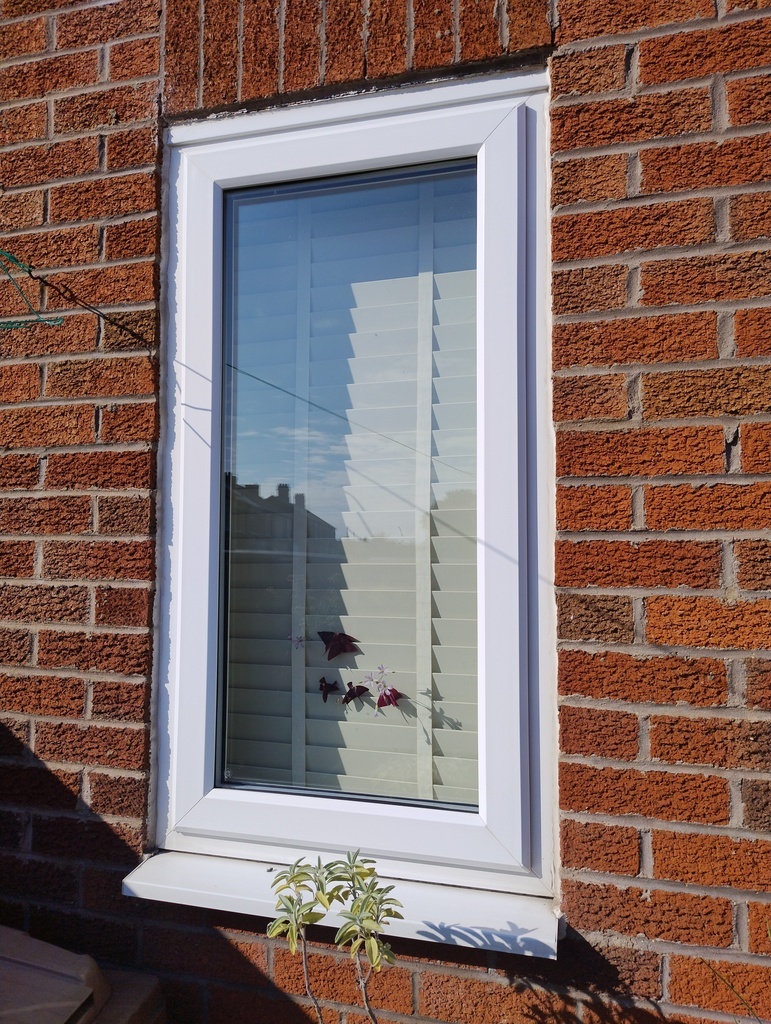 An example window. Outward doorlike opening. Single pane small window.
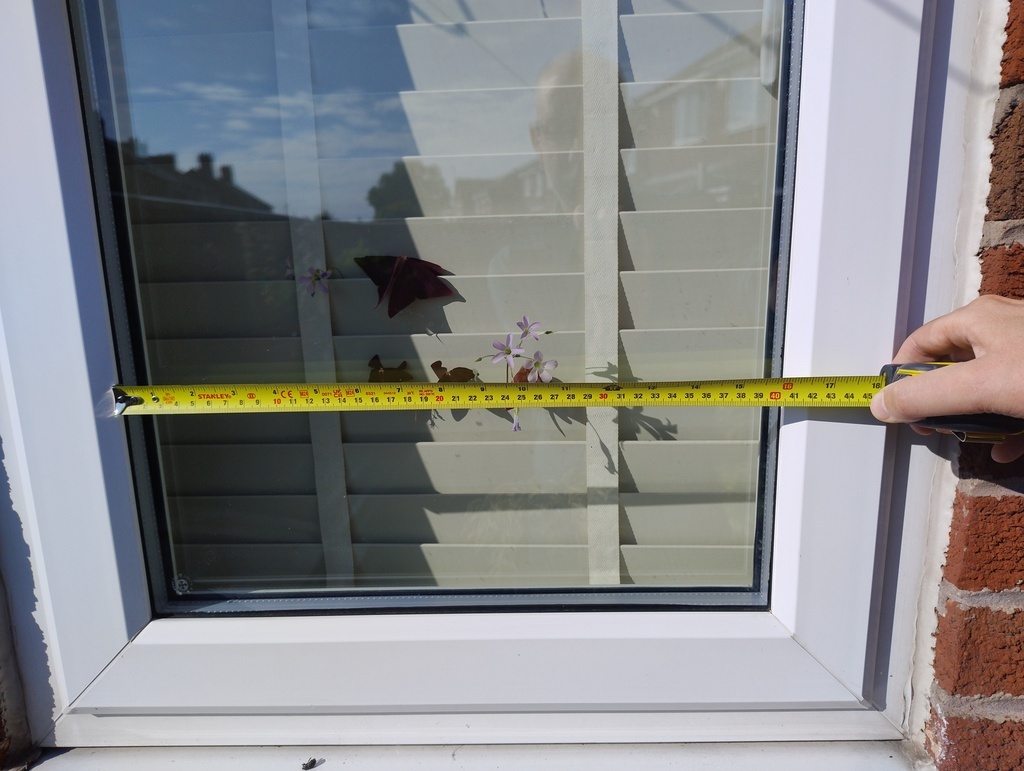 Measure the width of visible glass.
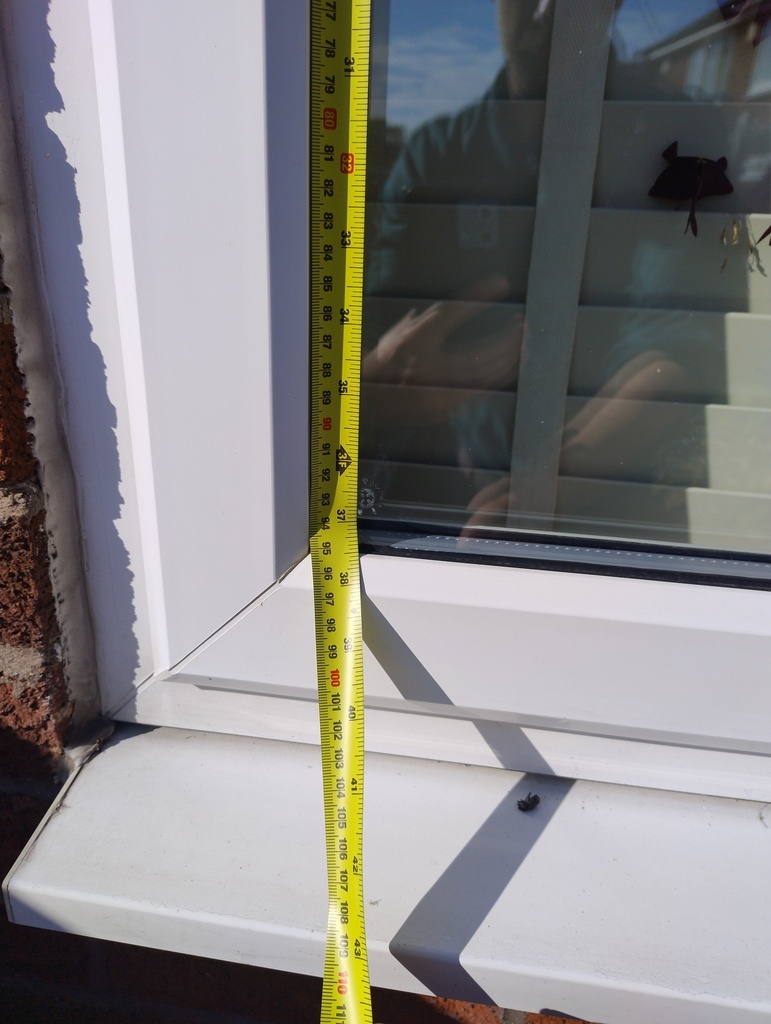 Measure the height of visible glass.
Measuring and Cutting the Fabric
The fabric we are using today has two different colours front and back. I have chosen to use the white side facing outwards, with the grey side facing inwards. Check the dimensions of your piece to work out the best way to cut out your required shade pieces.
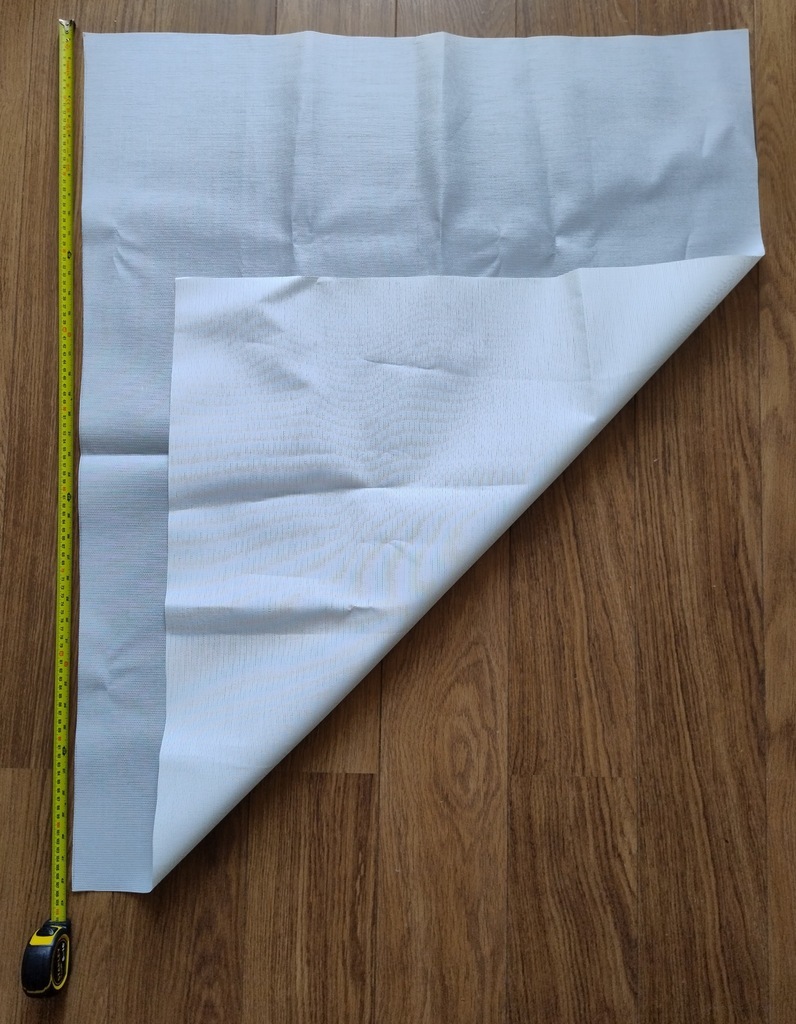 Two colour fabric.
The fabric may have been cut from a larger piece, or this may not be your first shade, so check which edge is straight and true. Here the wooden floor provides a handy visual guide for comparing the edge of the piece opf fabric.
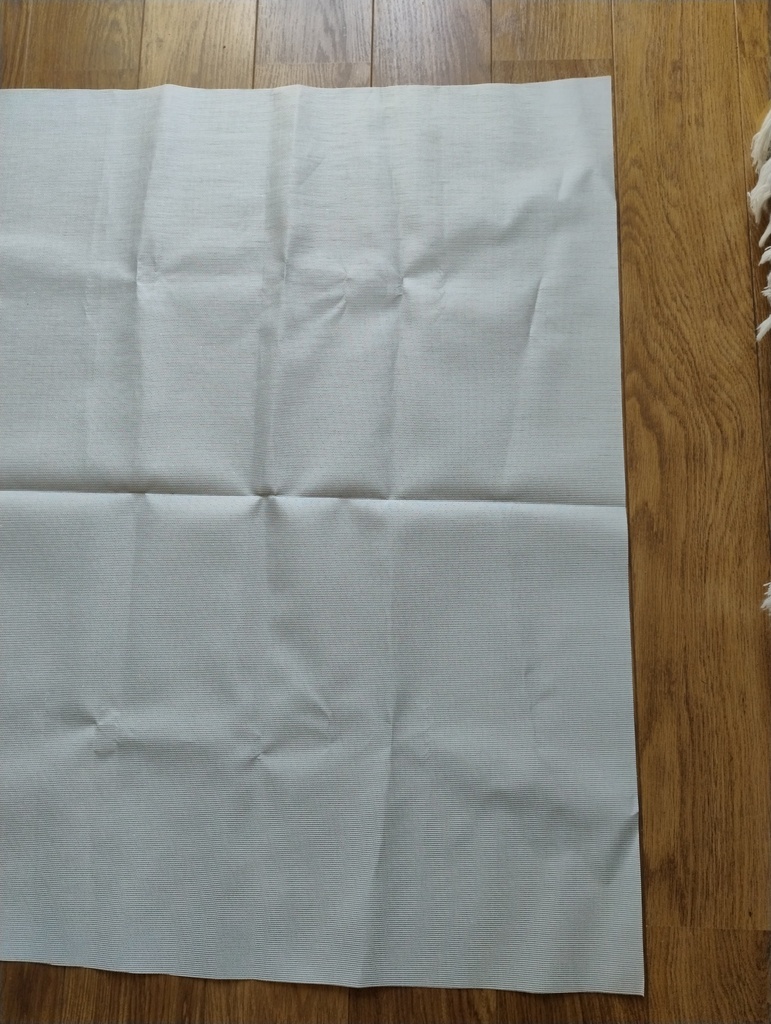 Find the straight edge.
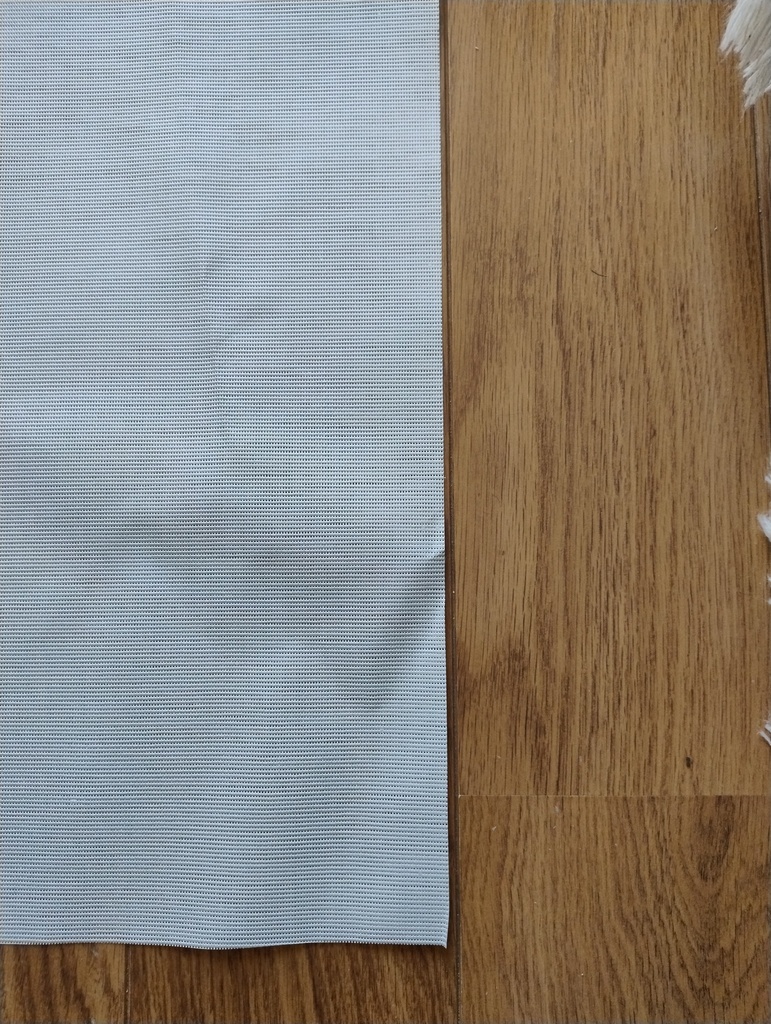 Close up of the straight edge lined up with the flooring grooves.
Measuring and Cutting the Width
Measure the required width and make a small mark (I’ve used a waterproof black liner pen). Take all measurements from the straight and true edge. (See later section for how to make a true edge if you don’t have one). Mark at the two ends and one in the middle to provide a guide when connecting them by drawing the straight line.
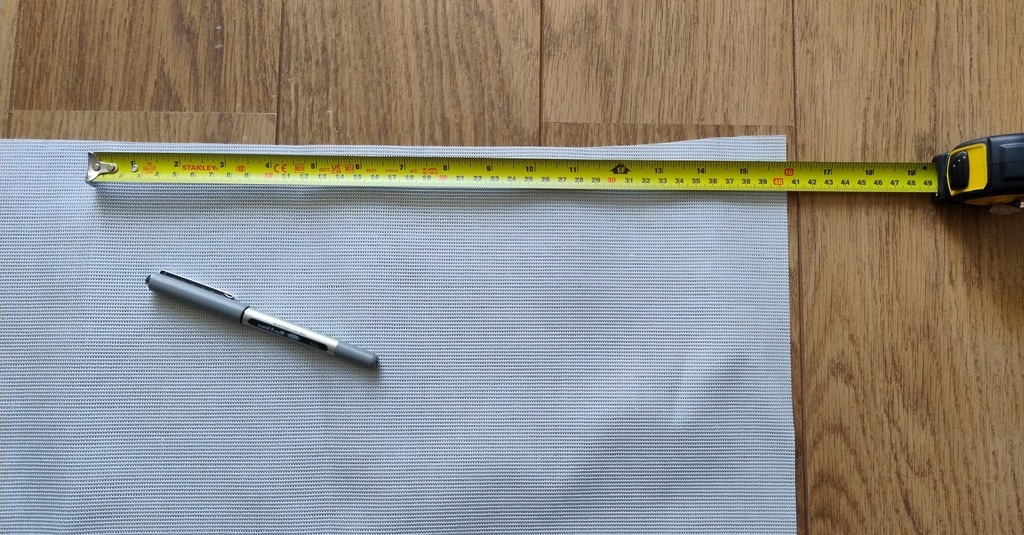 Measure top width from the right hand edge.
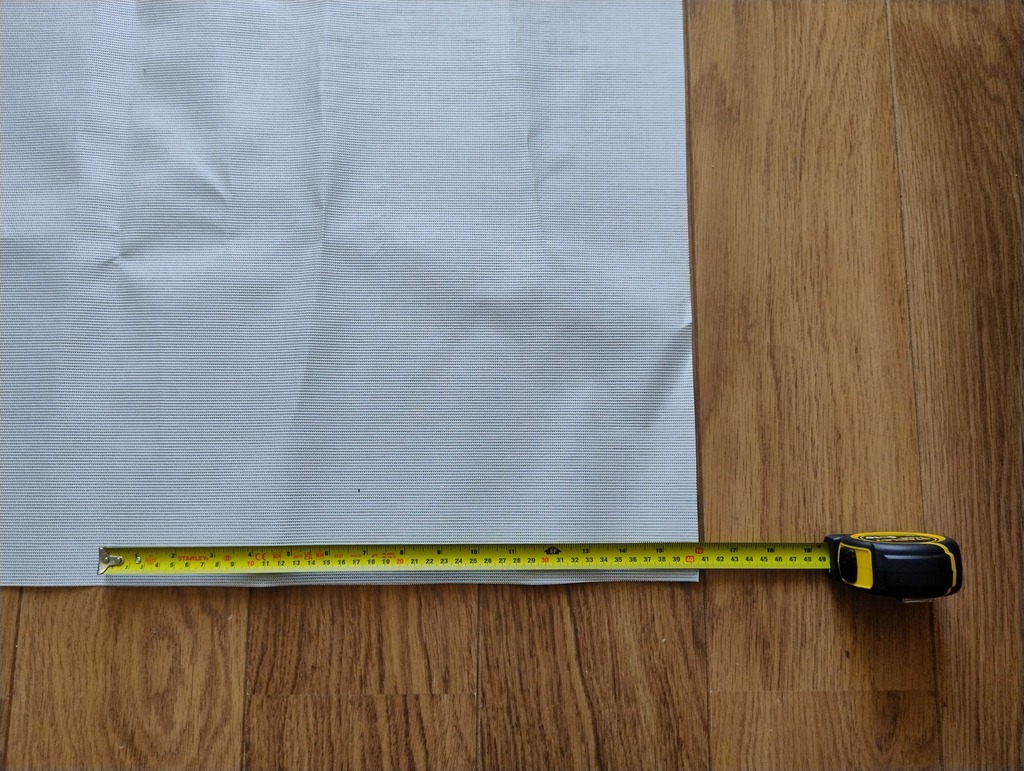 Measure bottom width from the right hand edge.
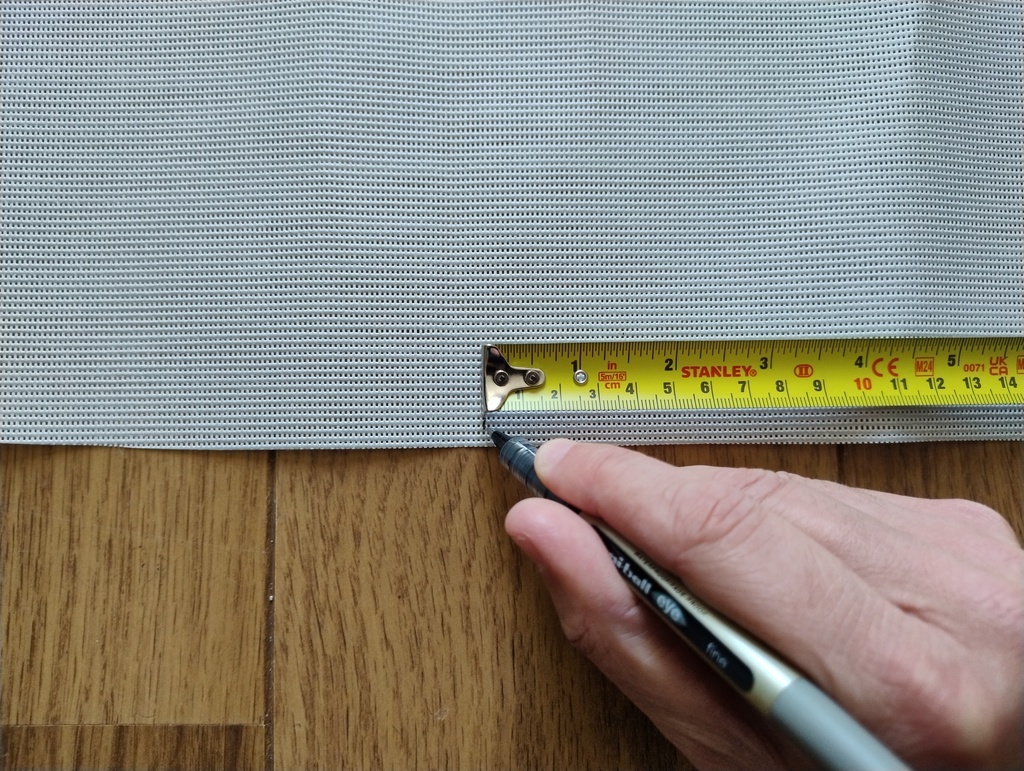 Make a small mark with the pen.
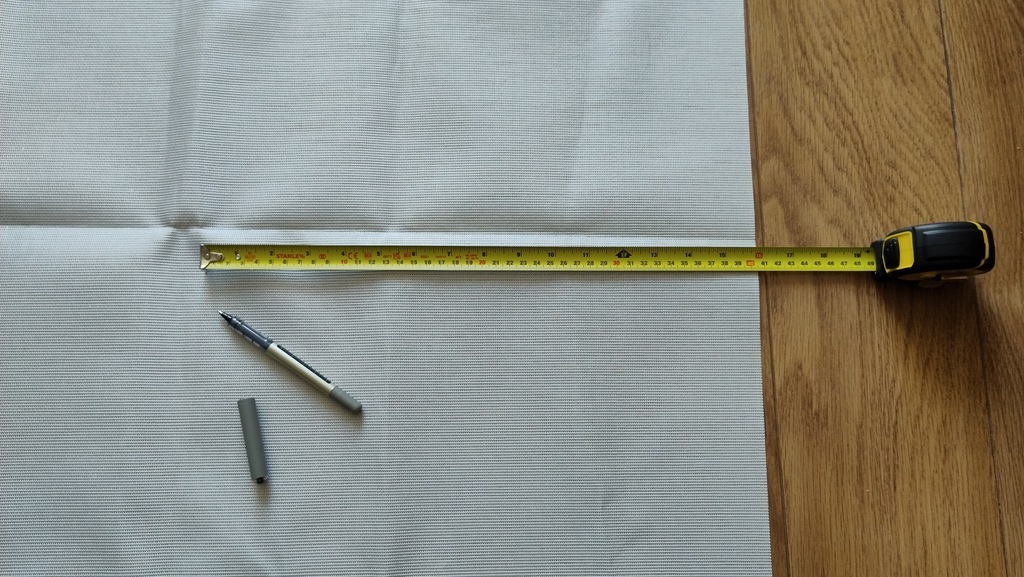 Measure mid width from the right hand edge.
Connect the marks with a straight edge. Here I’ve used a spare bookshelf, you may have a piece of wood or a long ruler.
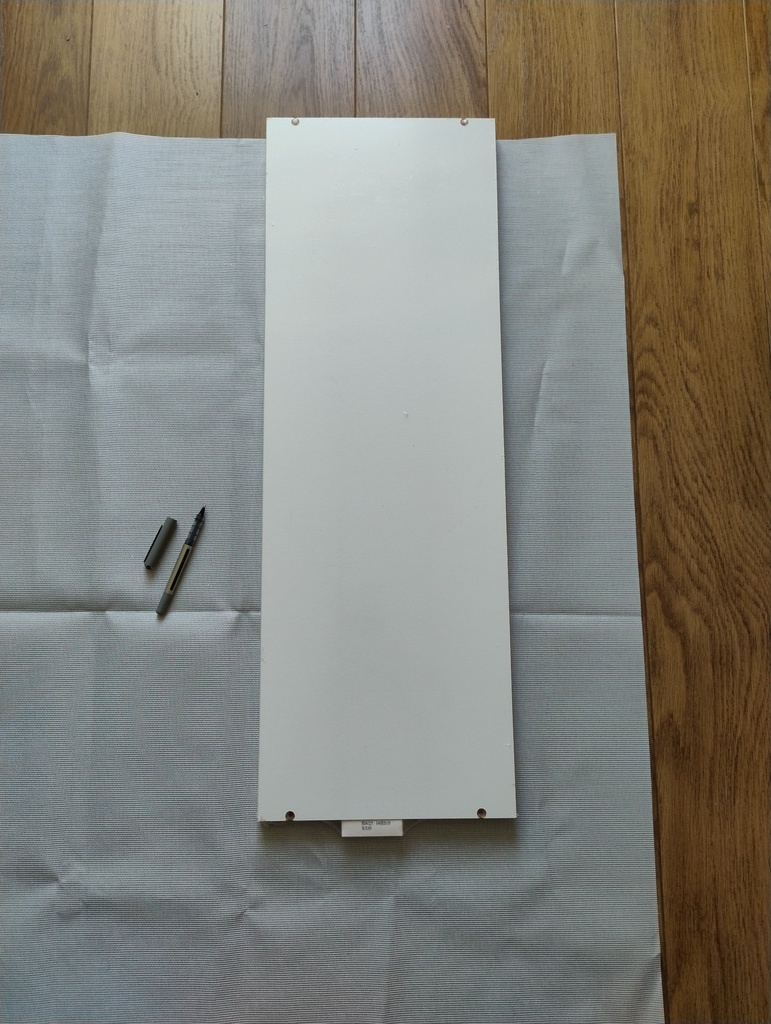 The shelf edge is long enough to reach the top and mid marks.
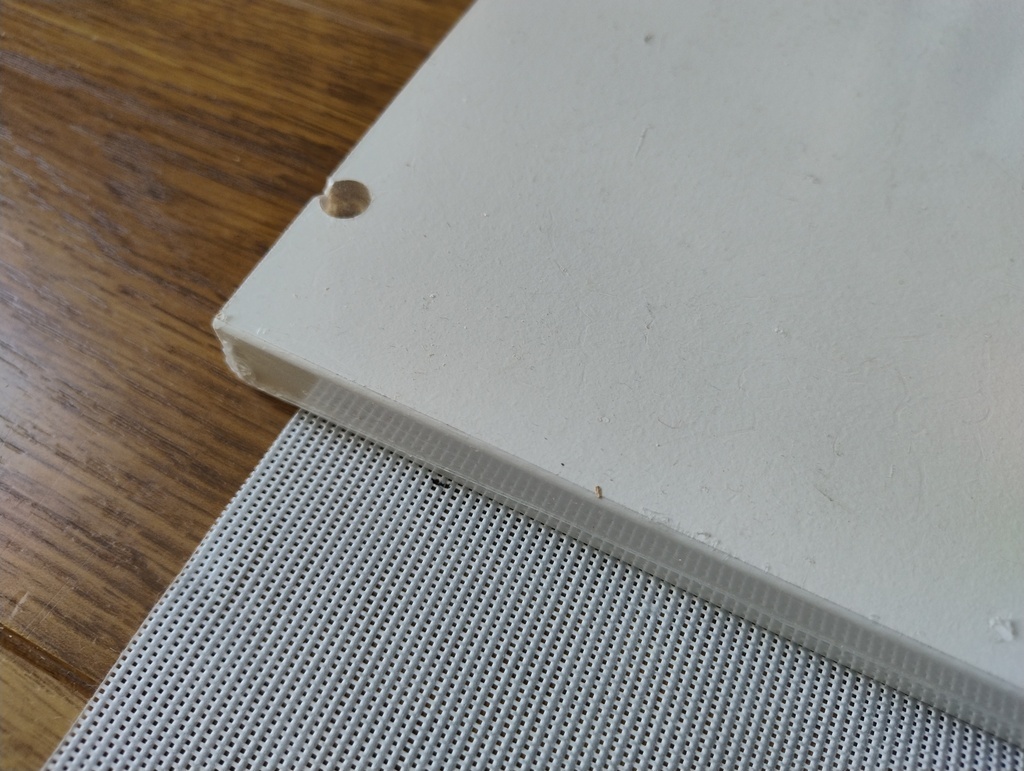 Ensure the rule lines up close to the top mark.
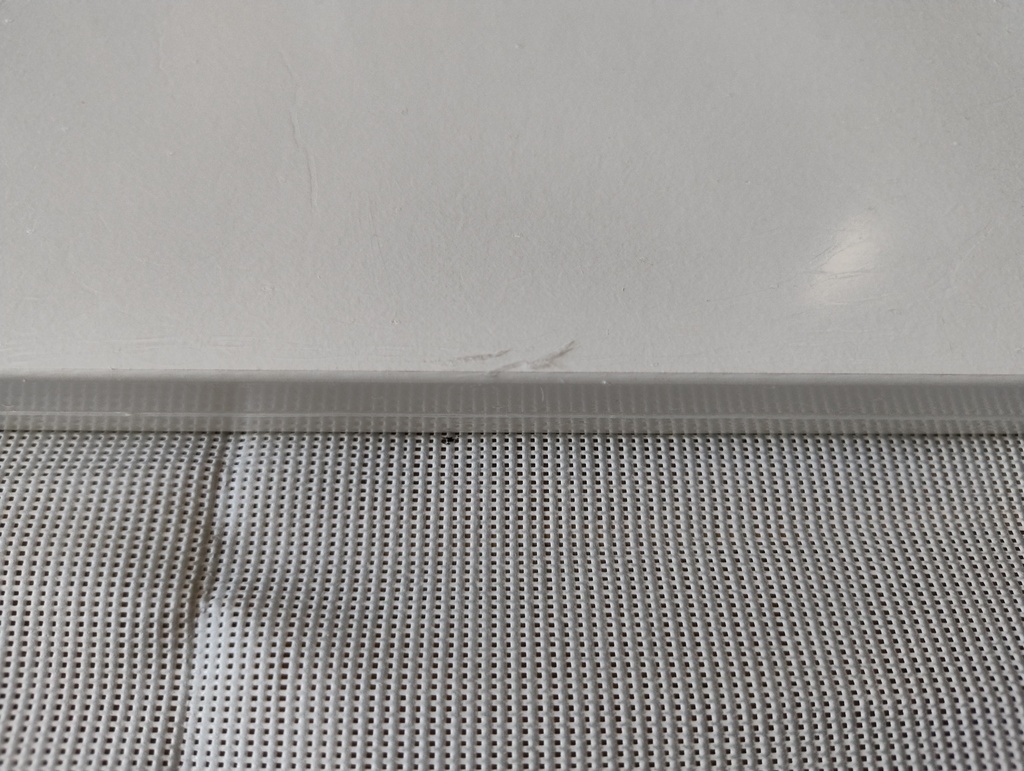 Ensure the rule lines up close to the mid mark.
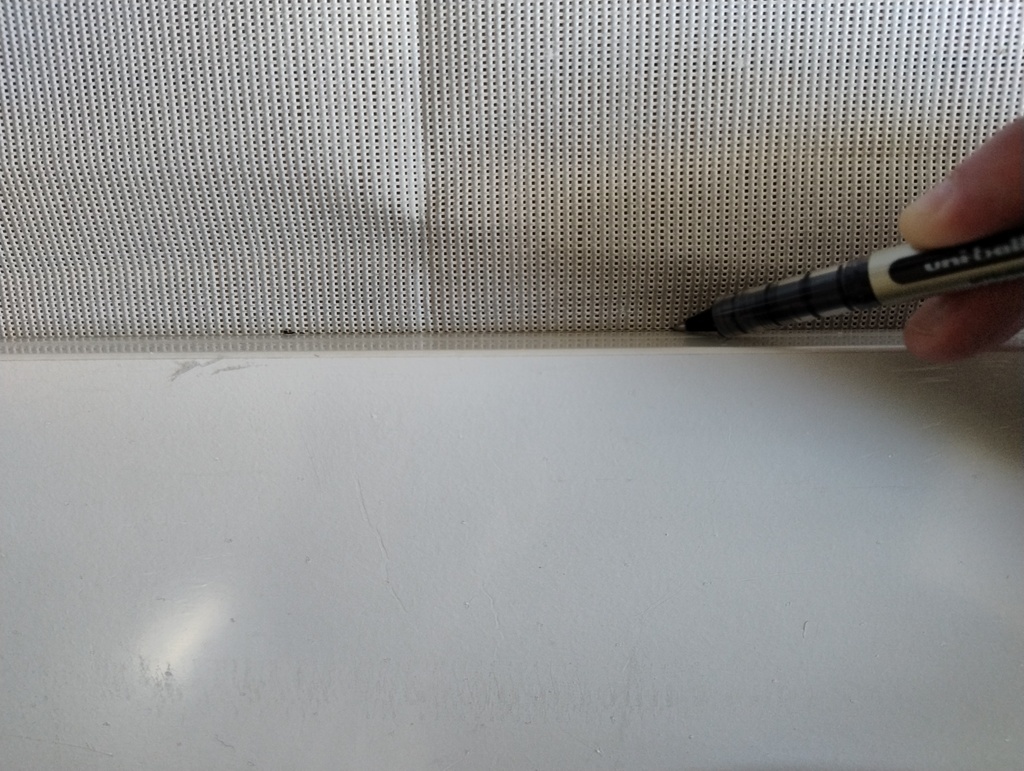 Draw the line along the row of holes.
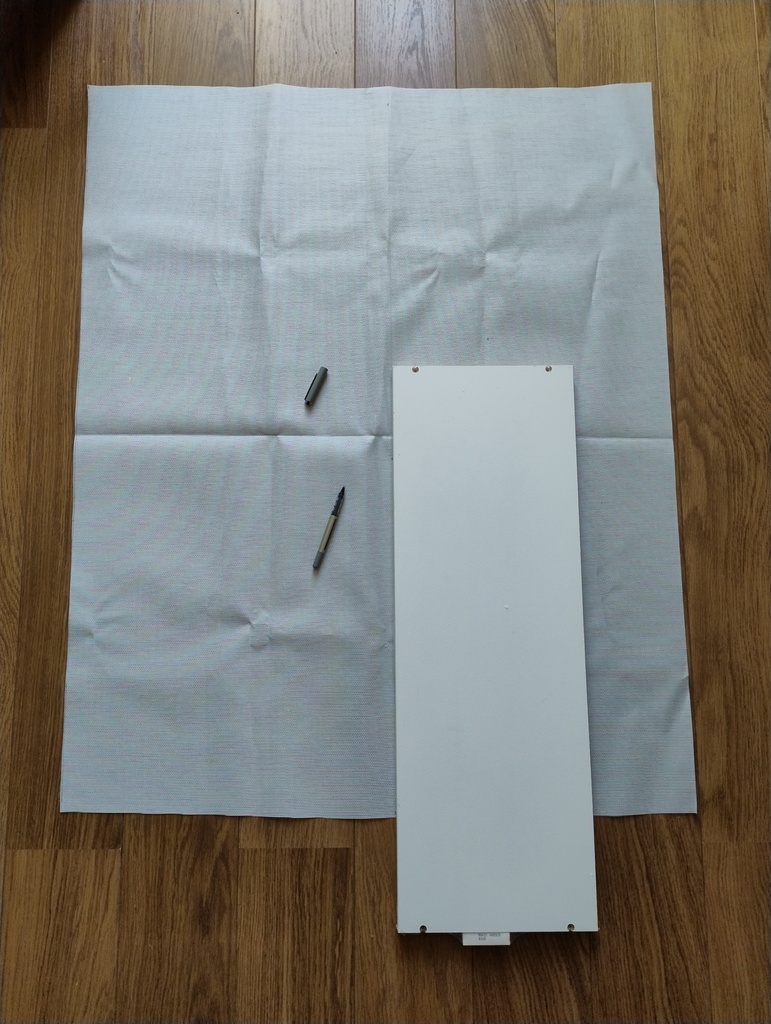 Slide the rule to extned the line to reach the bottom mark.
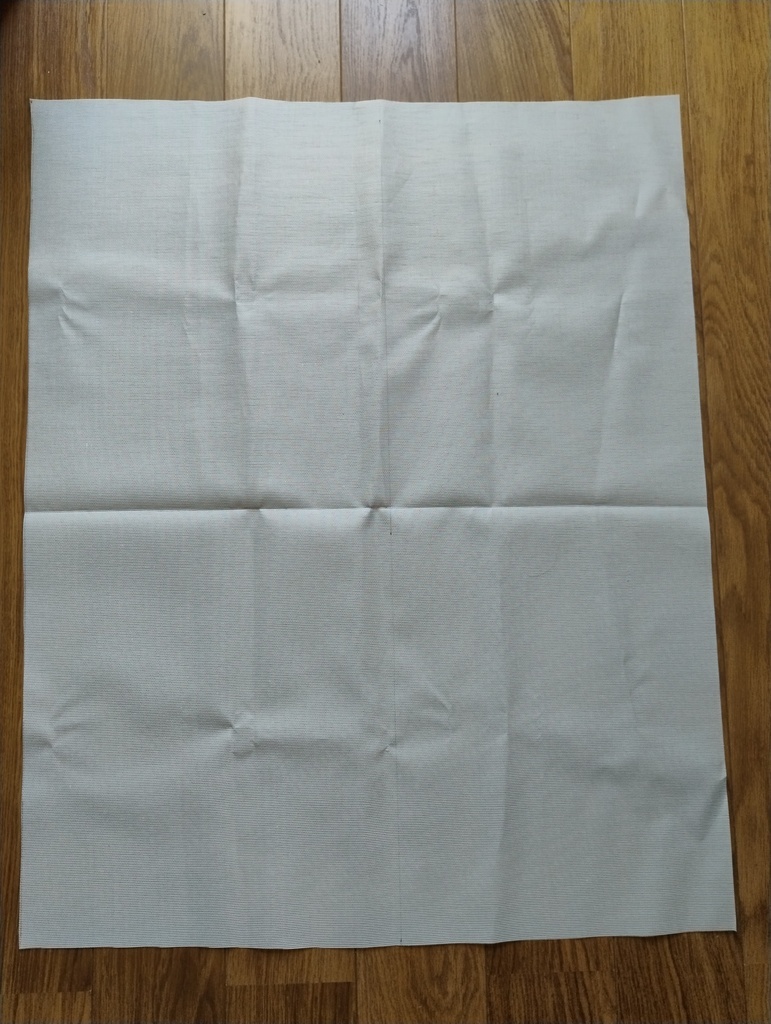 A completed line that marks the width of our shade piece.
Cut the strip from the fabric piece.
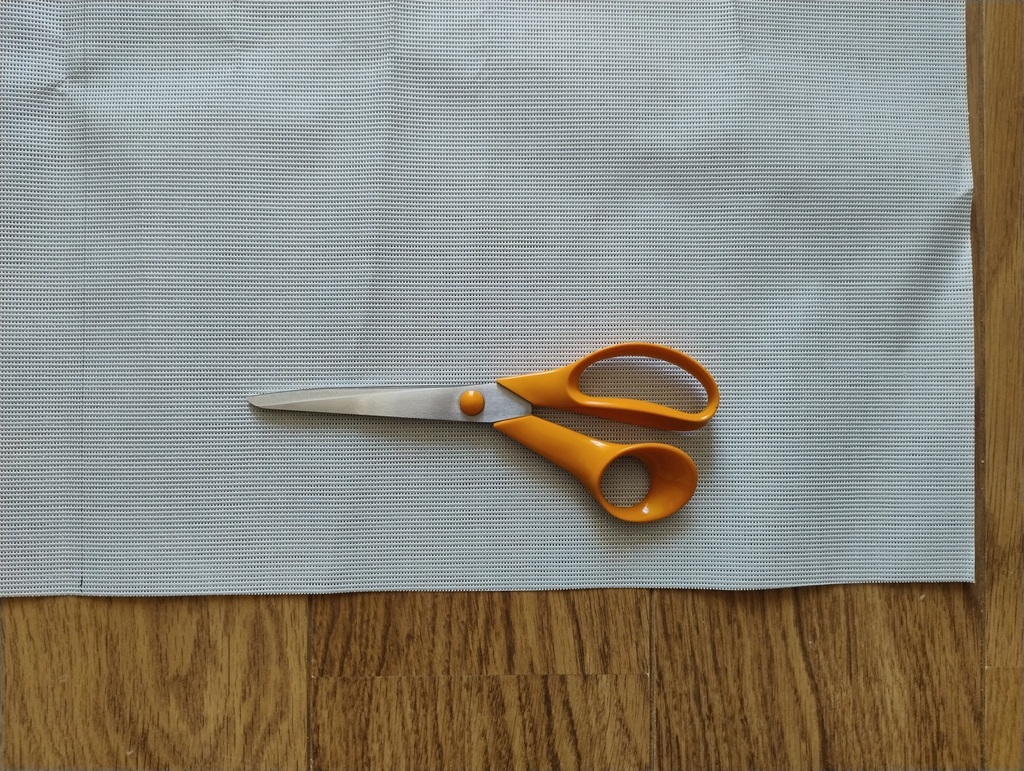 Use larger scissors if you can for a straighter cut.
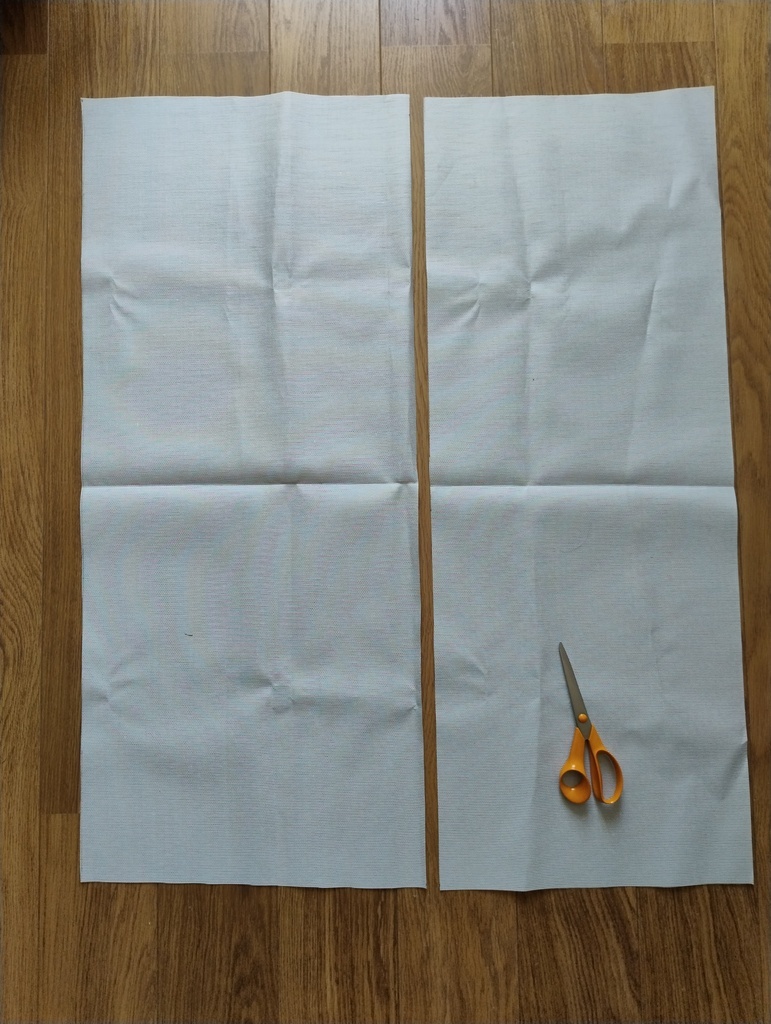 The completed cut.
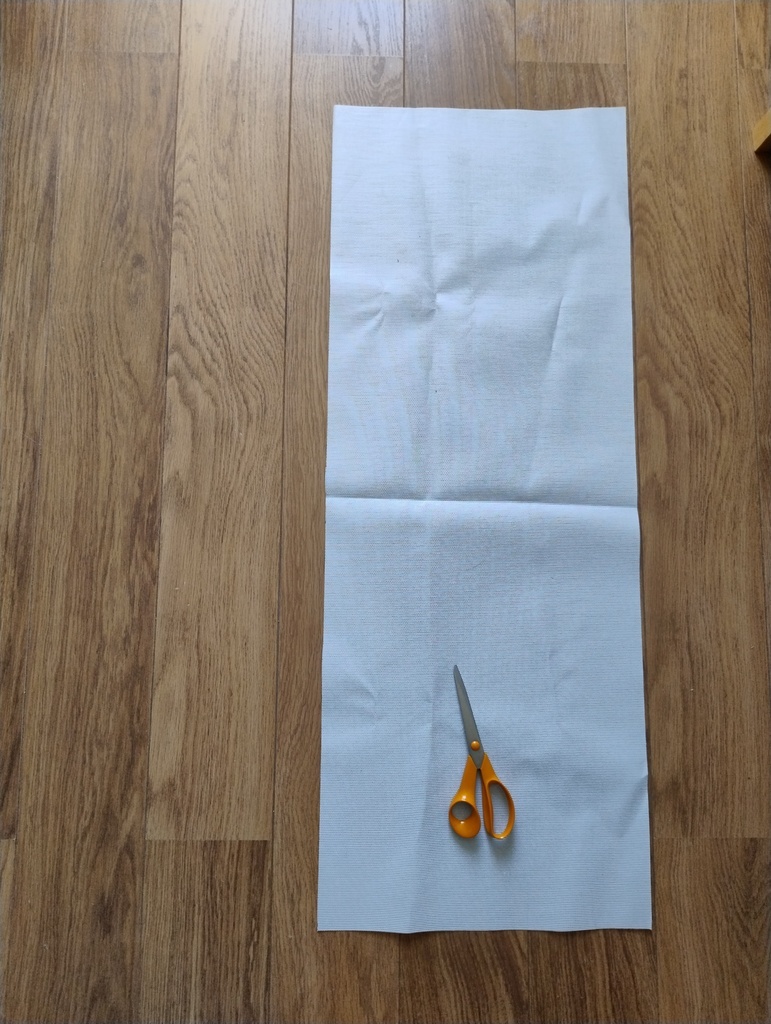 The resultant piece of fabric.
Making a Straight and True Edge
Before we can measure out the required length, we need to make our top edge straight. By using a straight edged object and matching it up with the rows on the fabriac we can mark out a new edge to cut, and then use this new line for measuring from.
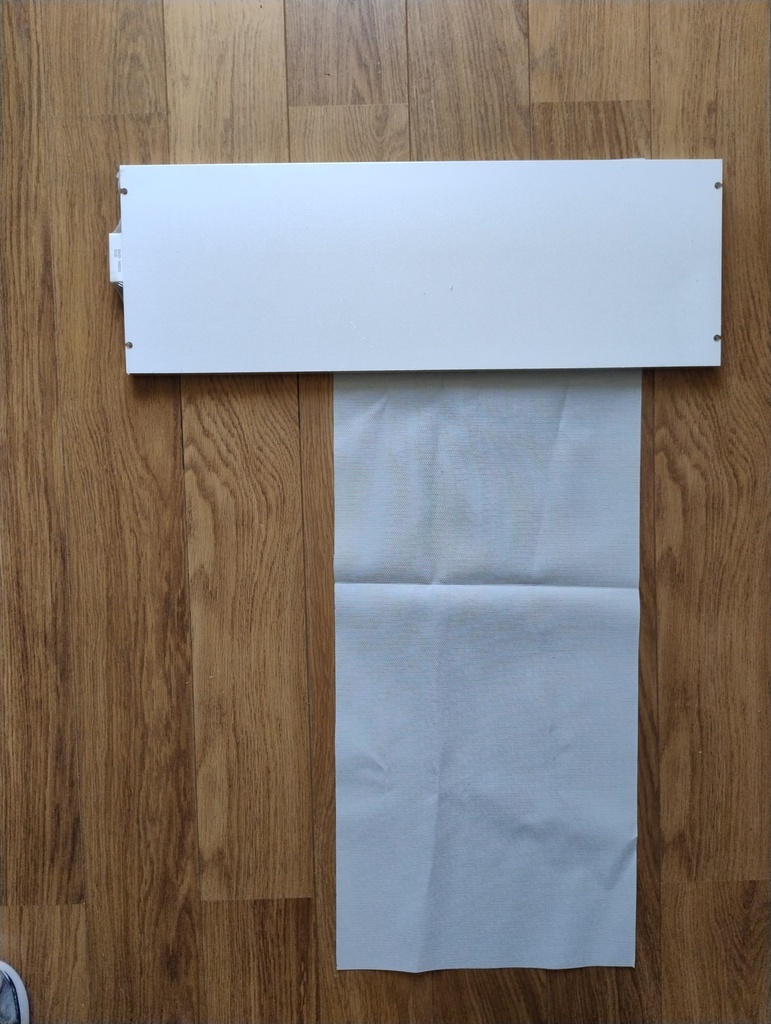 Place the rule close to the top edge.
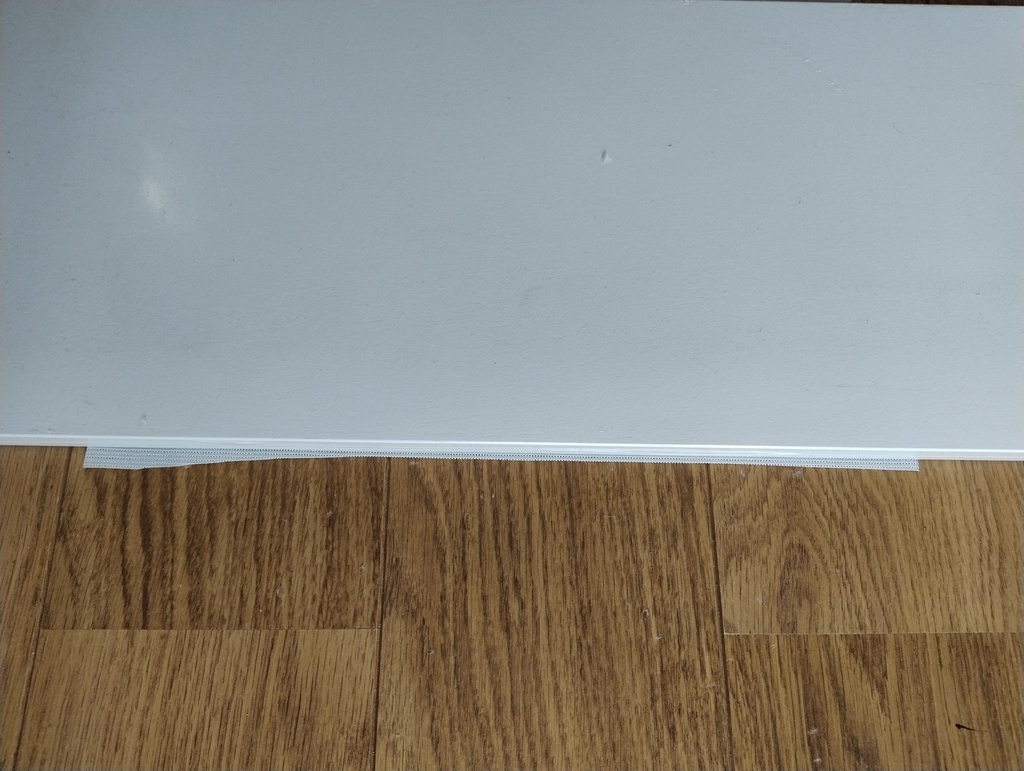 Allow for a little fabric to extend beyond the rule.
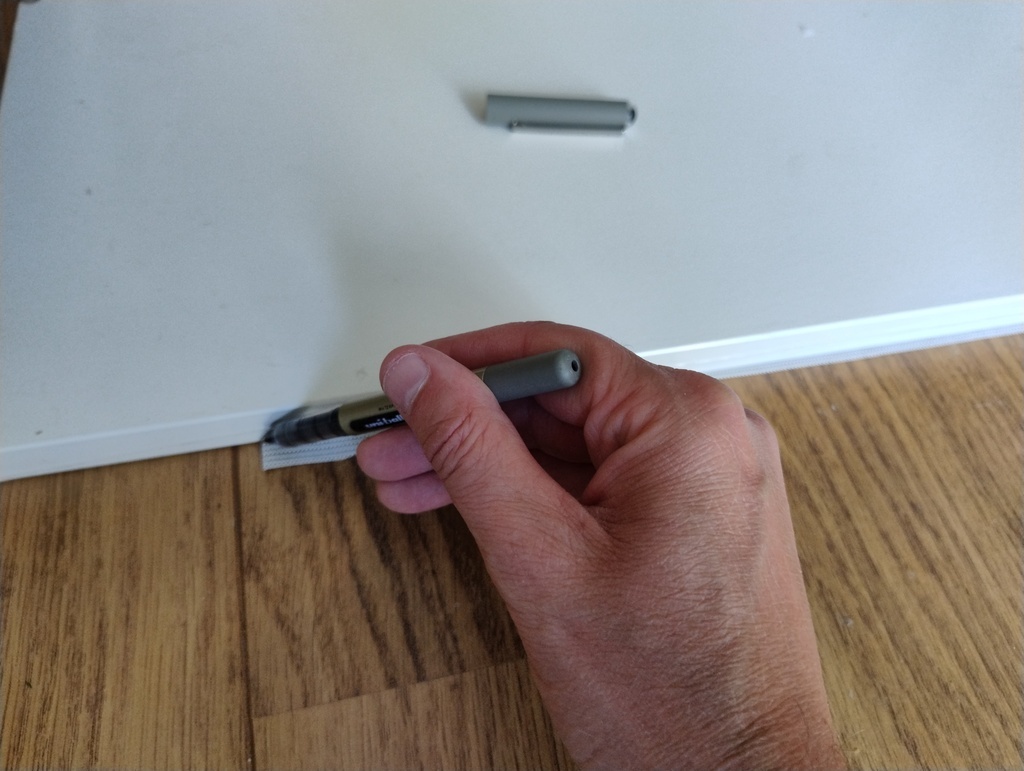 Draw the line following the row of holes.
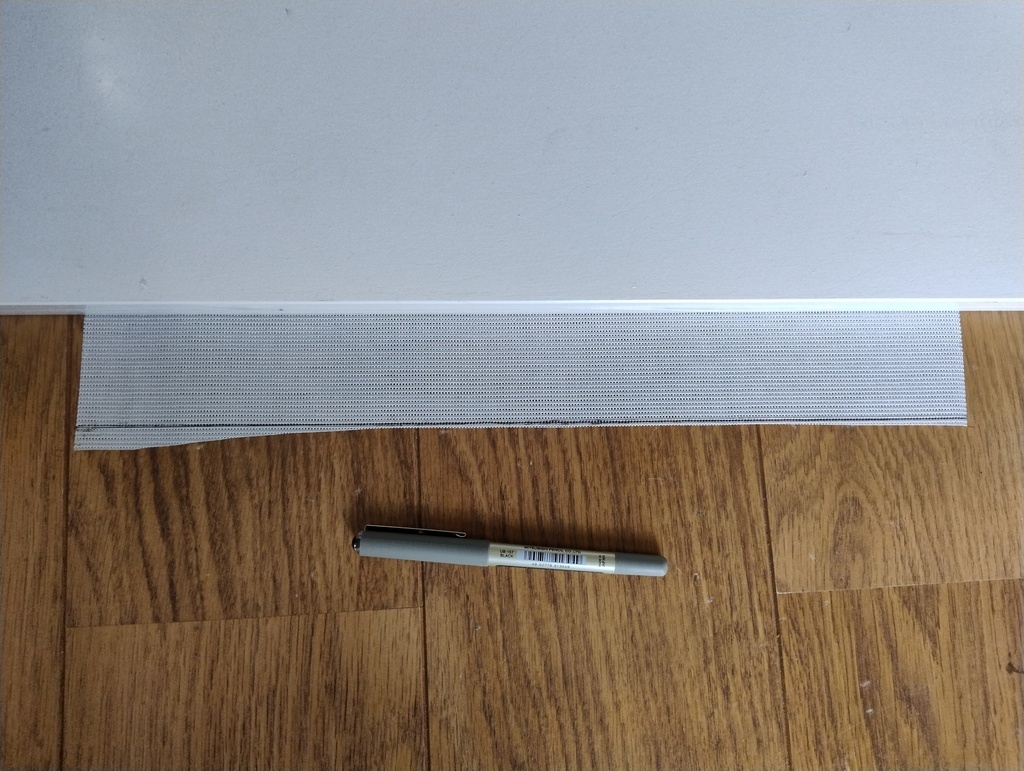 The completed line.
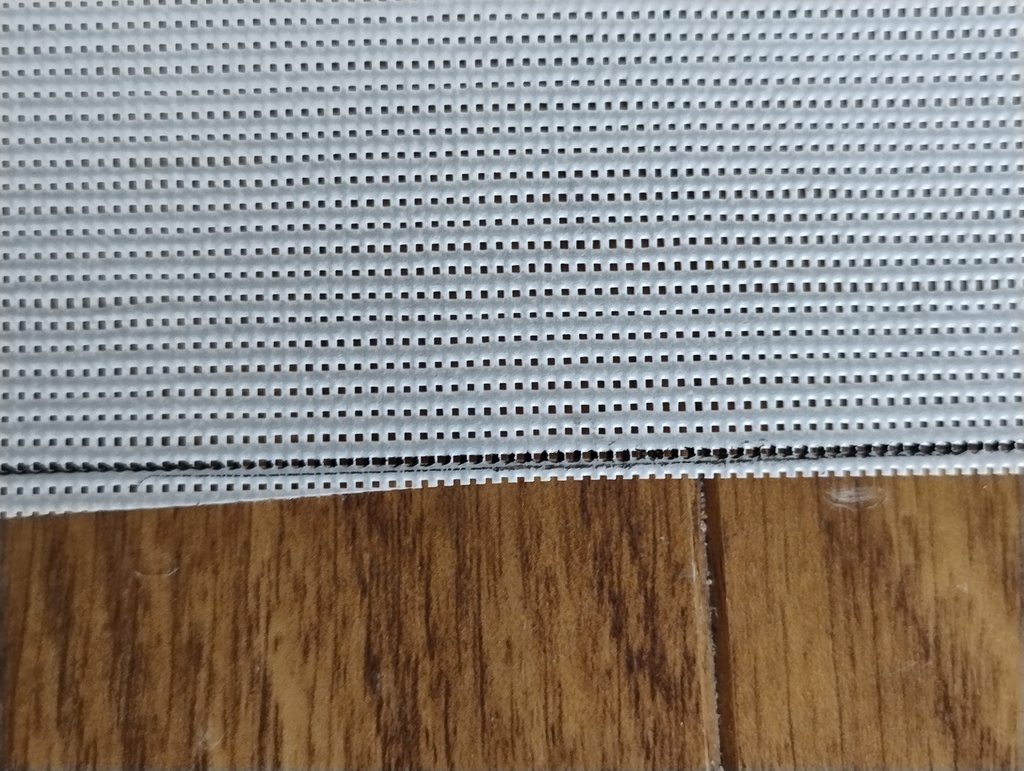 Zoomed in to show the line following the row of holes.
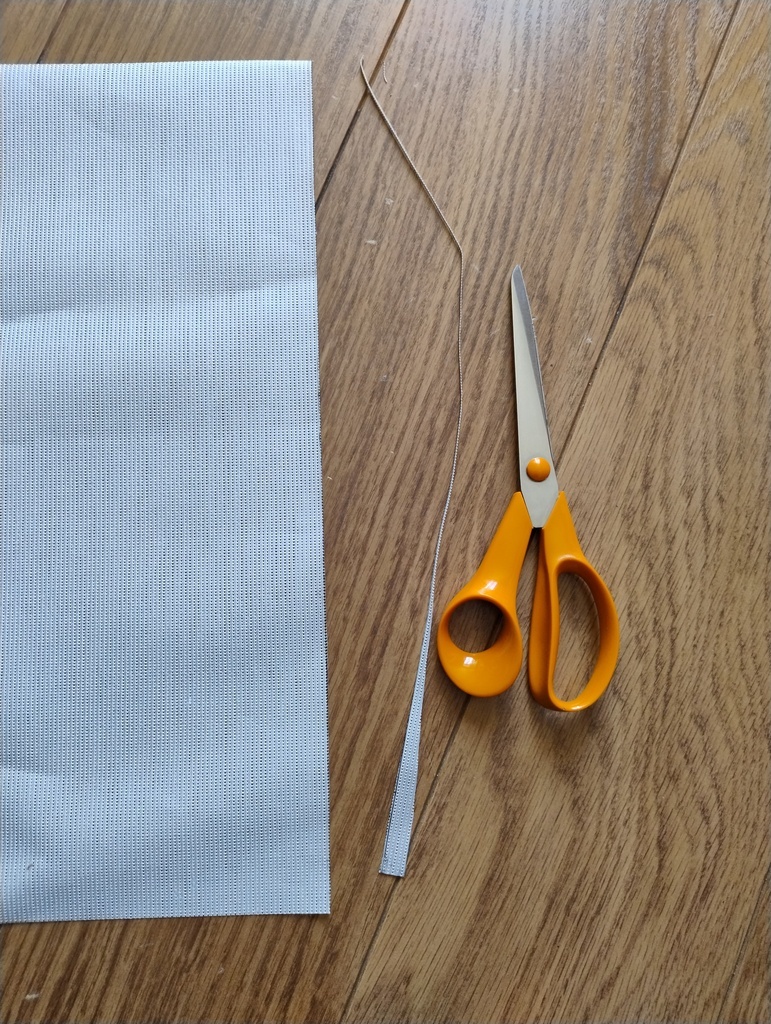 The new straight and true edge after cutting off the rough edge.
Measuring and Cutting the Length
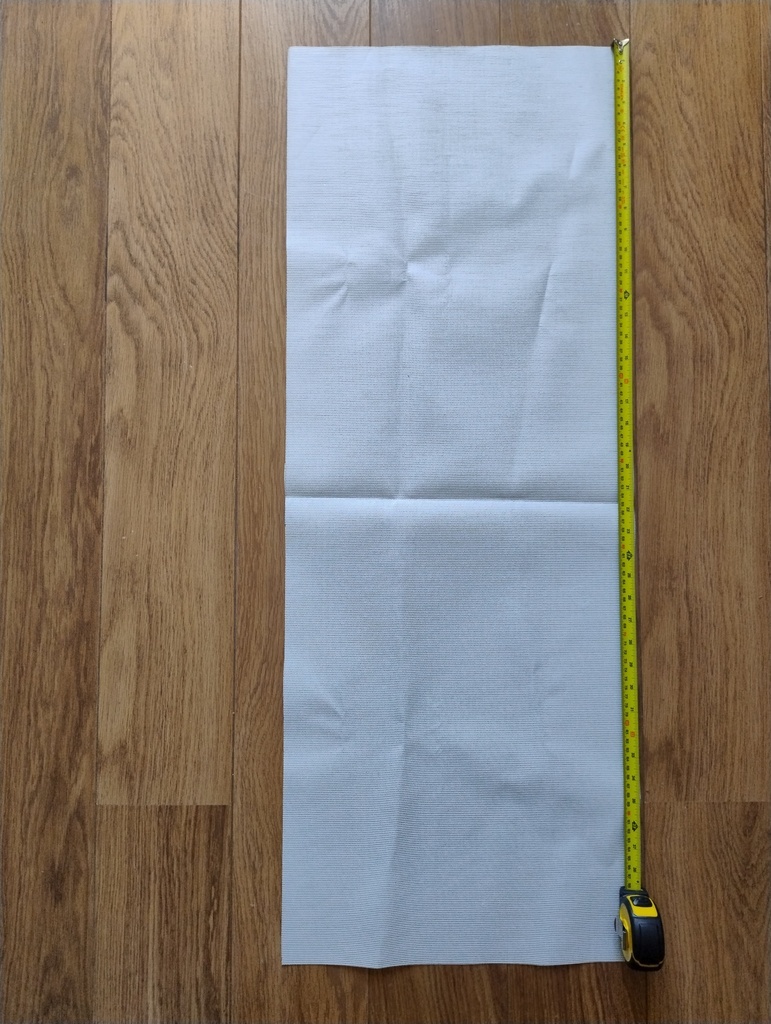 Measure right length from the top edge.
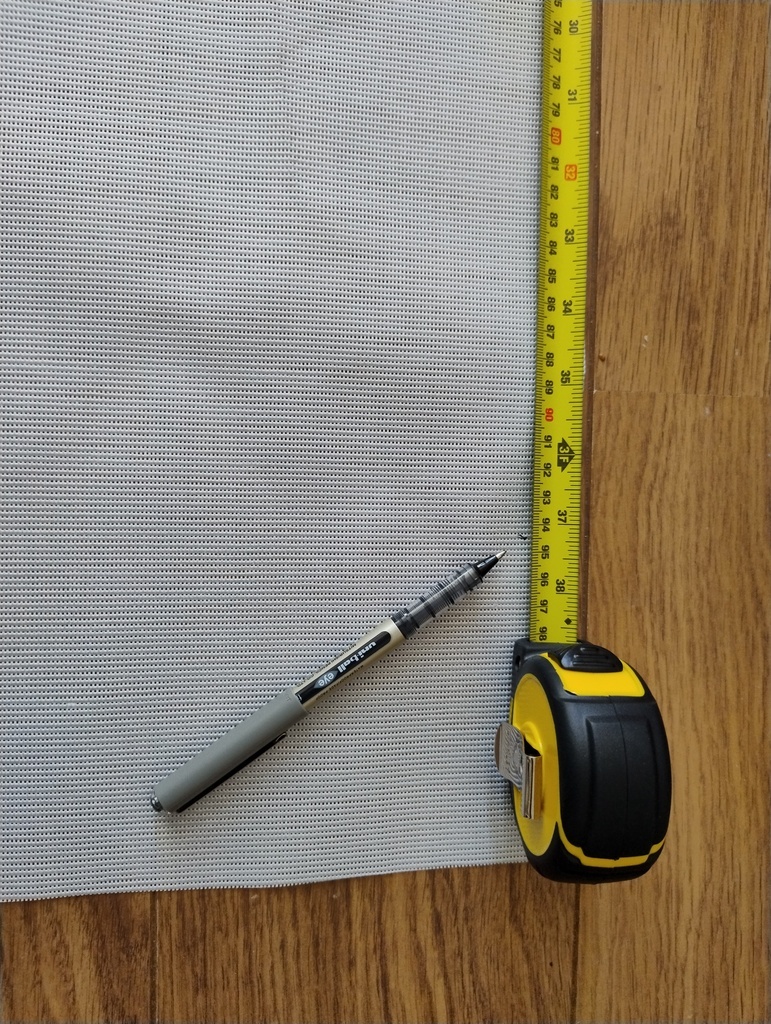 Mark off with the pen.
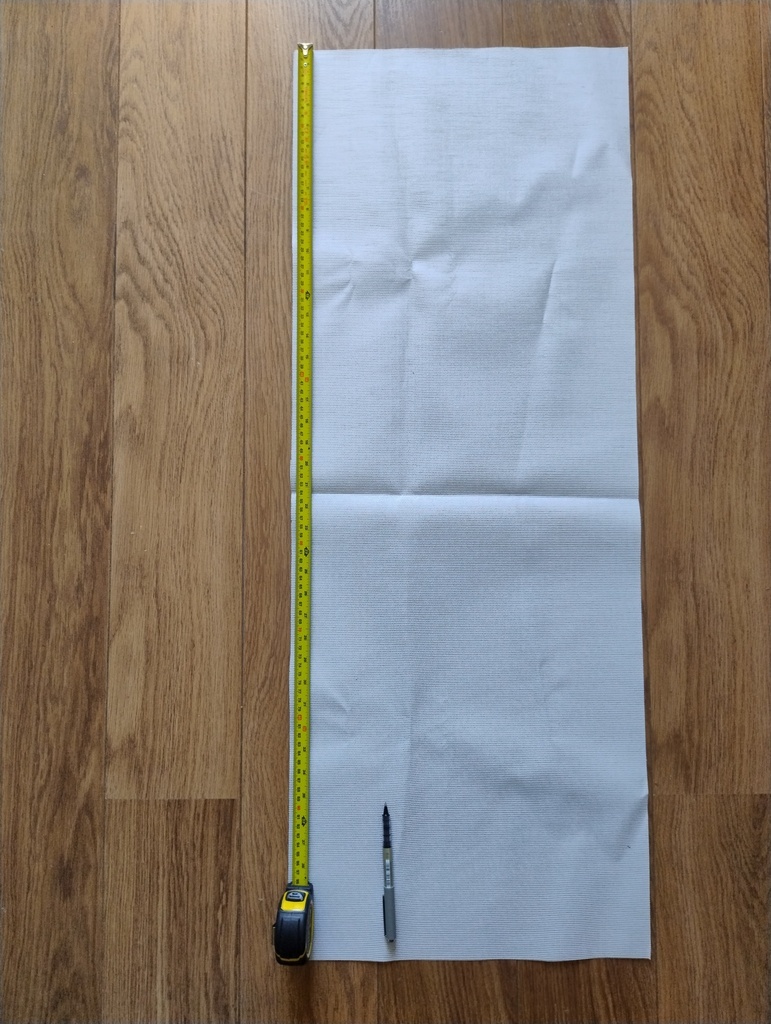 Measure left length from the top edge.
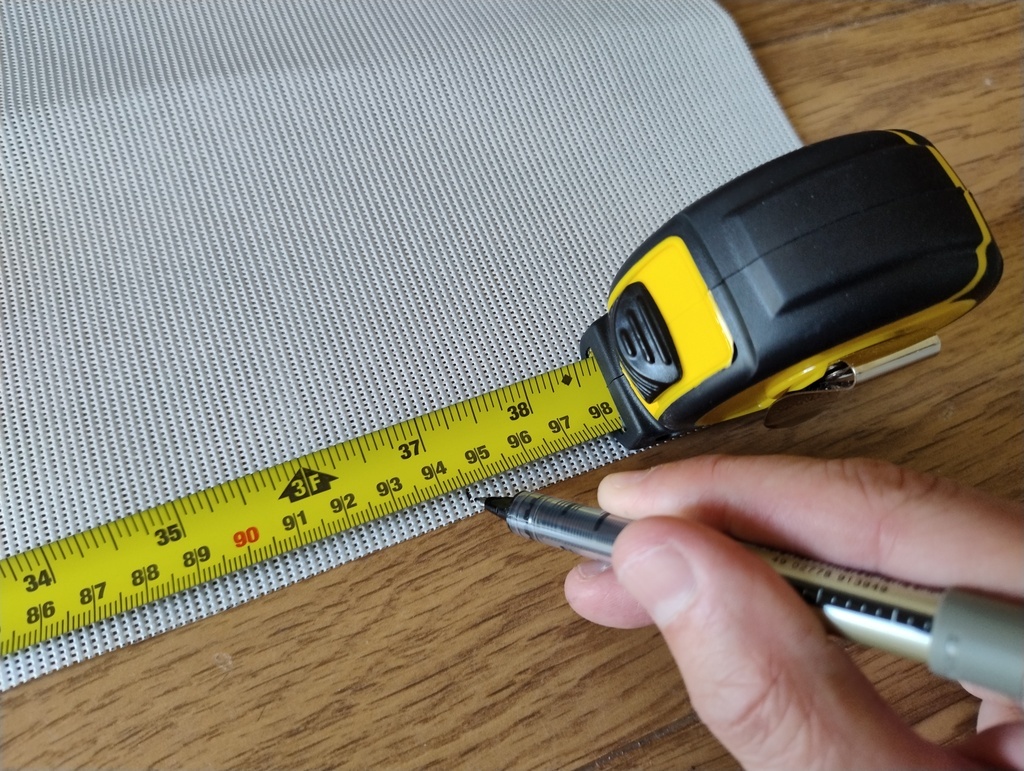 Mark off with the pen.
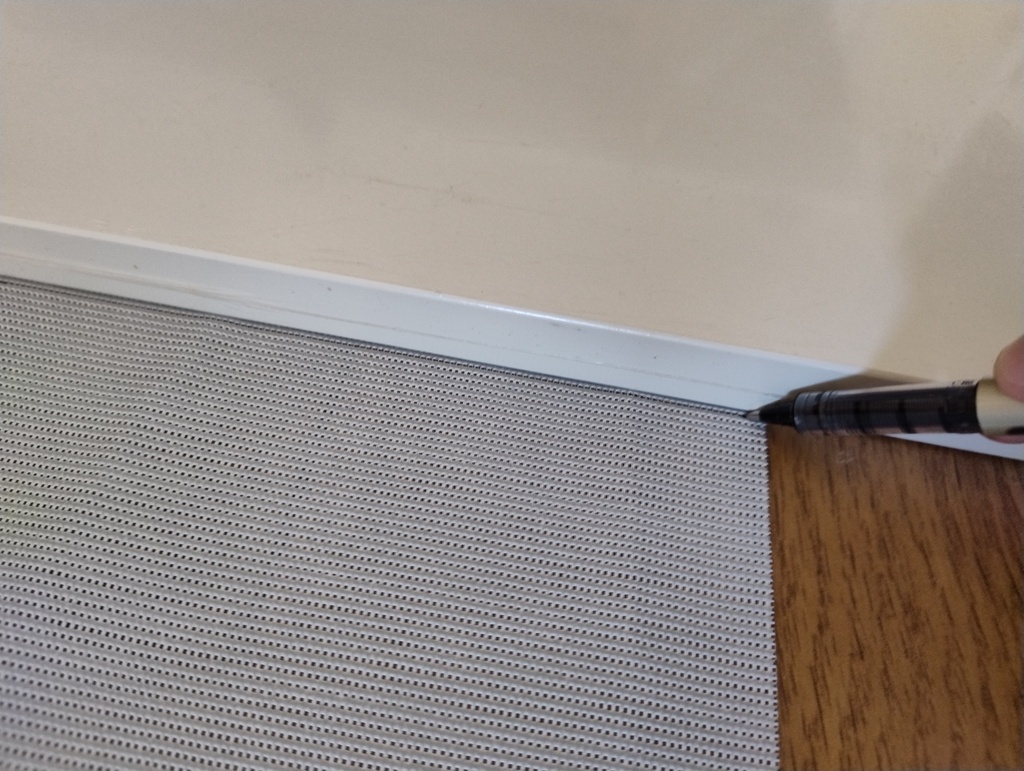 Use the rule to draw the line indicating where to cut.
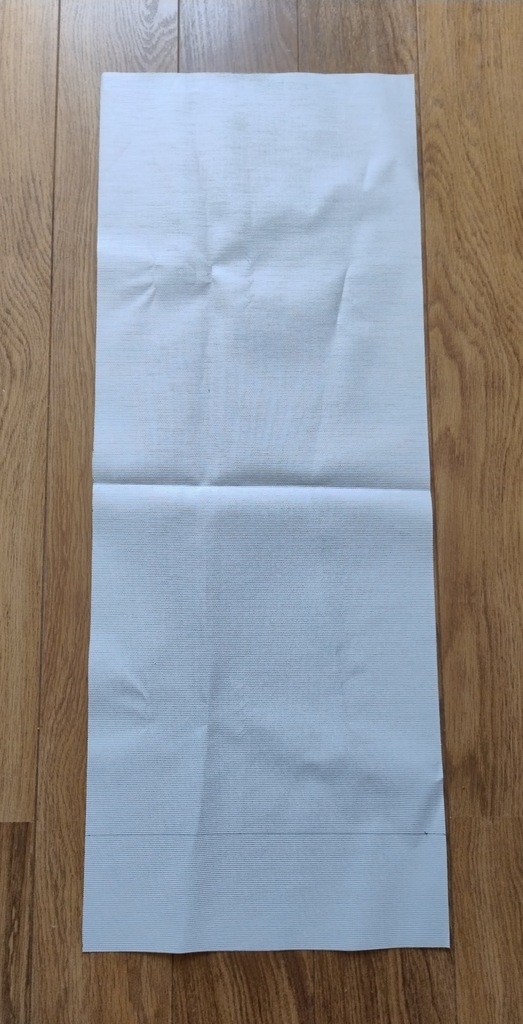 The completed line.
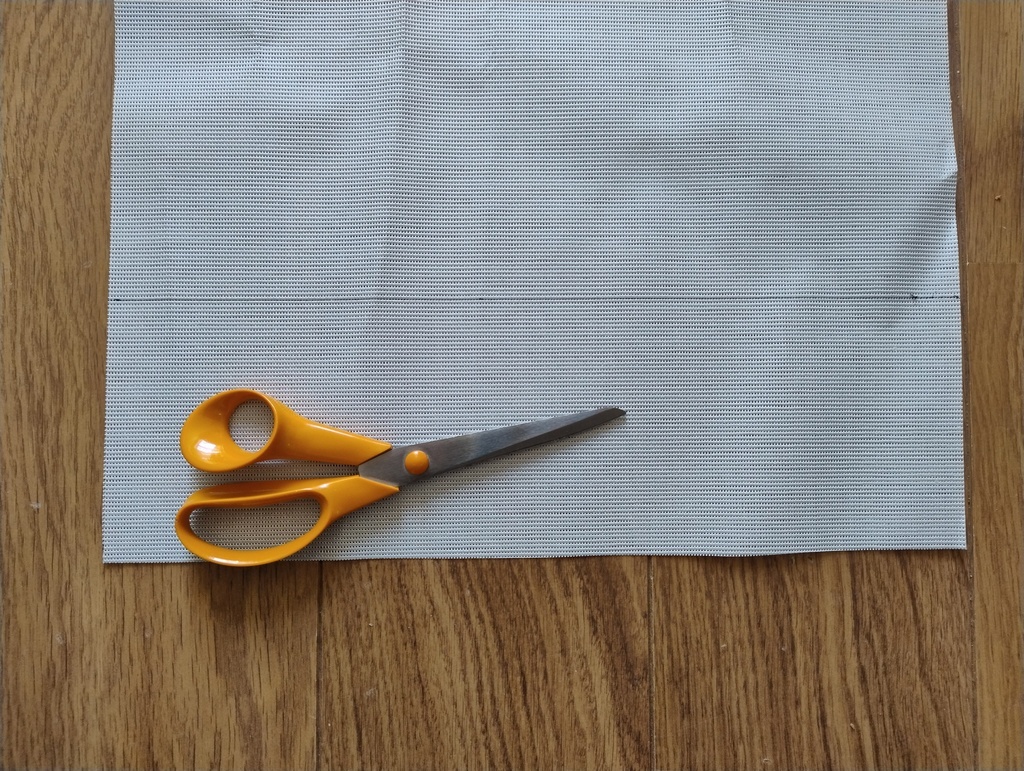 Cutting the line using the scissors.
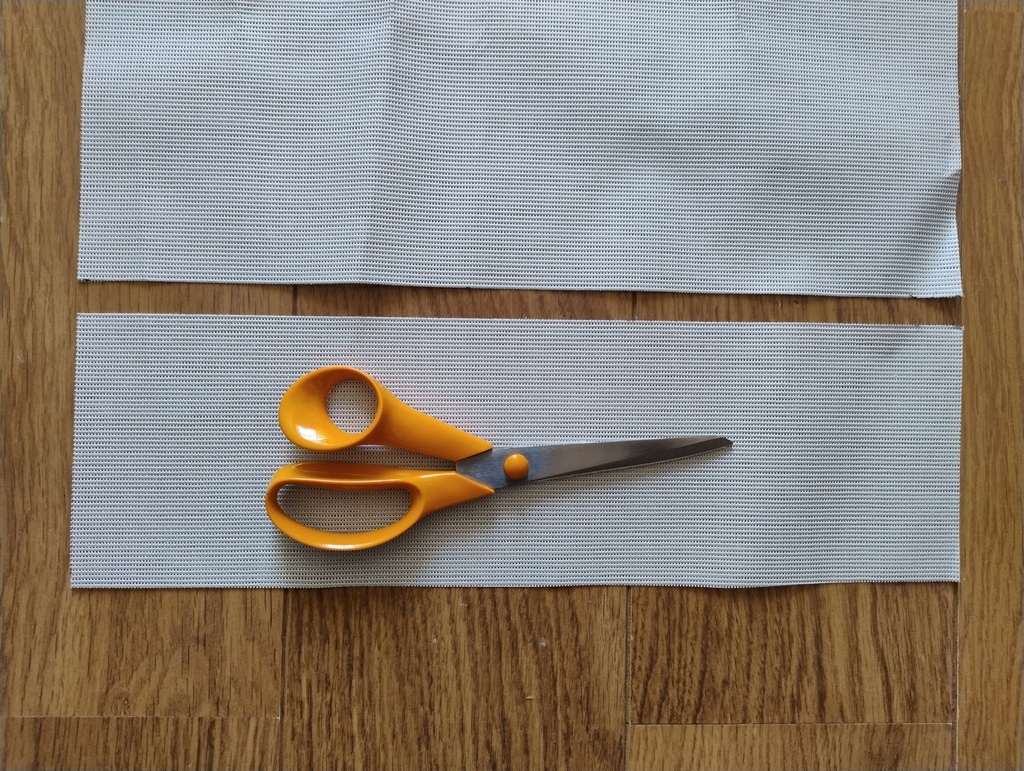 Completed cut.
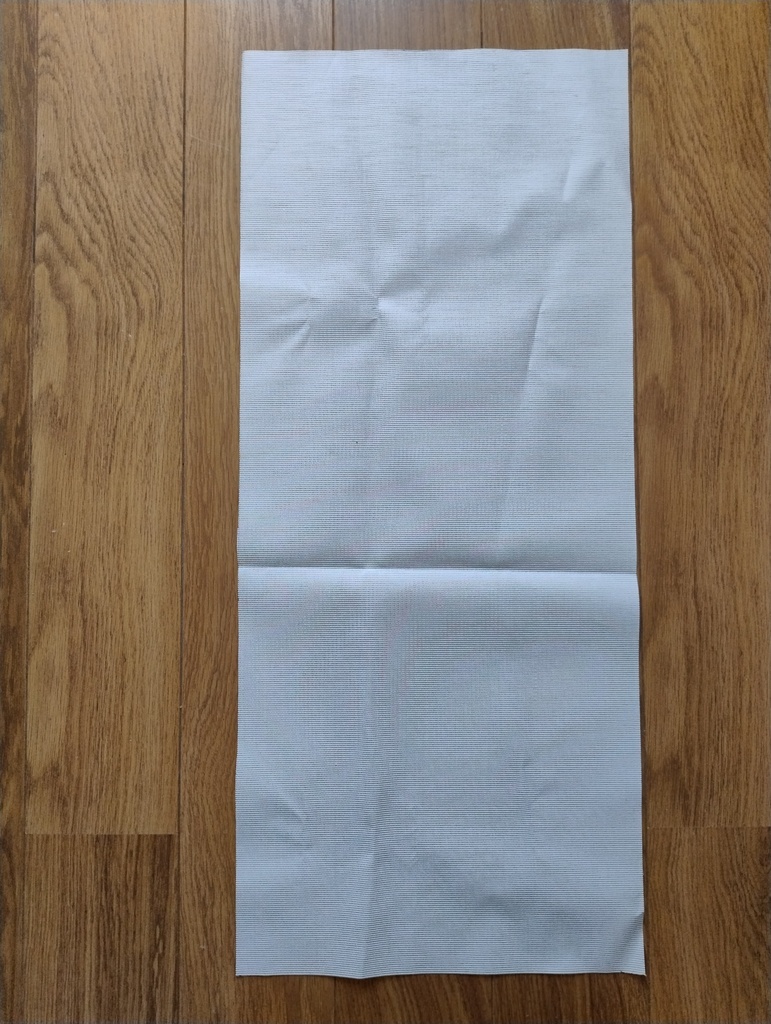 The final completed piece of fabric.
Adding the Grommets
The grommets will provide reinforced mounting holes for the glass suckers. Without them the fabric may stretch and slip over the screw caps.
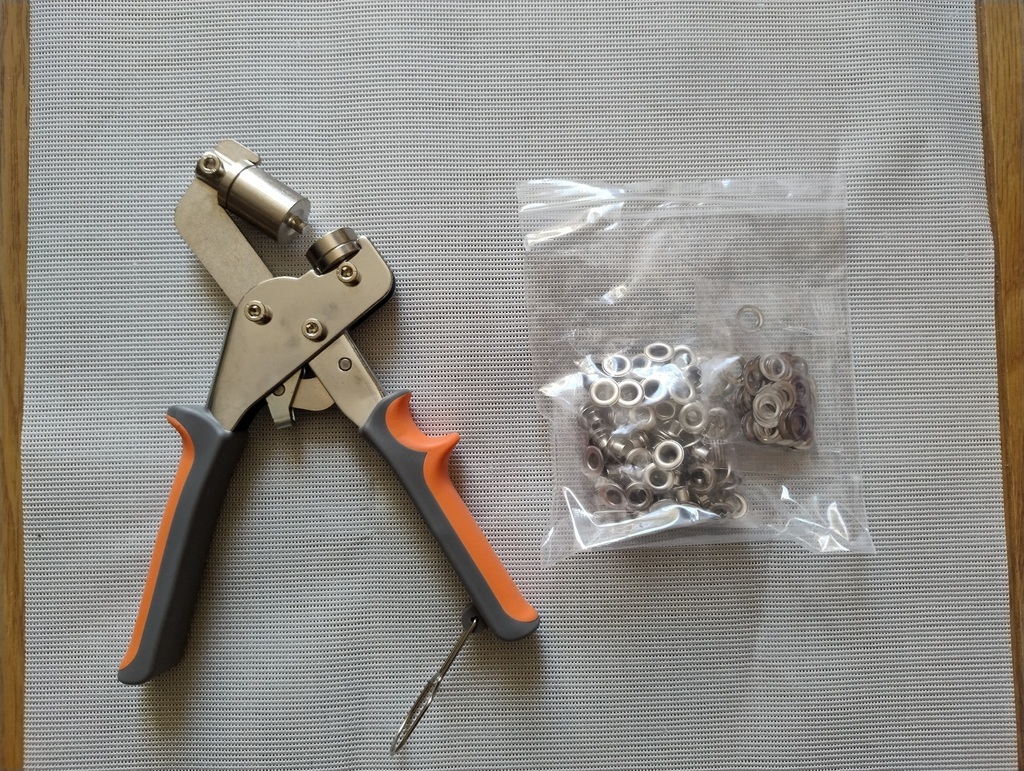 The Grommet Rivetter and bag of small grommet Parts.
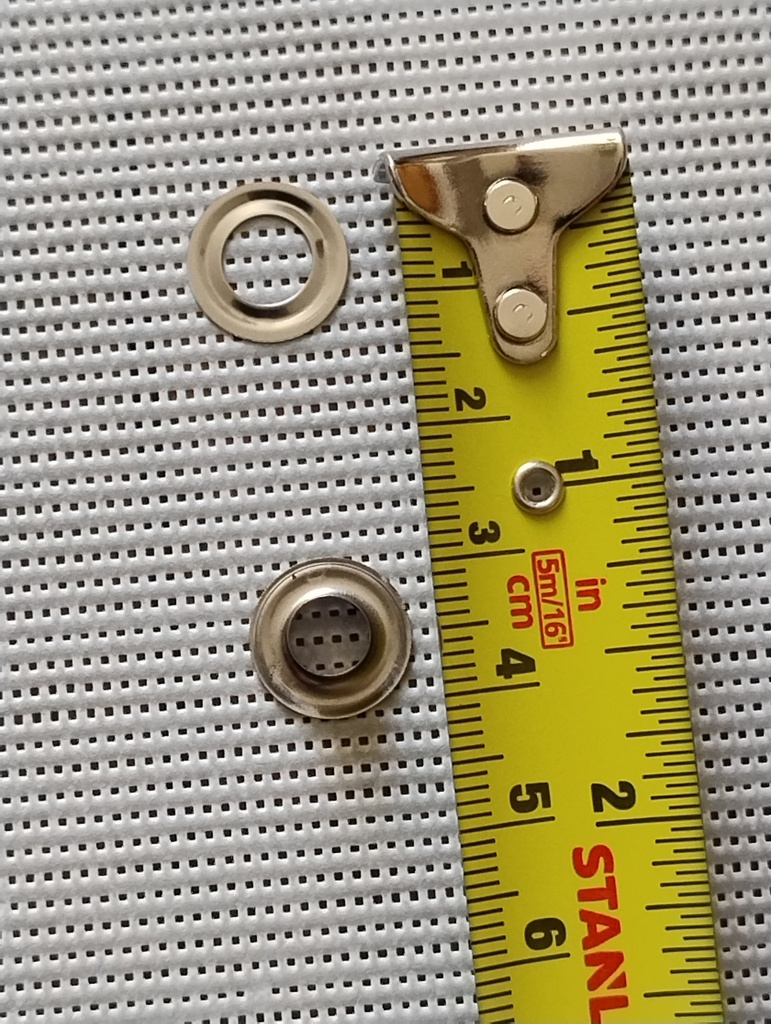 The dimensions of the small grommet parts.
Measuring Grommet Positions
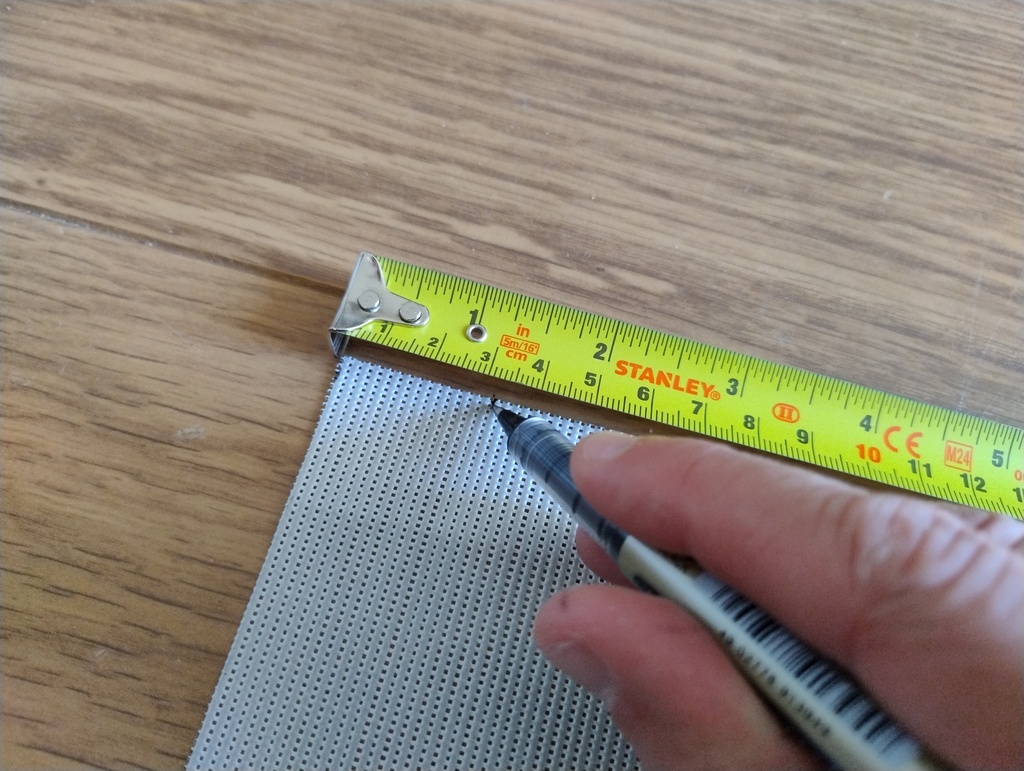
The Grommets will be positioned 3cm in from the edges. This gives plenty of clearance from the window frame but not too much fabric extends that may lift with wind.
On this small window we only need grommets in the four corners. On larger windows you may want to add extra grommets on the long edges.
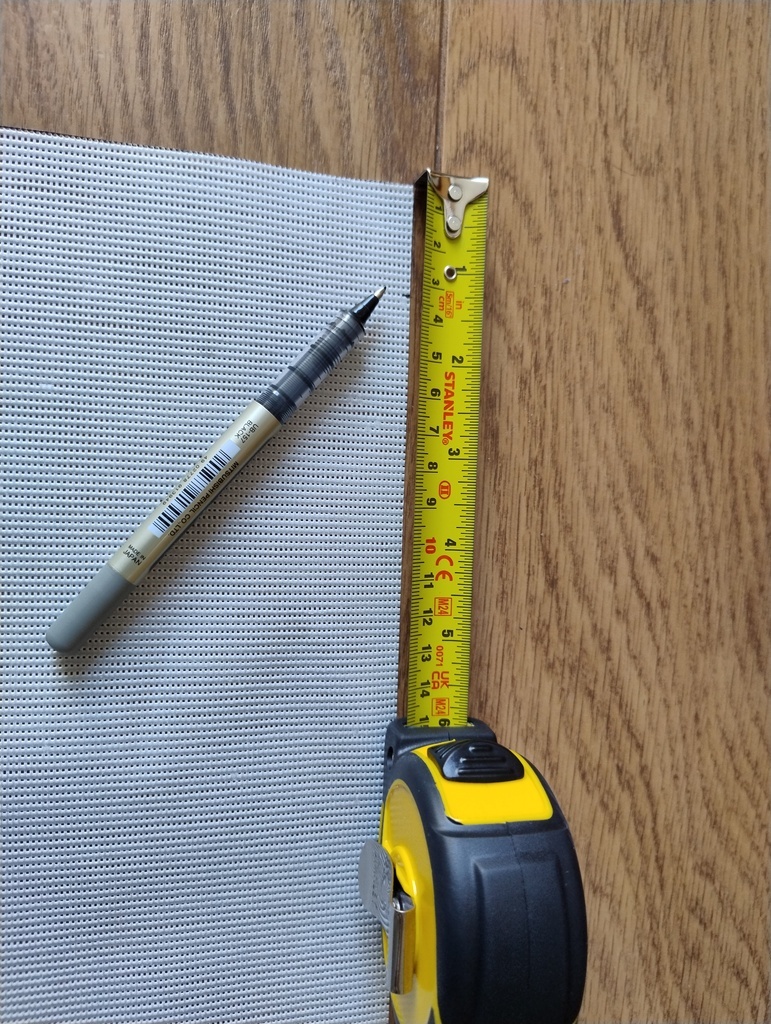 Mark 3cm down from the top edge on right hand side.
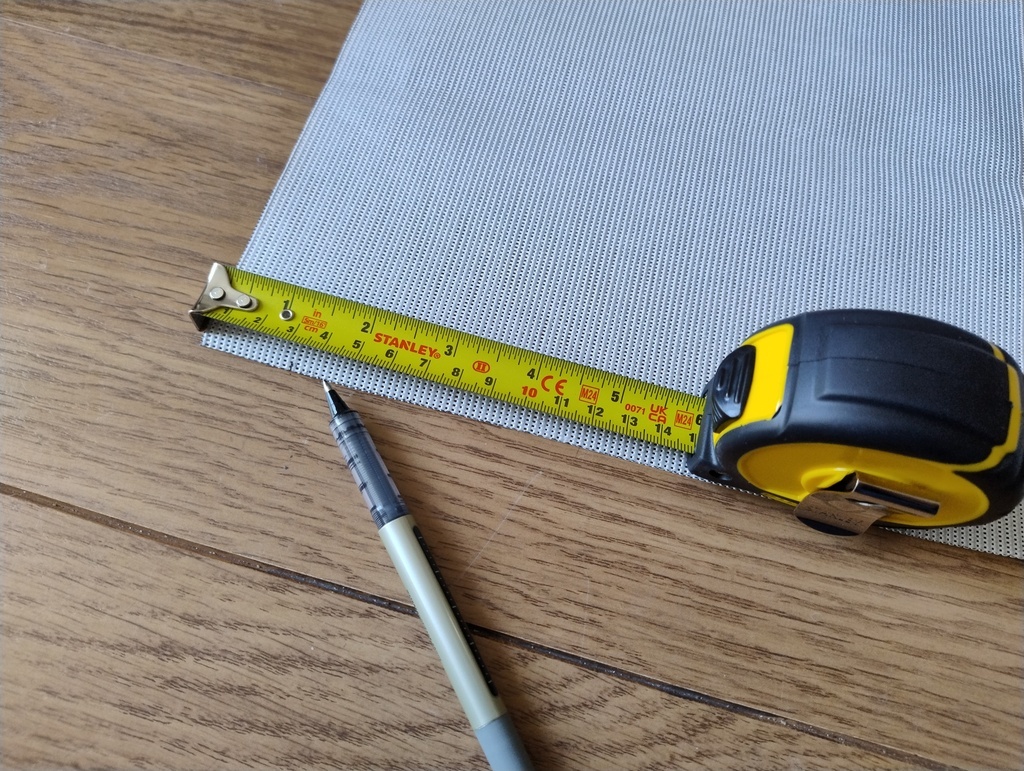 Mark 3cm down from the top edge on left hand side.
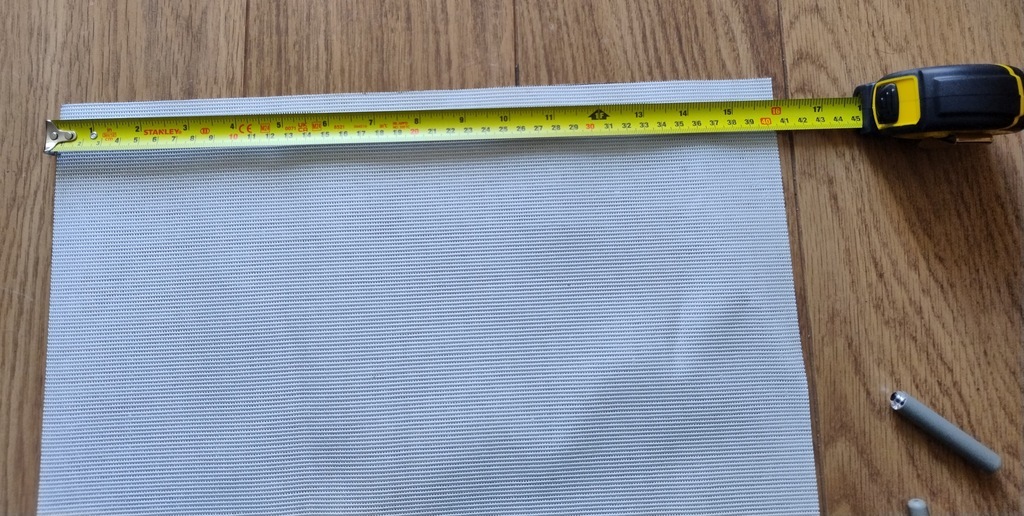 Line the bottom edge of the tape measure with these marks.
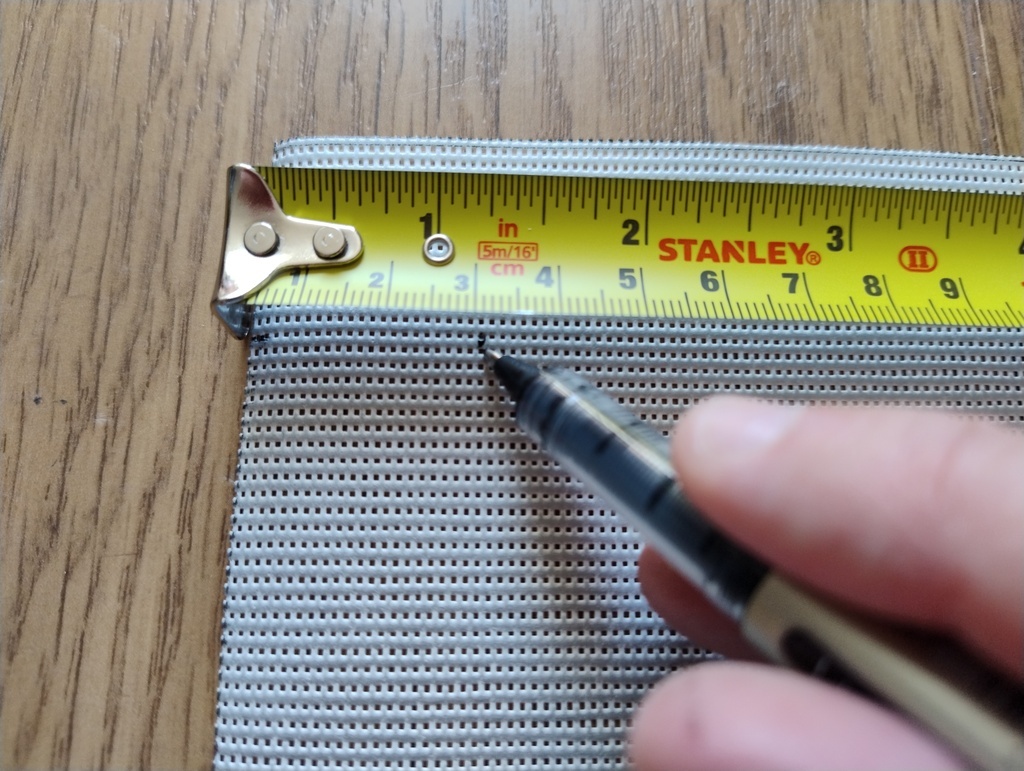 Mark 3cm in from the left side.
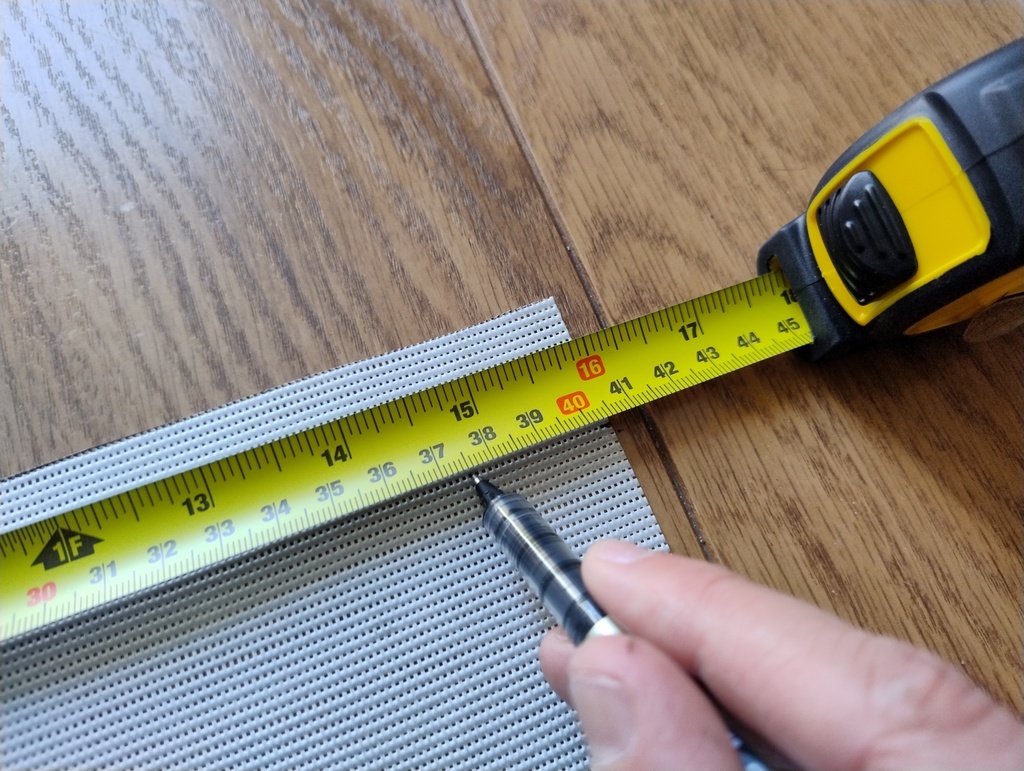 Mark 3cm in from the right side.
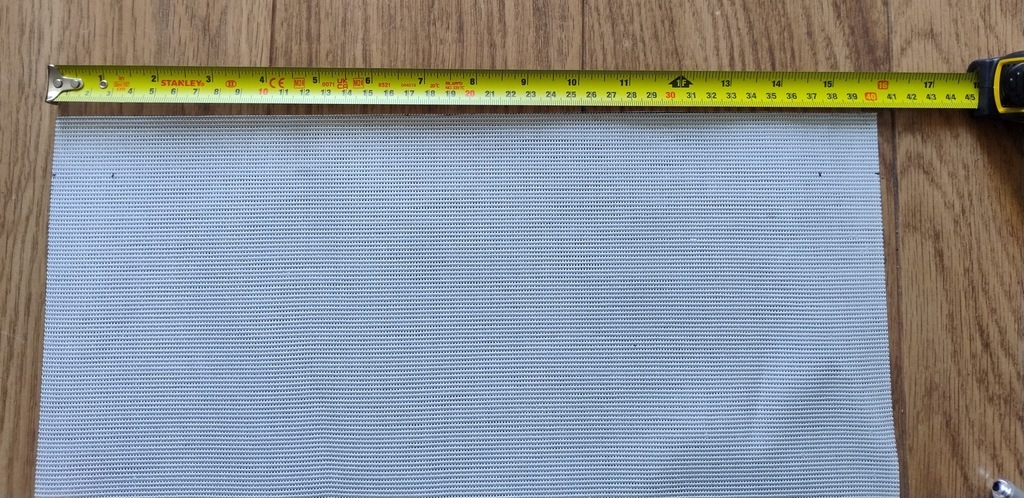 Completed marks for the top grommet positions.
 Mark 3cm up from the bottom edge on left hand side.
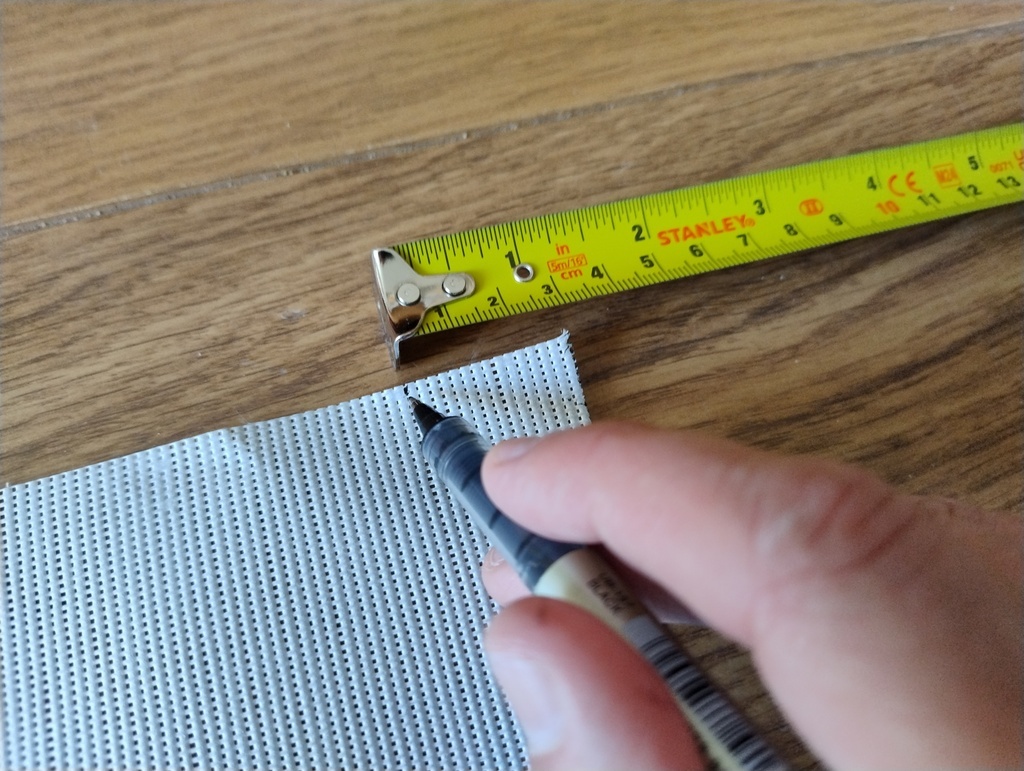 Mark 3cm up from the bottom edge on right hand side.
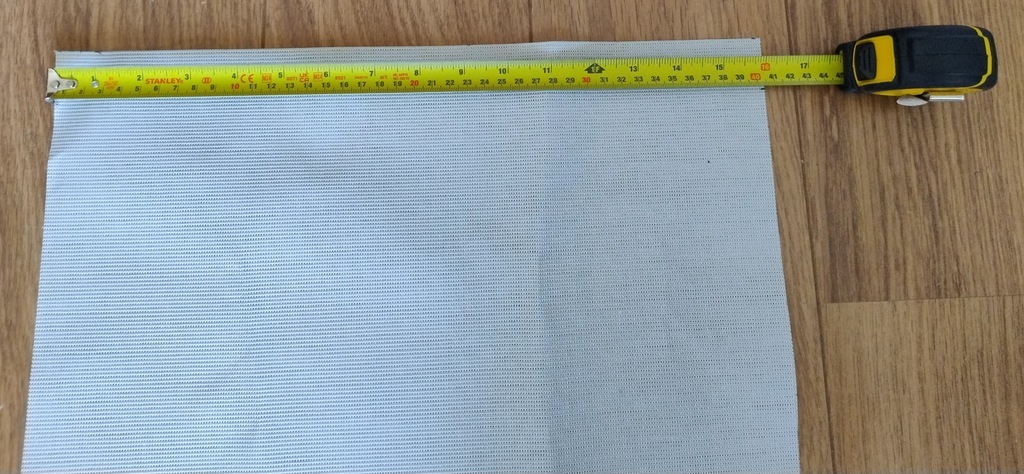 Line the bottom edge of the tape measure with these marks.
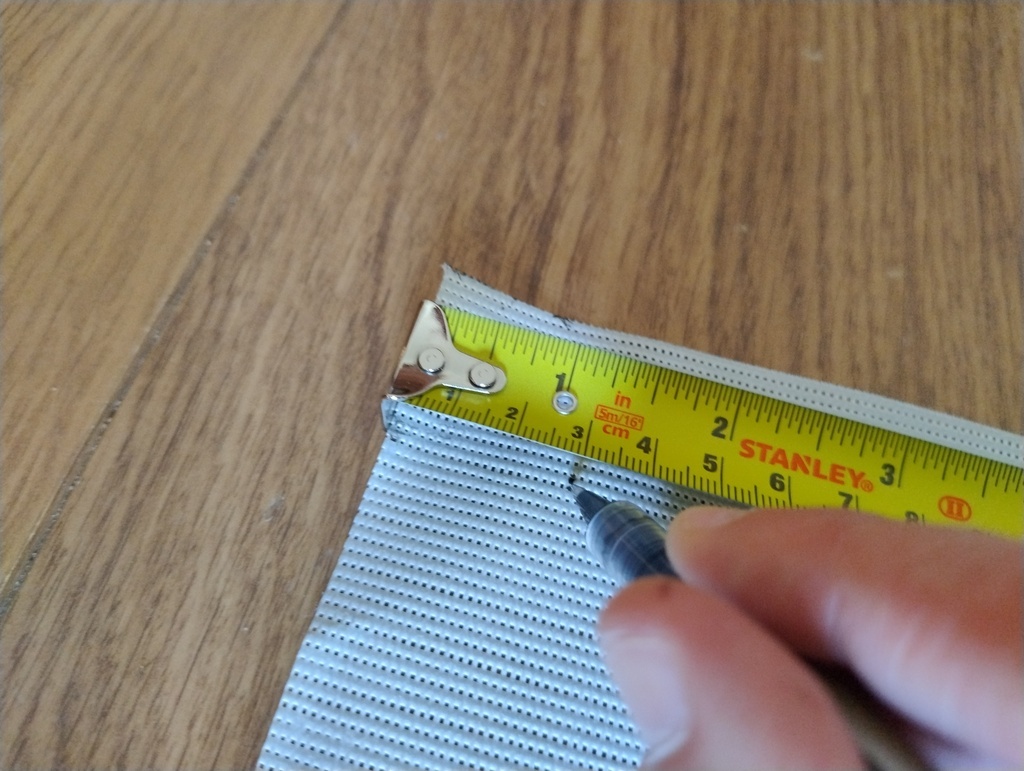 Mark 3cm in from the right side.
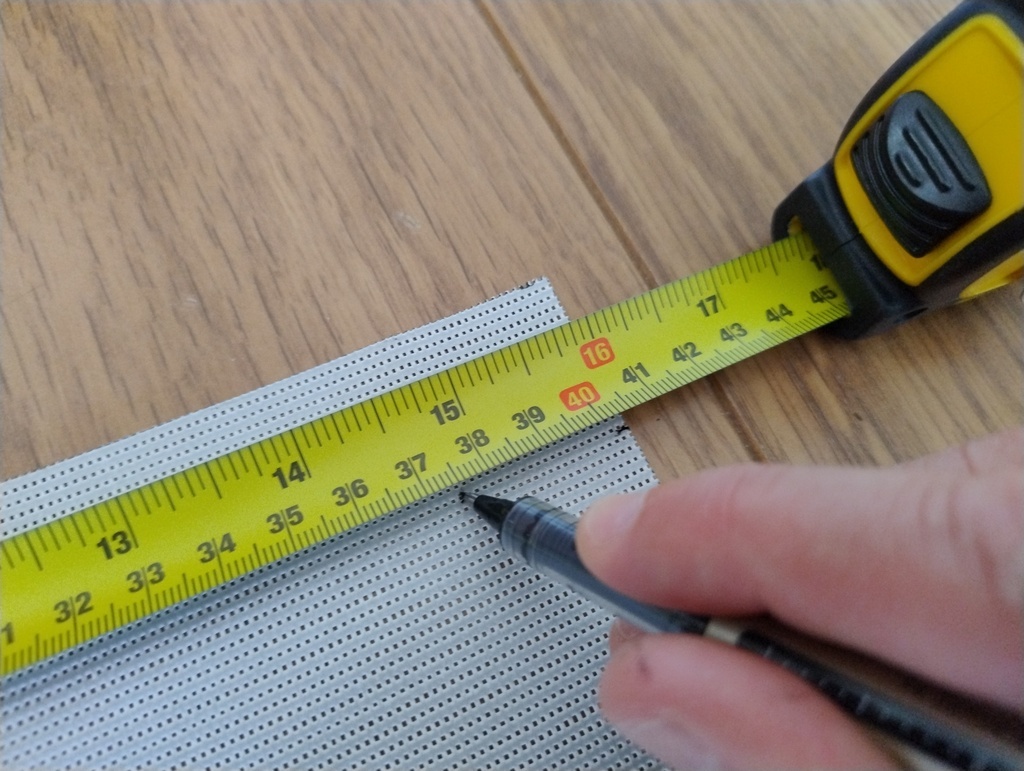 Mark 3cm in from the left side.
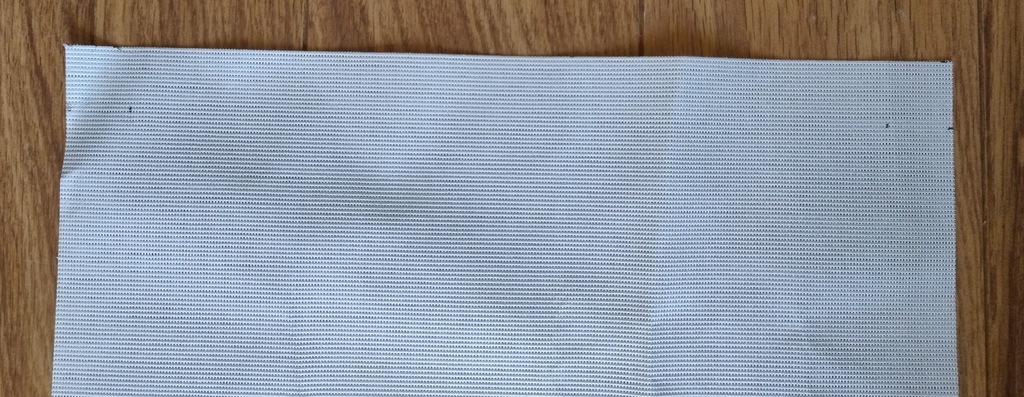 Completed marks for the bottom grommet positions.
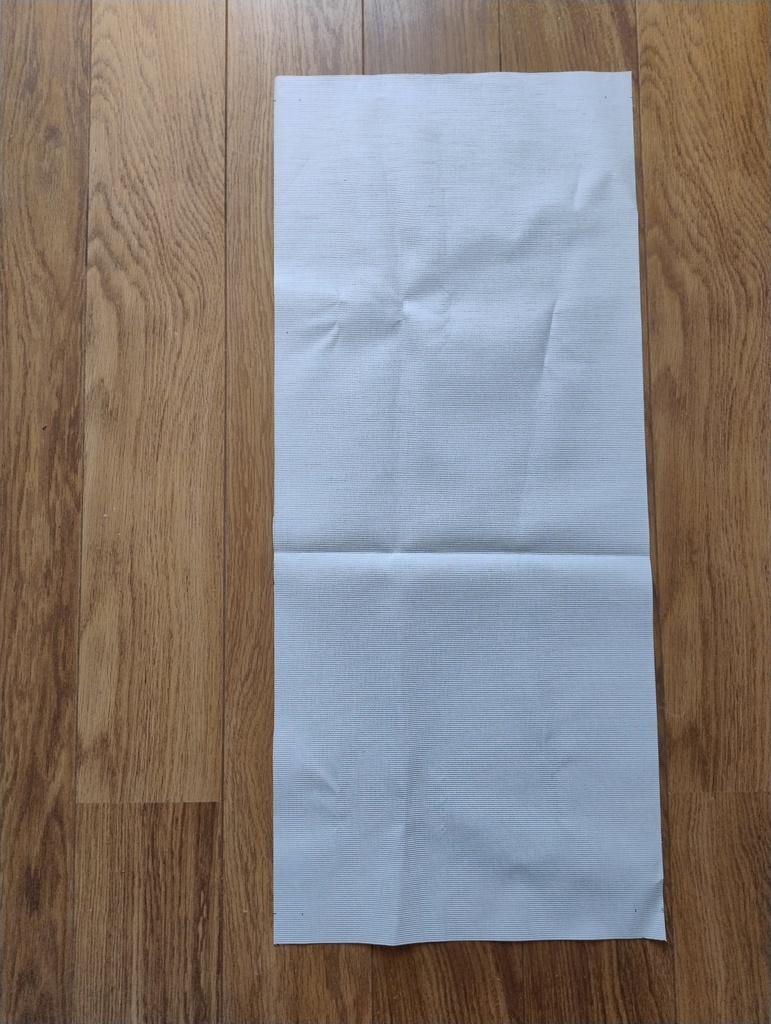 Completed marks for all grommet positions.
Rivetting the Grommets
The fabric is sufficientaly thin so we don’t need to use the hole punch to create the holes. The rivetter and grommets are capable of punching the hole as they are applied.
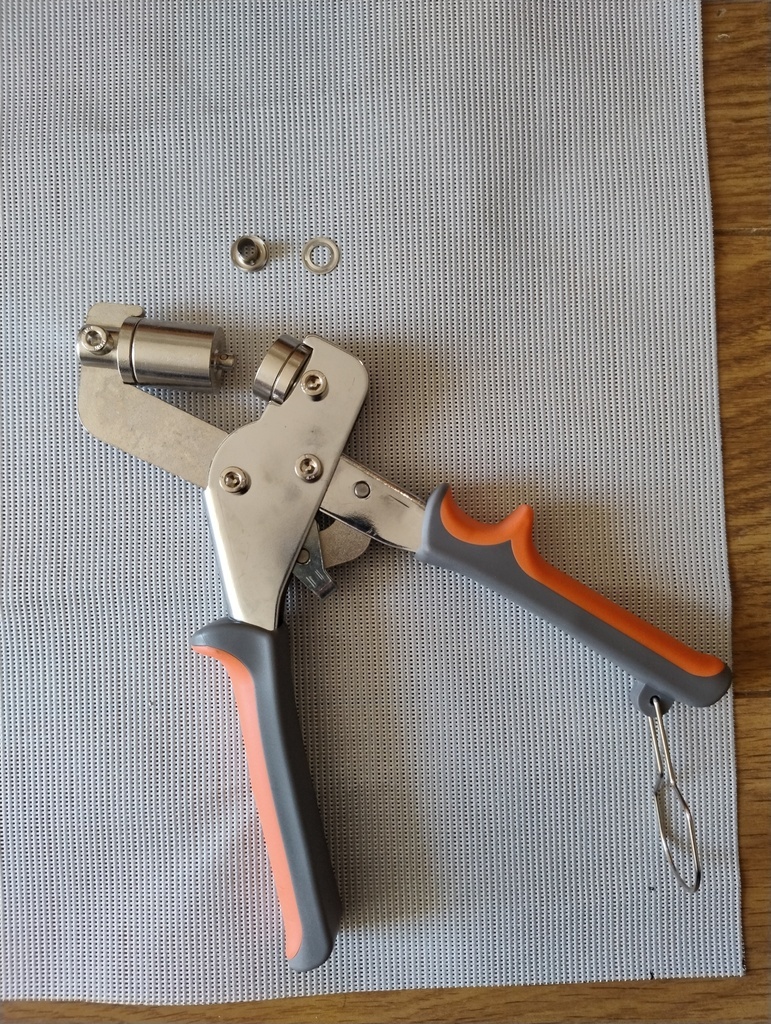 The grommet rool and two pieces of a single grommet.
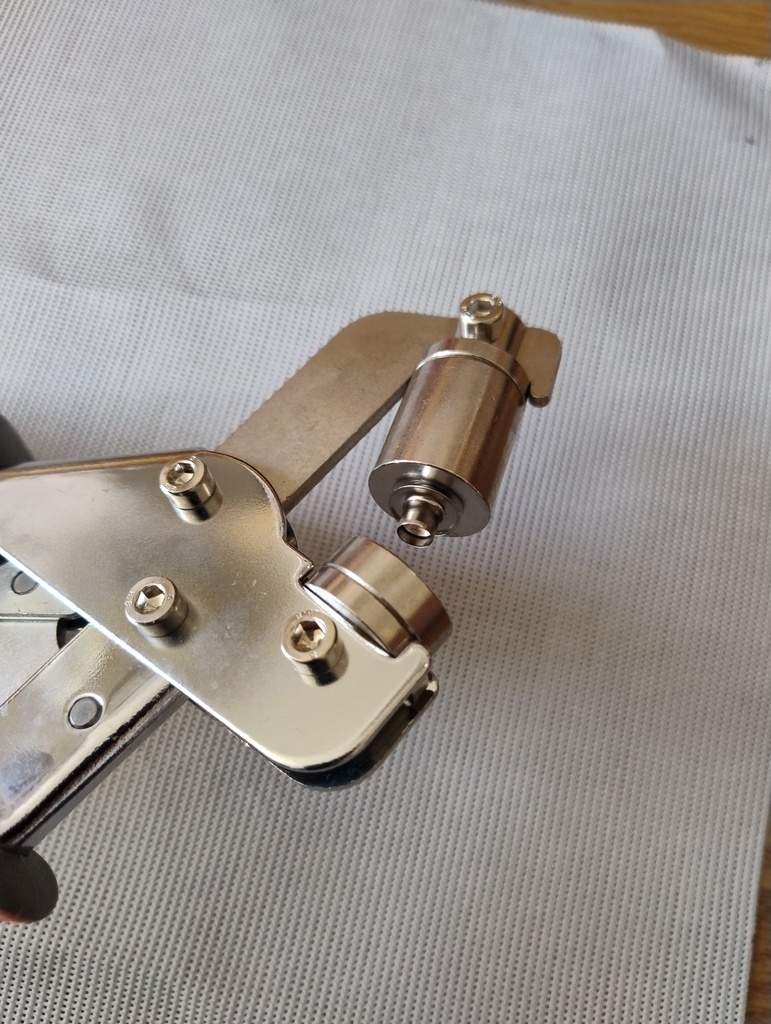 Place the top grommet piece on the tool.
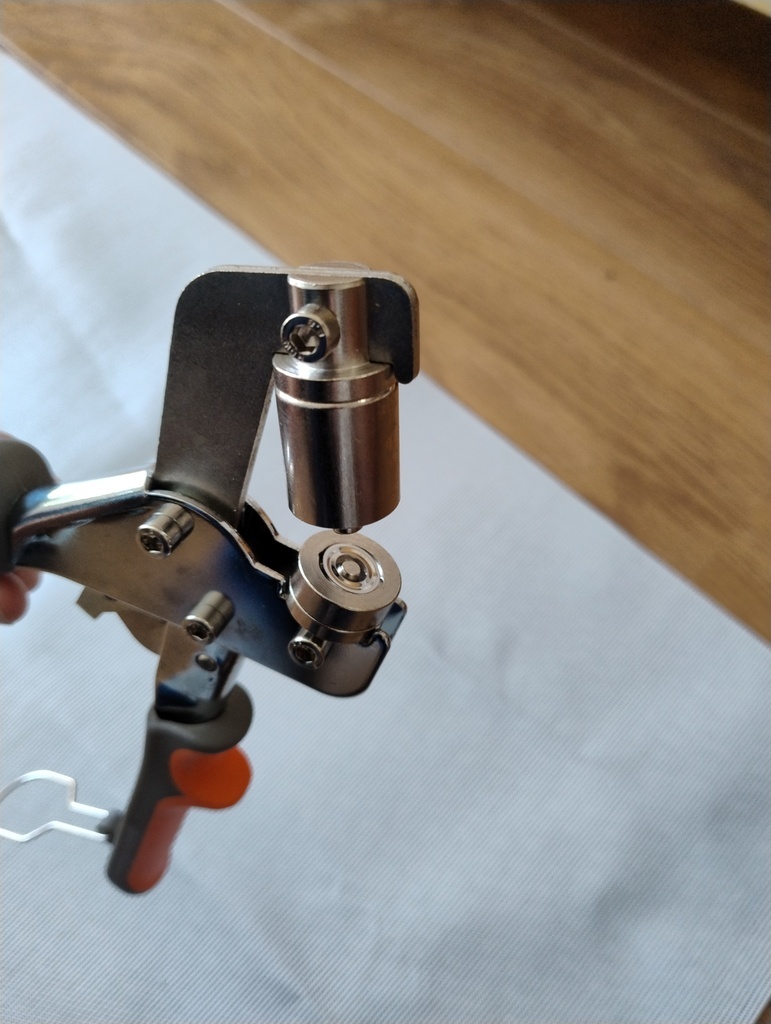 Place the bottom grommet pirce on the tool.
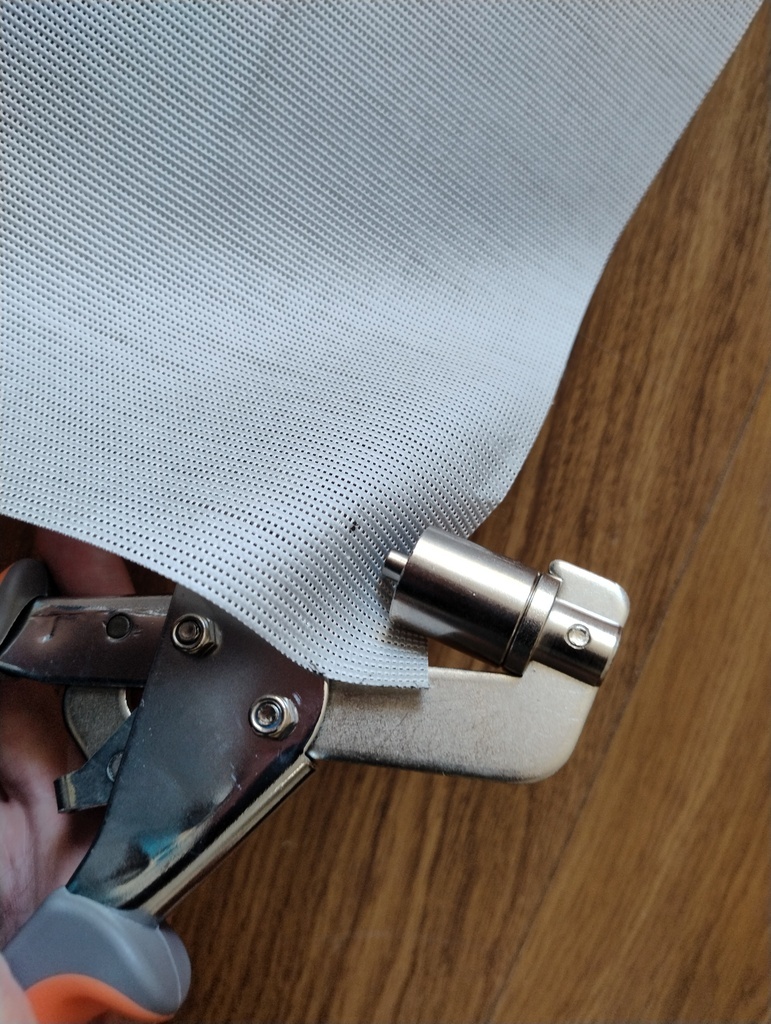 Feed the fabric into the gap in the open tool.
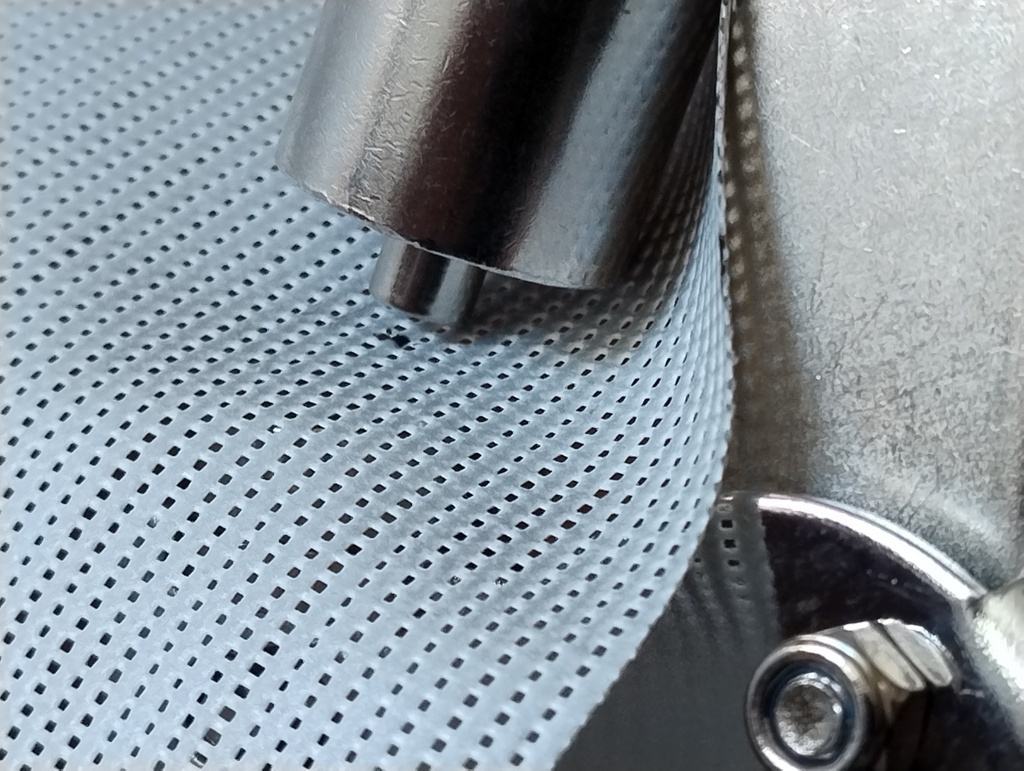 Line up the centre punch of the tool with the pen mark.
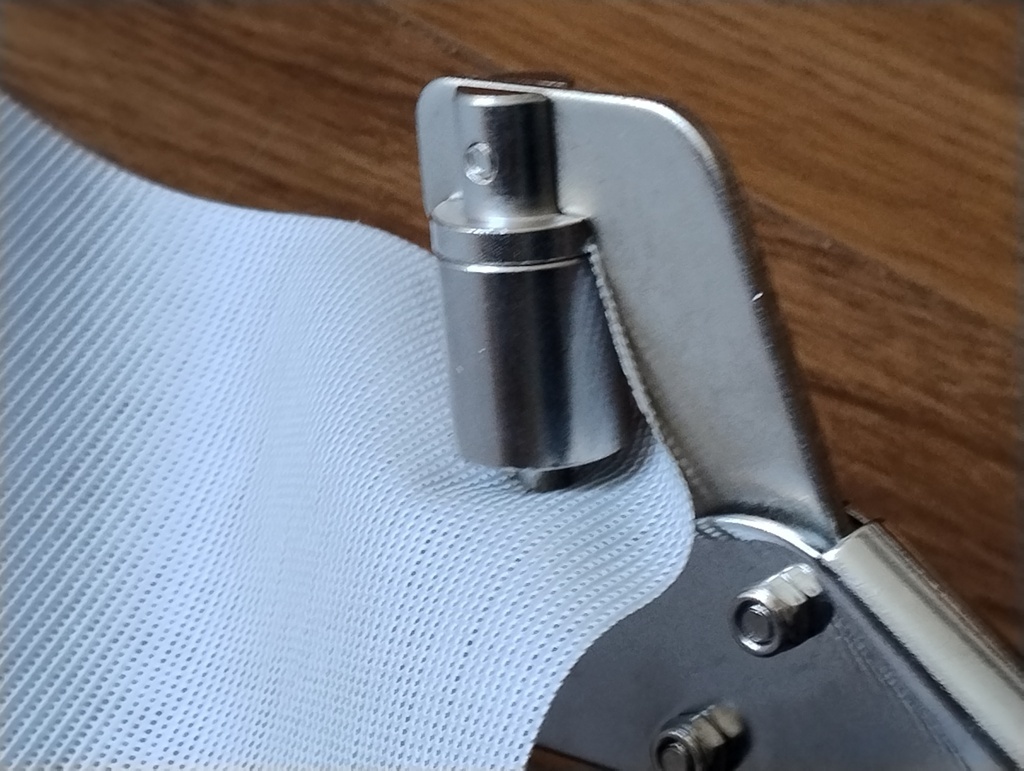 Squeeze and line it up flat with the fabric.
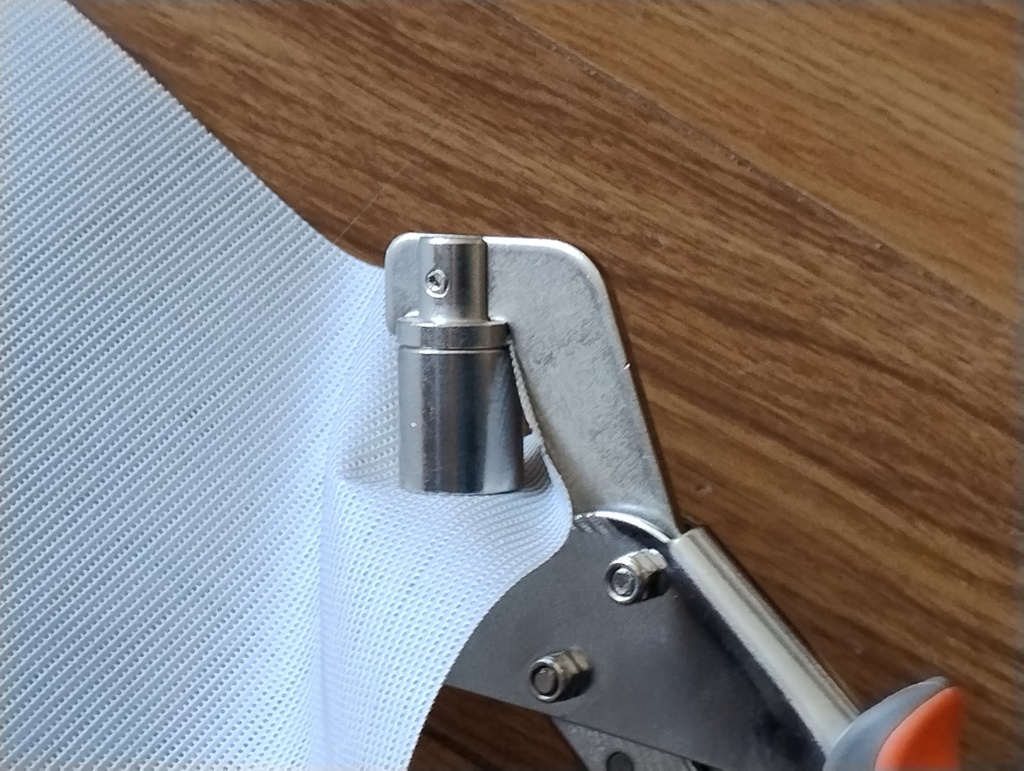 Keep squeezing.
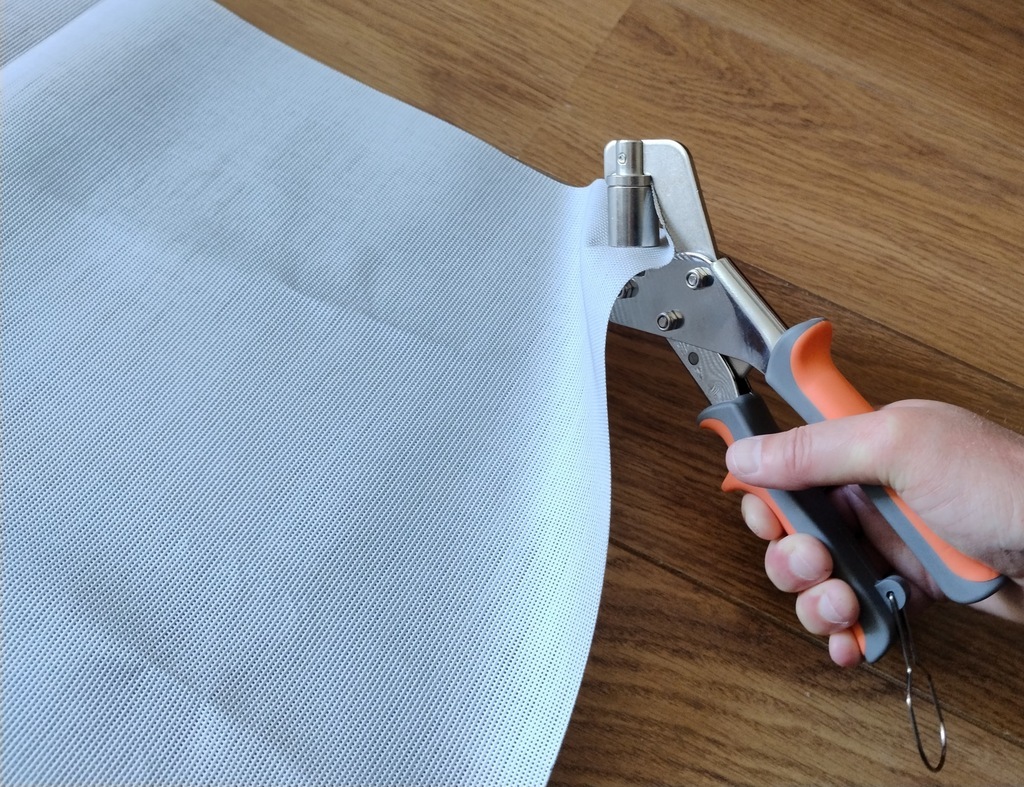 Squeeze until the tool has fully closed.
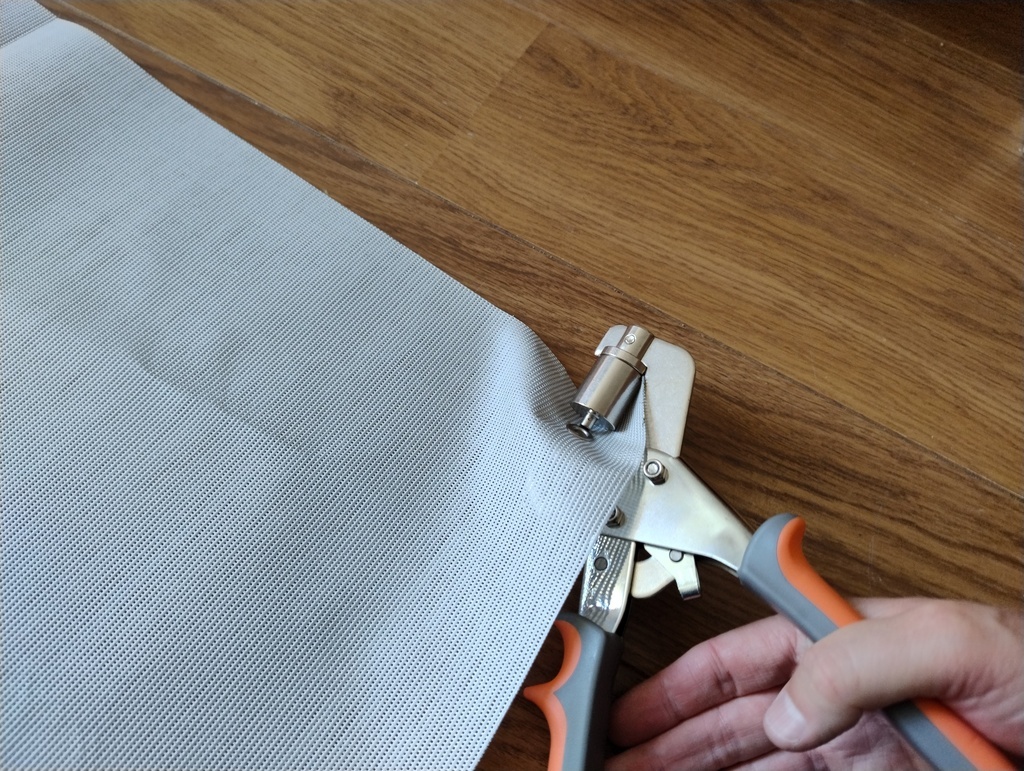 Release and the grommet should remain in place.
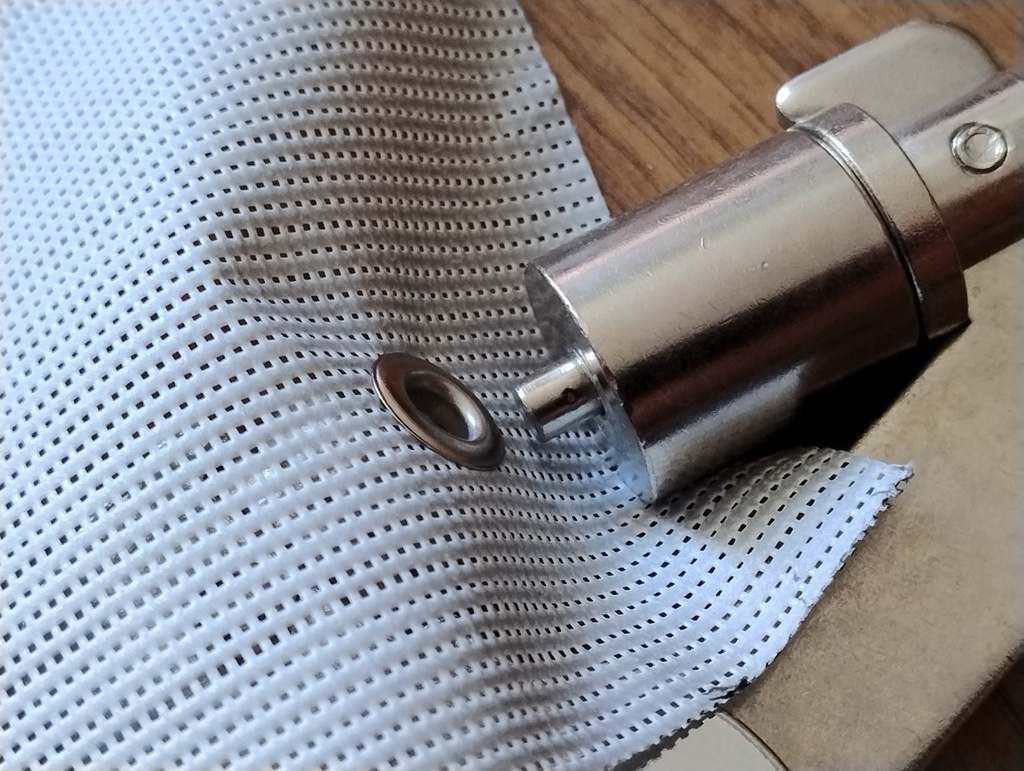 A view of the fixed grommet.
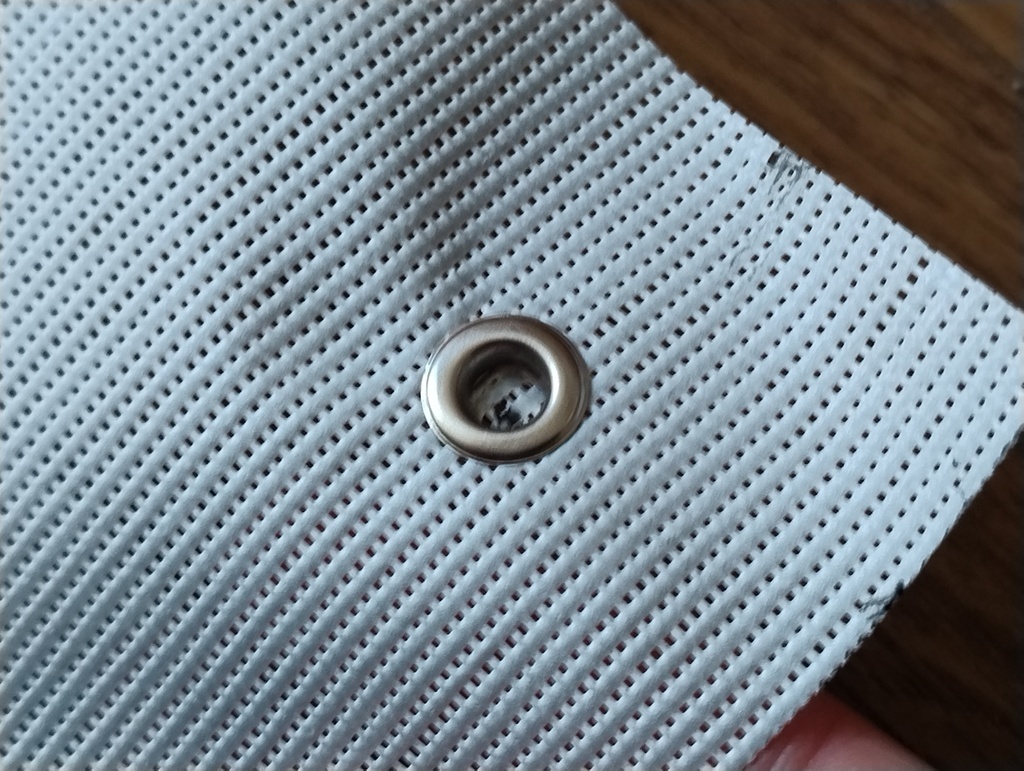 The fabric may still remain in the hole.
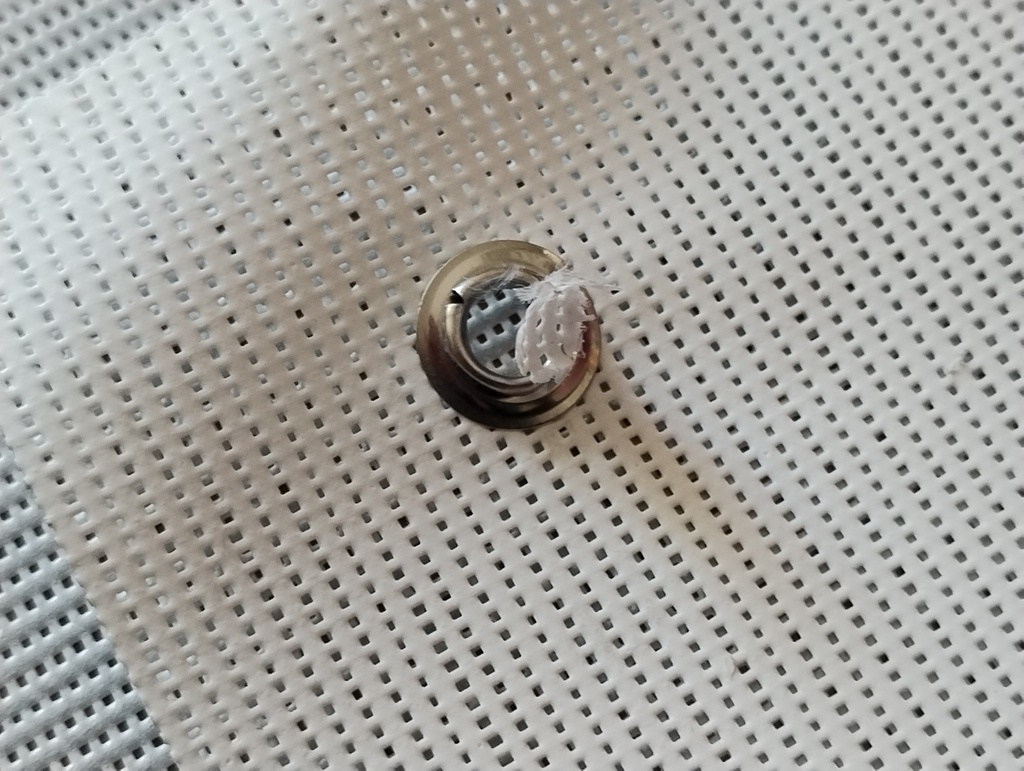 On the reverse side it may already be hanging loose.
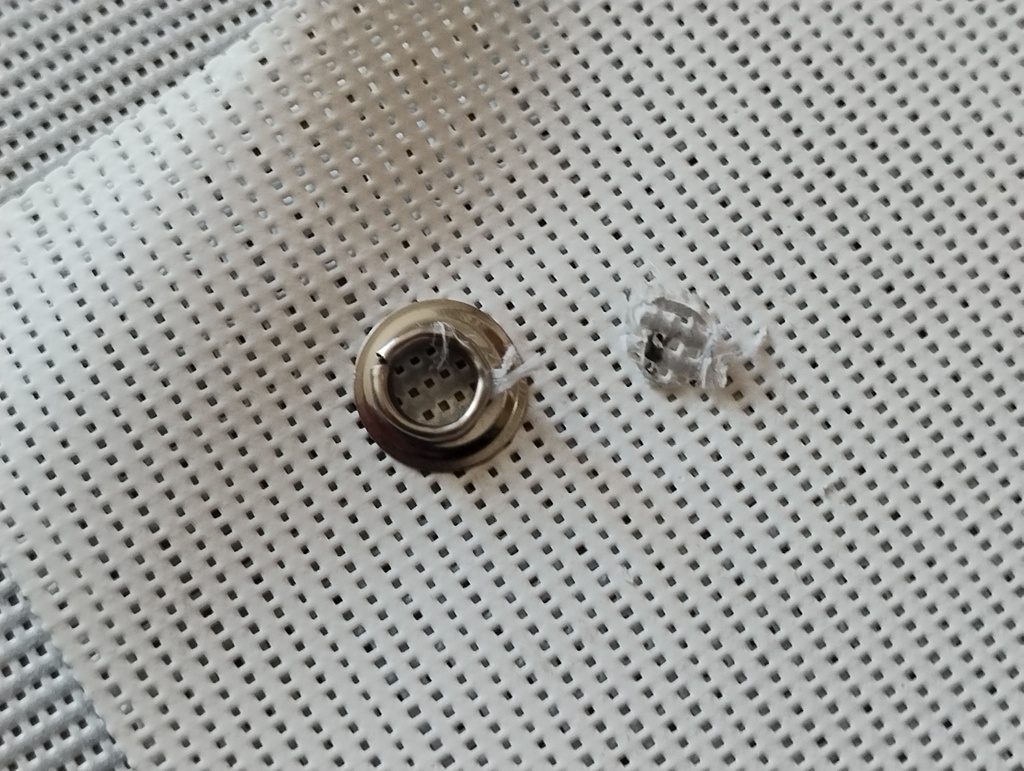 It can be removed with ease.
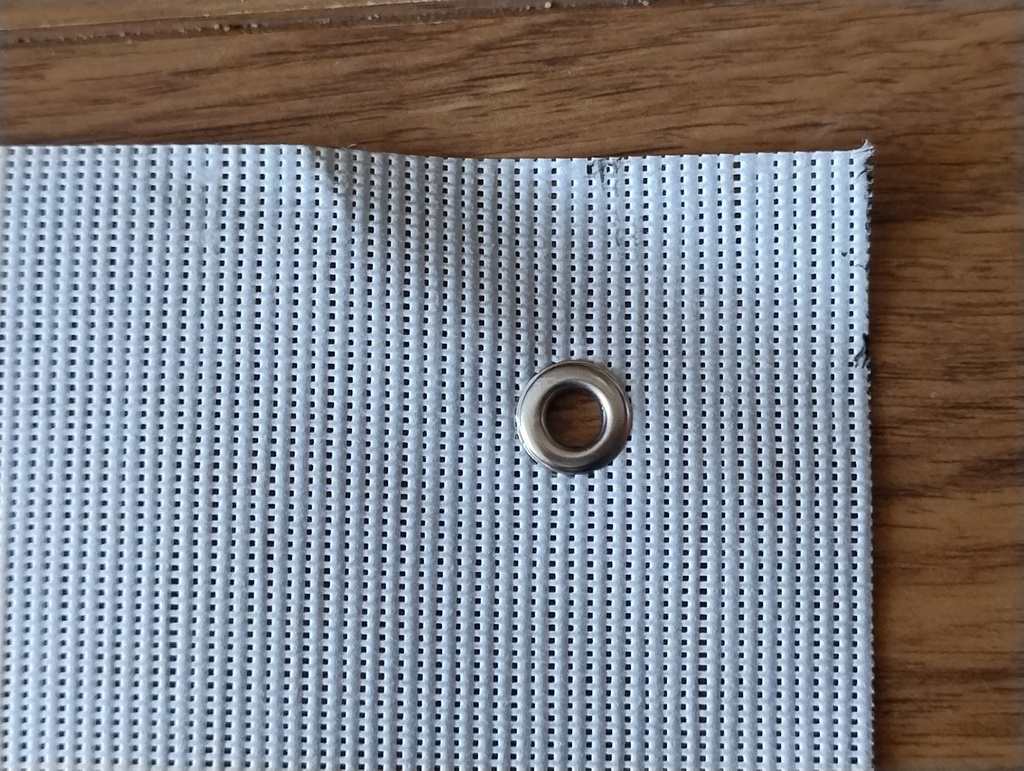 A completed grommet.
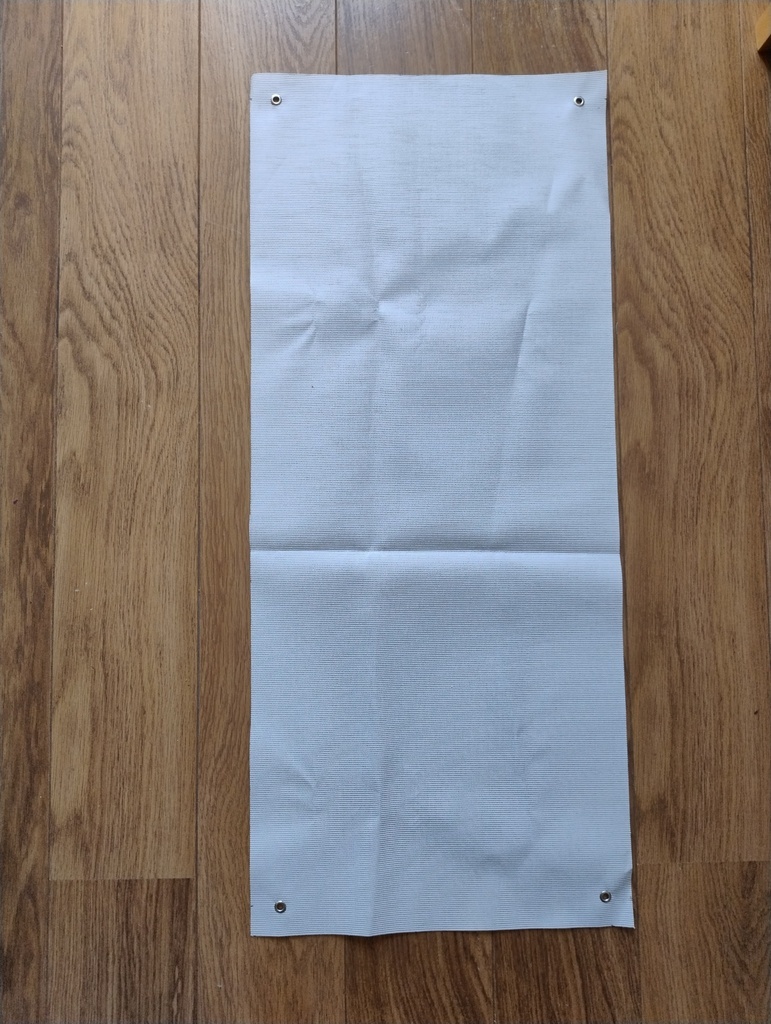 Four completed grommets.
Wash the Windows
Gently wash the glass clean with plenty of mild soapy water and a cloth or sponge. Rinse well to remove any remaining suds or bits of grit etc. This is to give the glass suckers a good chance of staying fixed.
Attaching the Glass Suckers
Dismantle the screw caps from the glass suckers if they aren’t already separated.
We will be fixing the suckers such that the white side is facing away from the glass.
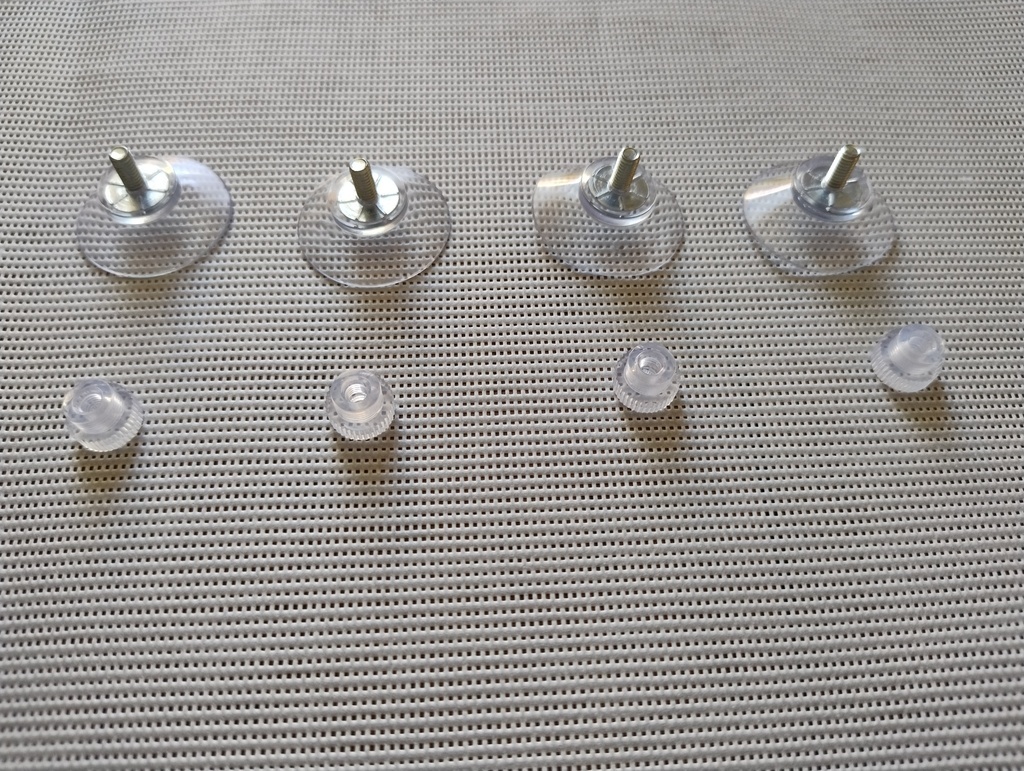 Glass Suckers showing thread and screw caps.
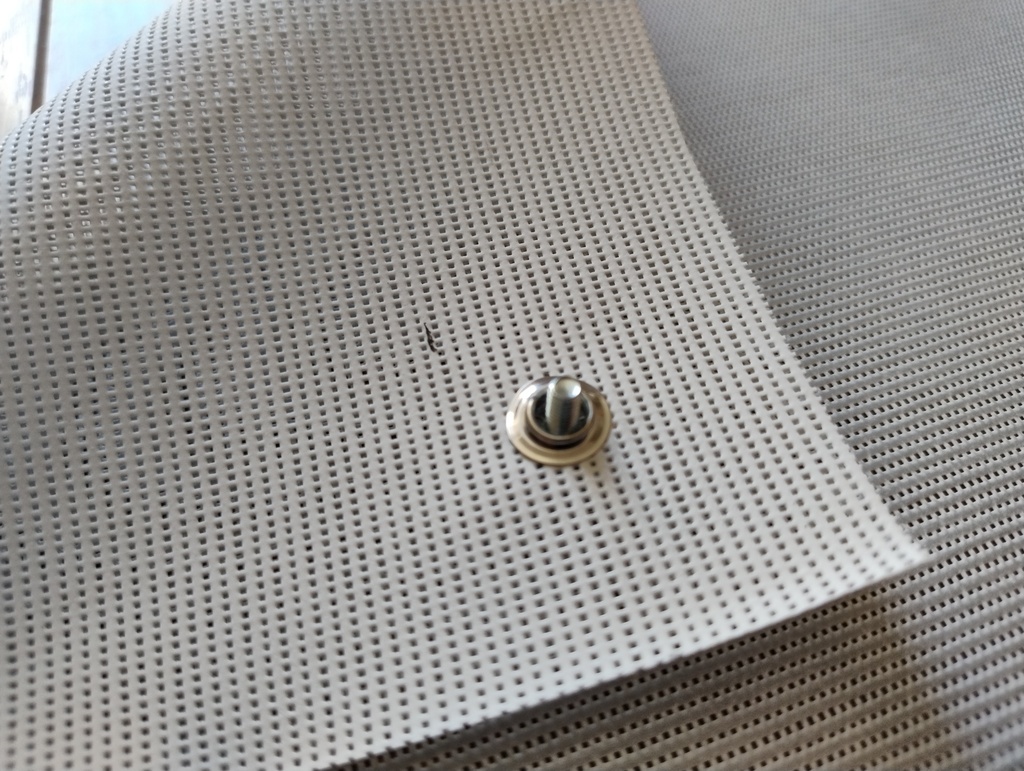 Place the thread through a grommet hole.
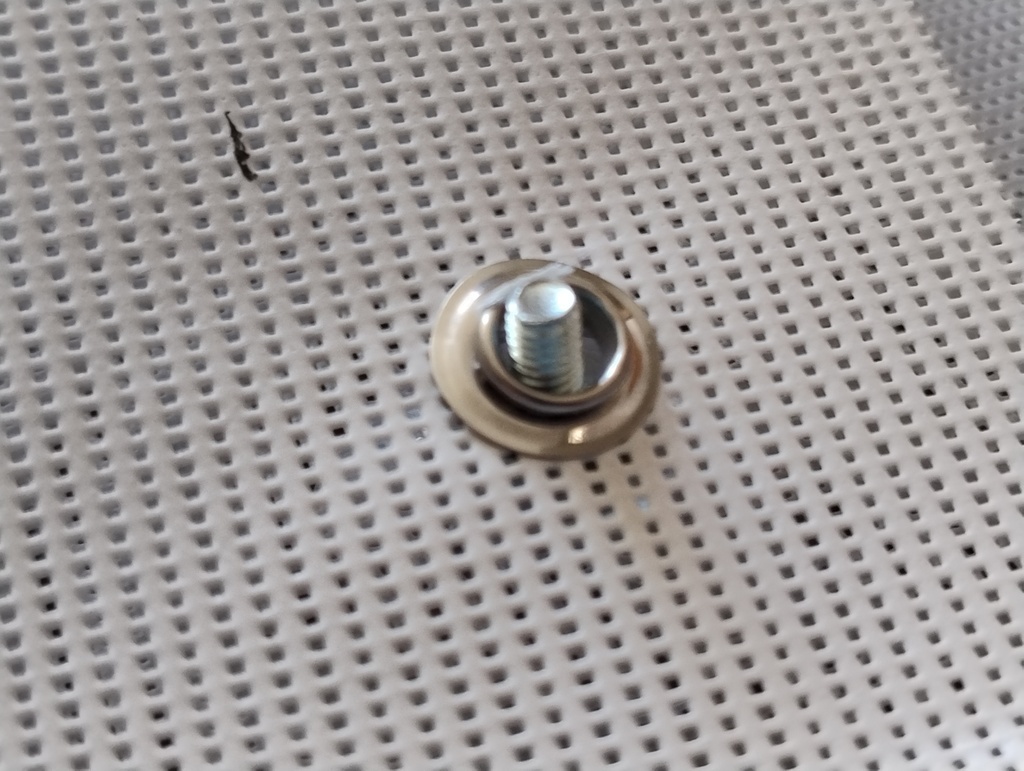 Close up of the thread.
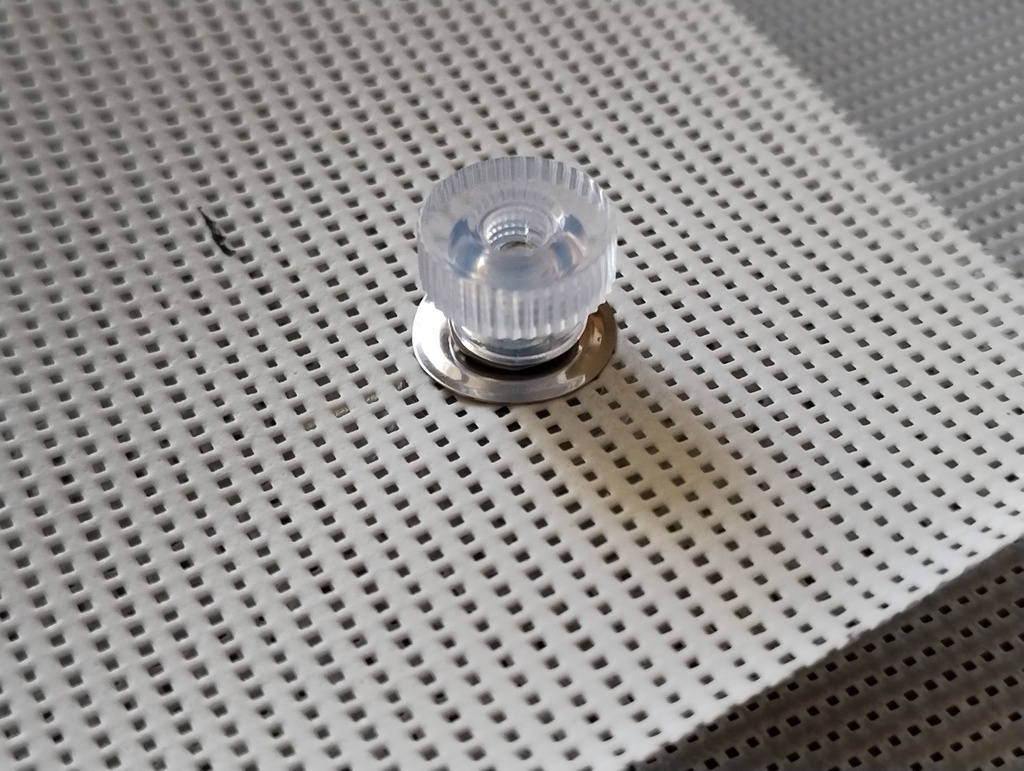 Add the screw cap.
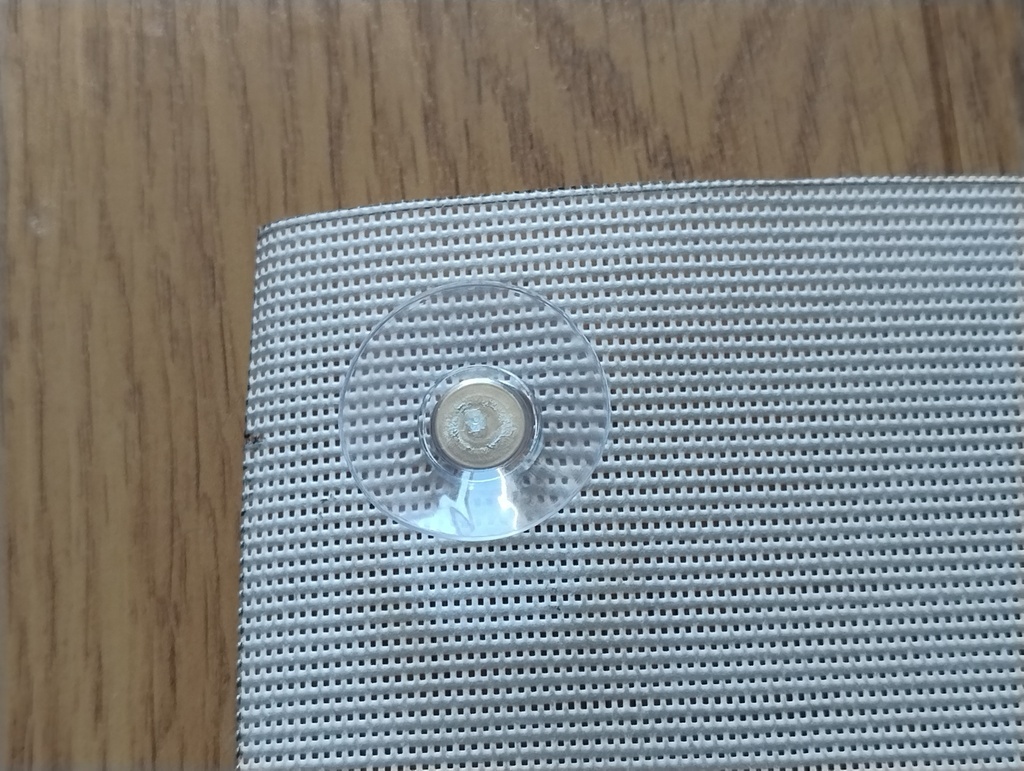 Close up of the fitted suction cup.
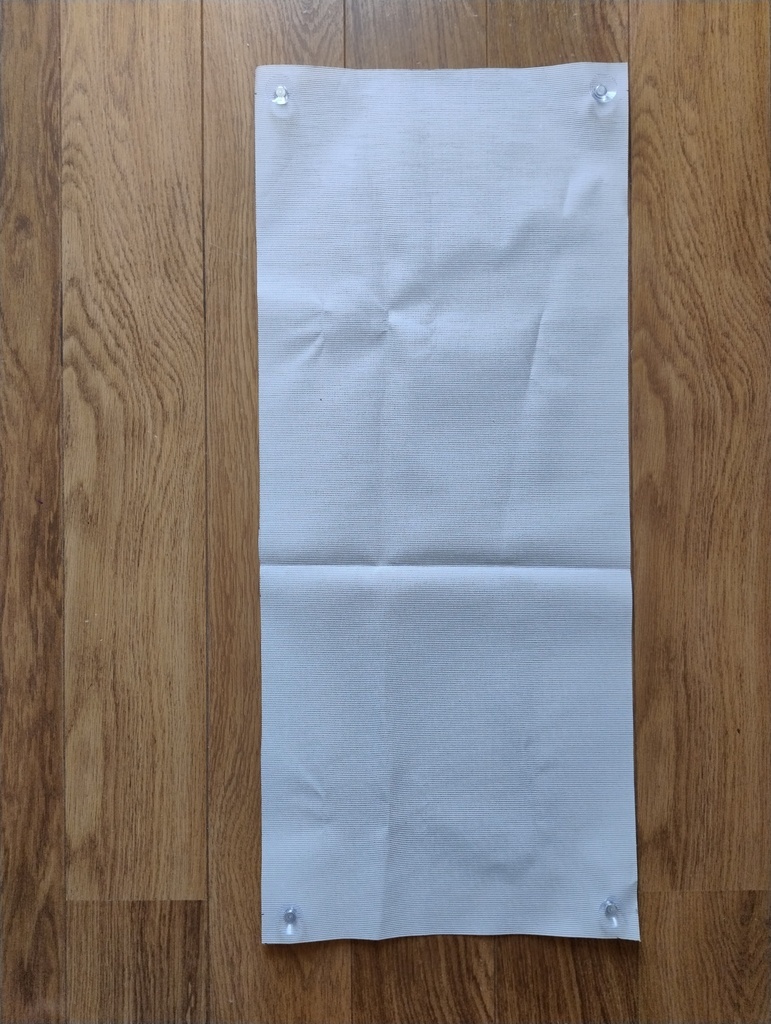 The four fitted glass suckers - suction cup view.
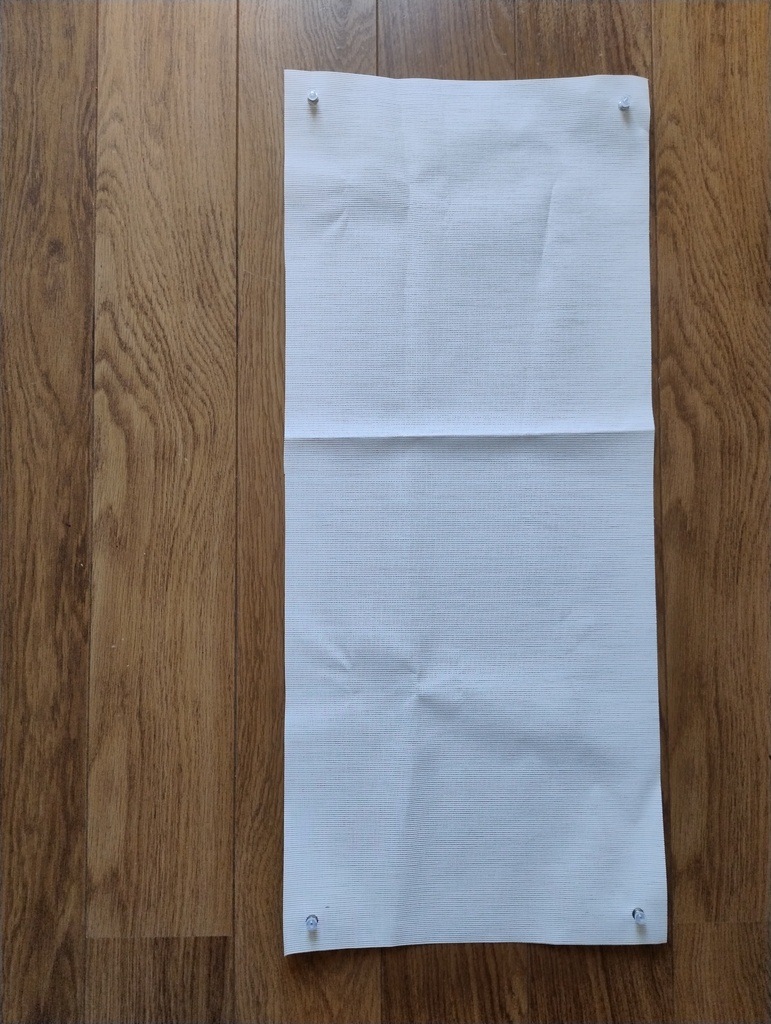 The four fitted glass suckers - screw cap view.
Mounting on the Windows
Place the top glass suckers first, stretching the fabric apart as you do to keep it taut. Then place the bottom suckers again keeping the fabric taut.
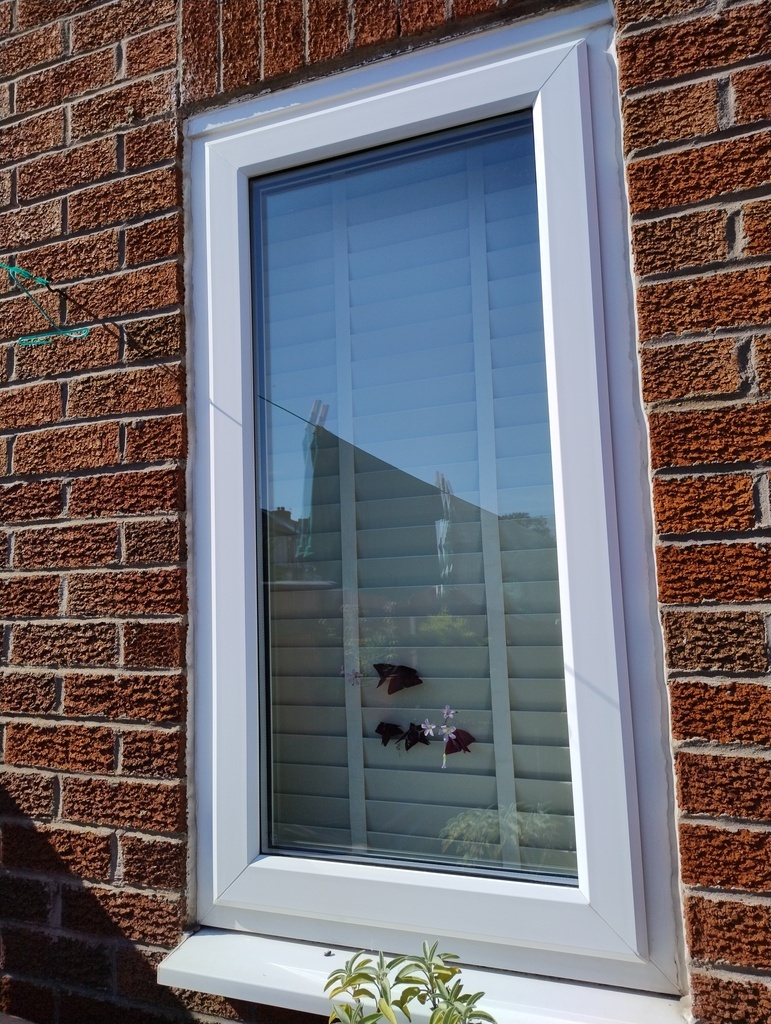 The cleaned glass window.
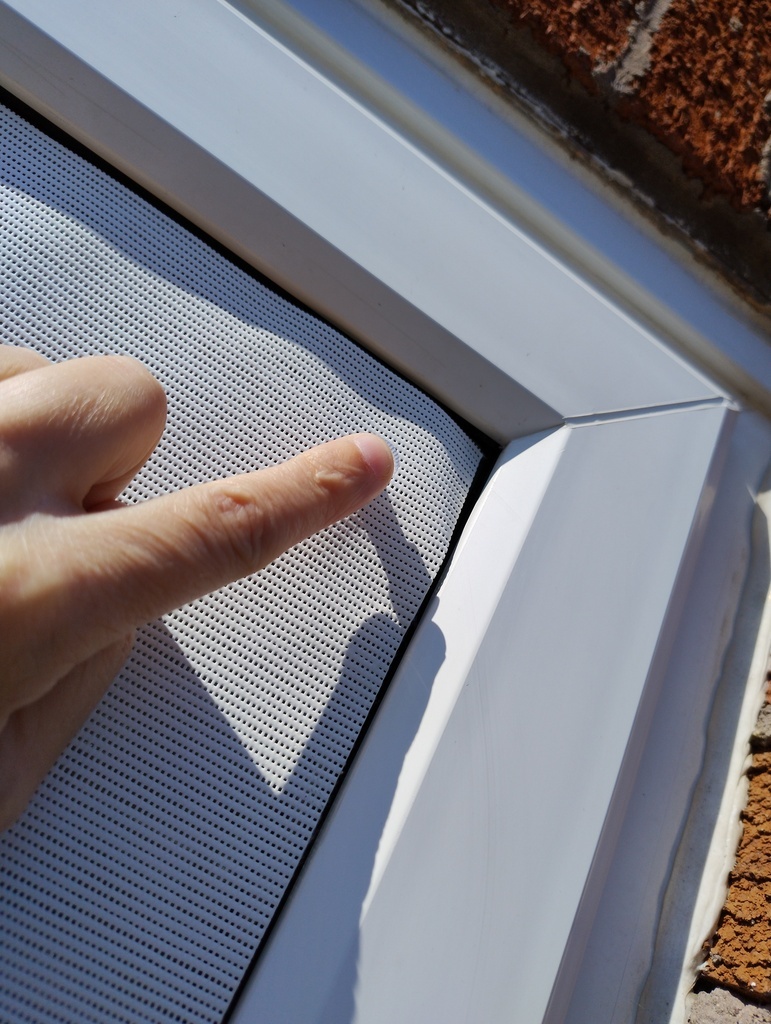 Pusing down the top right glass sucker.
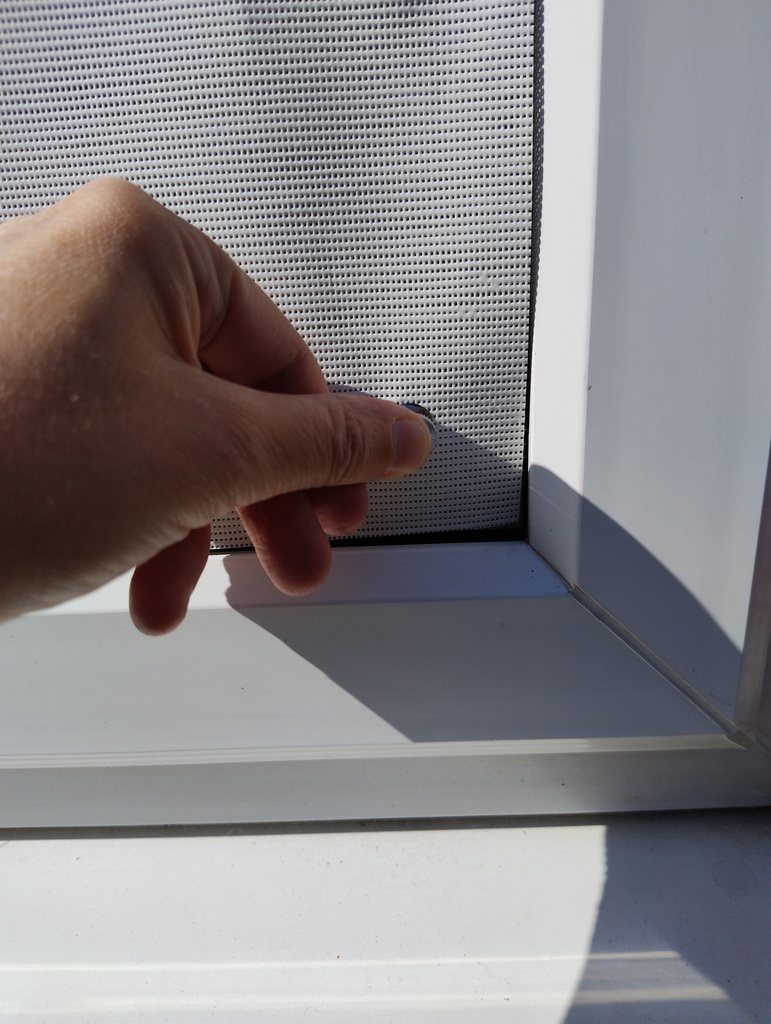 Pushing down the bottom right glass sucker.
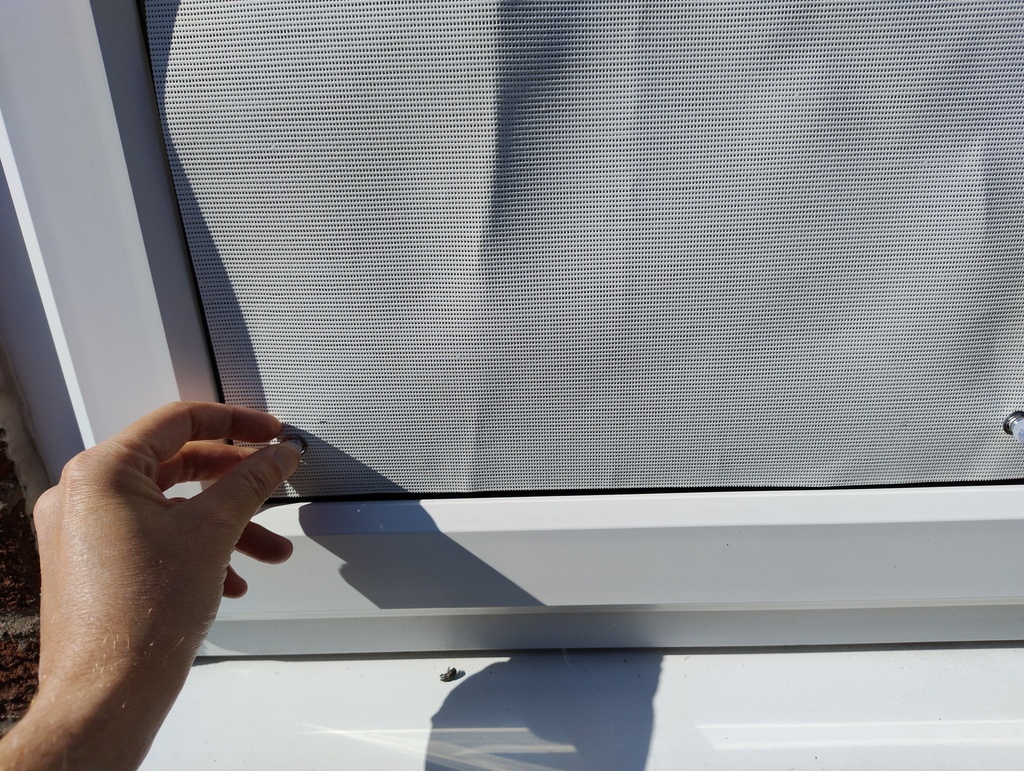 Pushing down the bottom left glass sucker.
The fitted window solar shade.
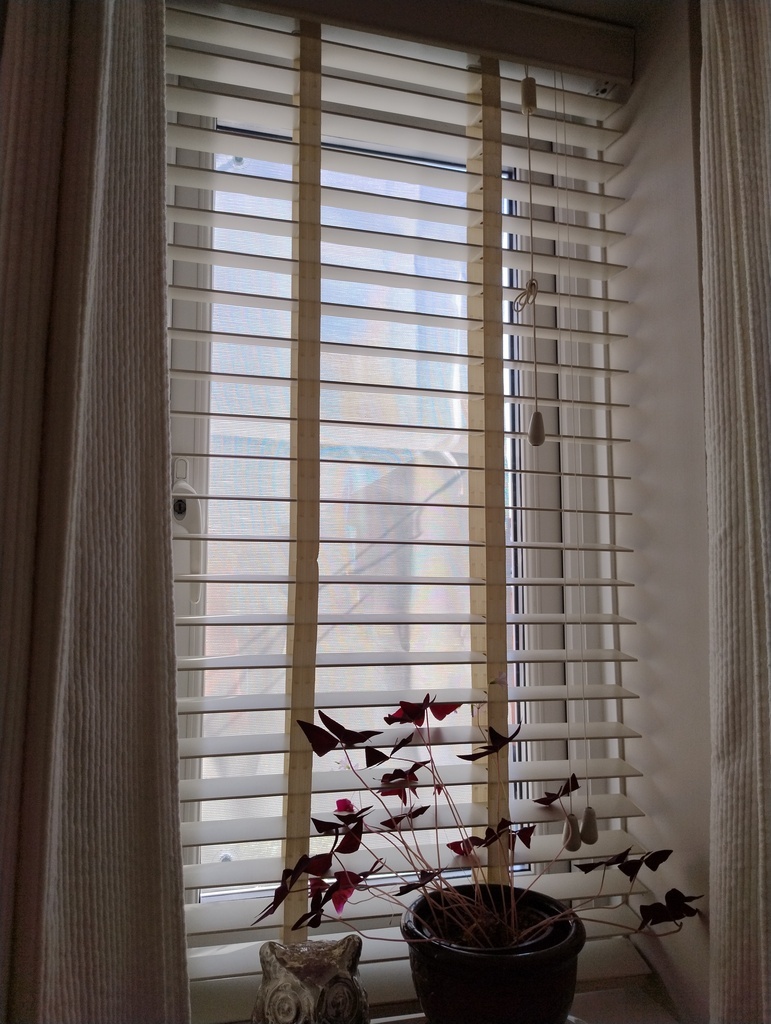 View out from inside with the fitted solar shade.
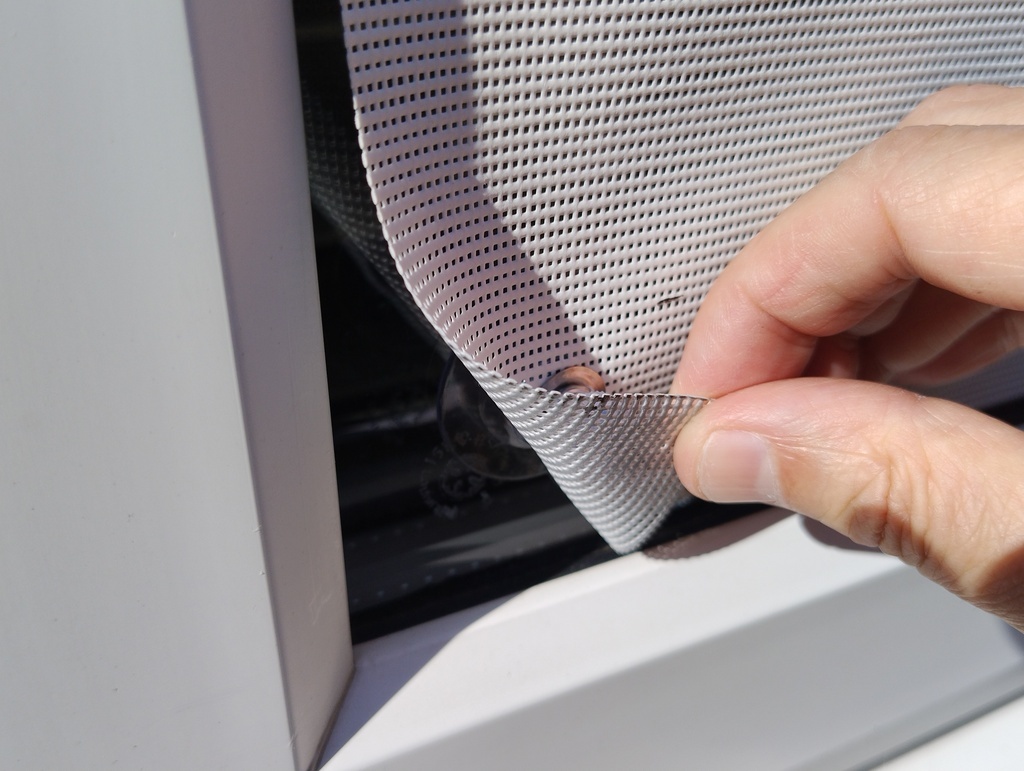 Removal is easy to access the glass sucker by lifting the corner of the fabric.
Storage
The solar shades can be rolled up with the glass suckers still fitted so they don’t get lost before the next summer season. Roll them with the suction cup on the inside to protect the surfaces.
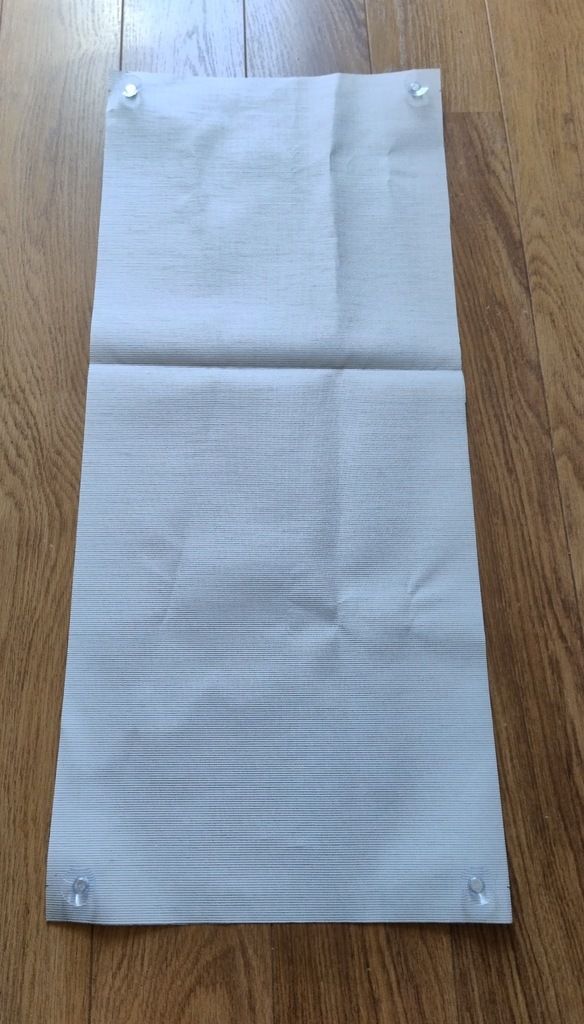 Lay the shade with the suction cups facing up.
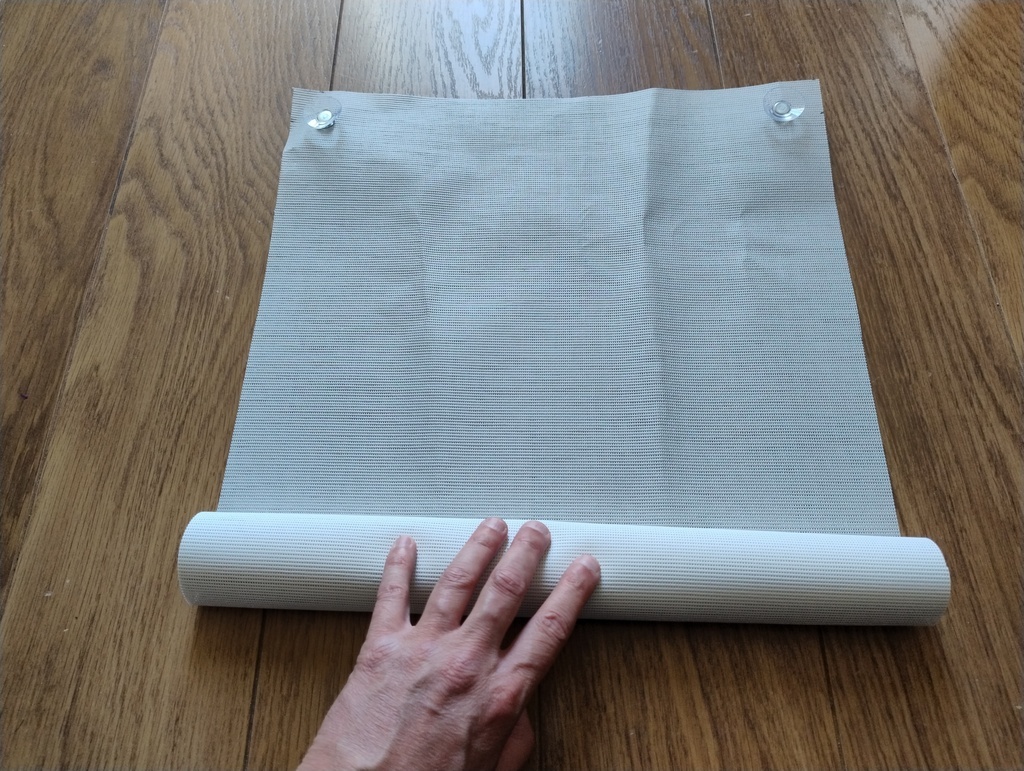 Roll the fabric.
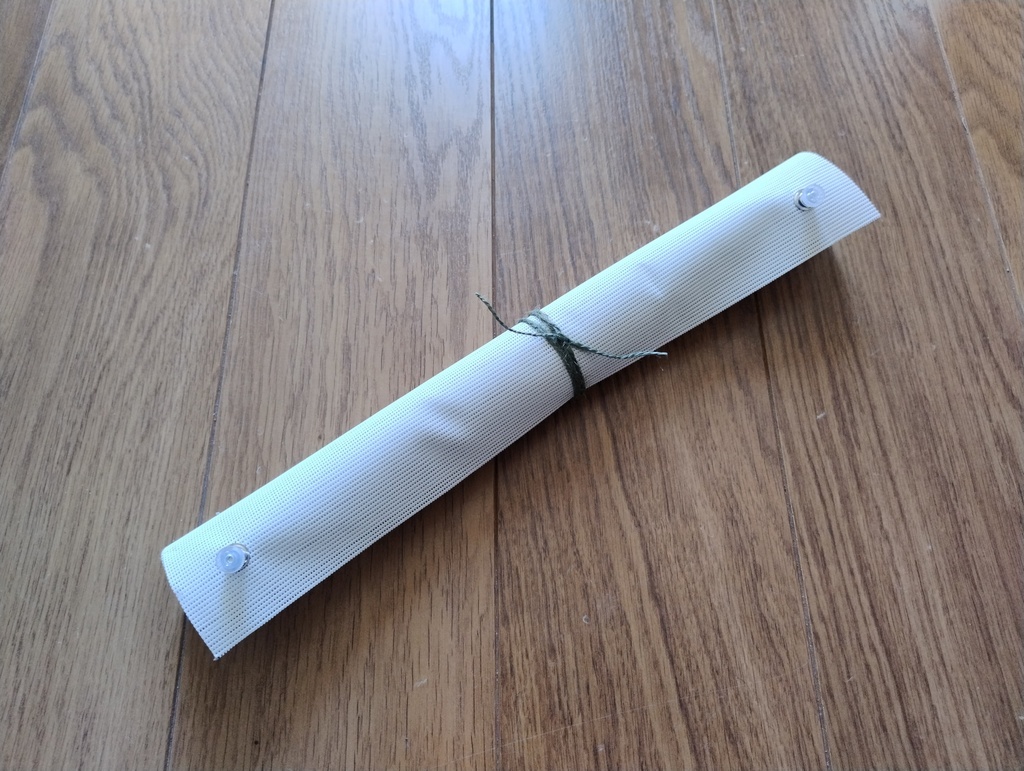 Tie a short length of garden twine or string to keep the fabric rolled.
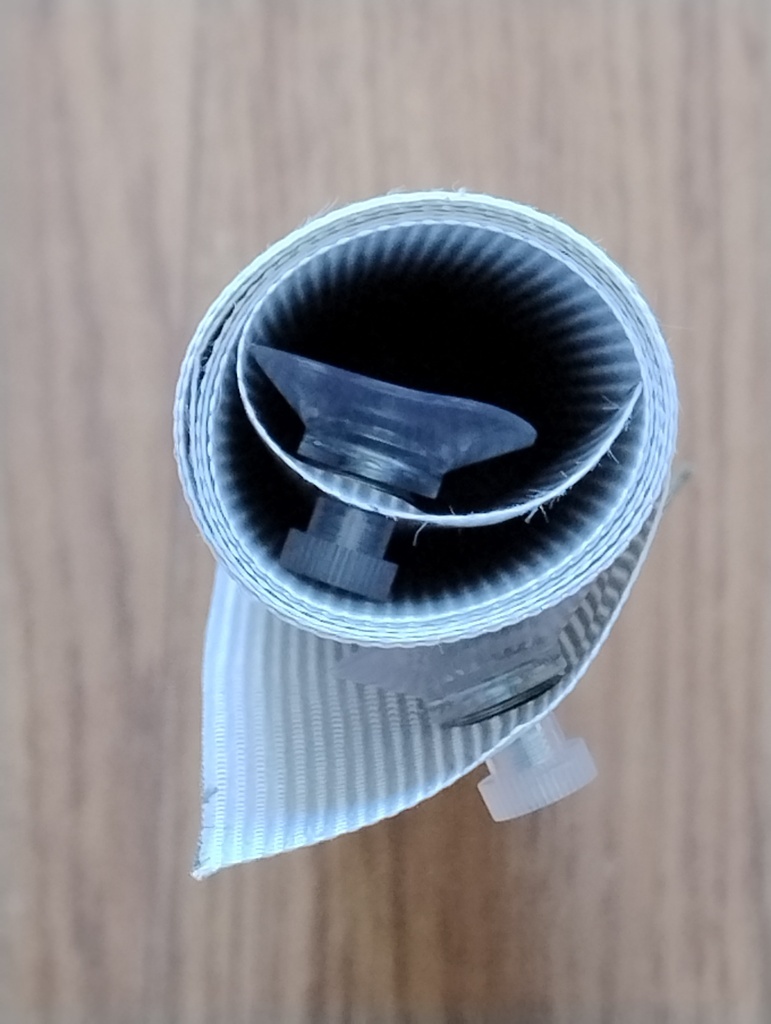 Suction cups are protected while rolled.
Weight
The materials are very lightweight so the small glass suckers should be fine for keeping these on your windows for a while. Depending on sizes of the solar shades and how much wind they are exposed to, you may need extra glass suckers adding. Or you can also use the grommets to attach string for other ways of securing the shades to the windows.
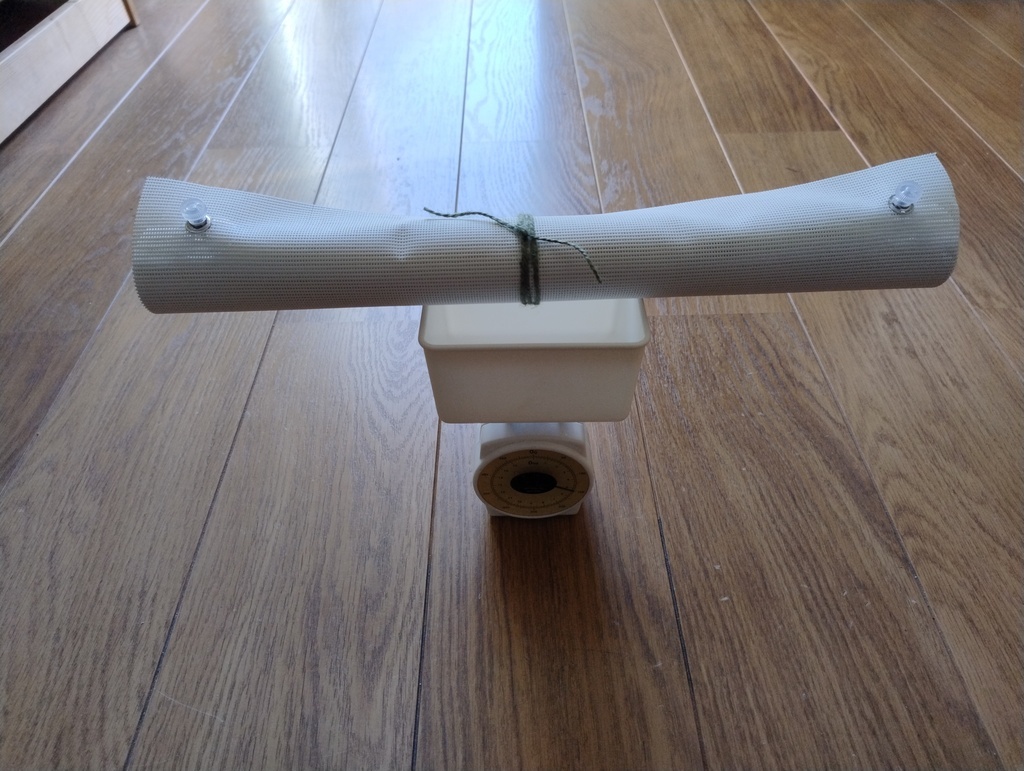 Rolled solar shade on the scales.
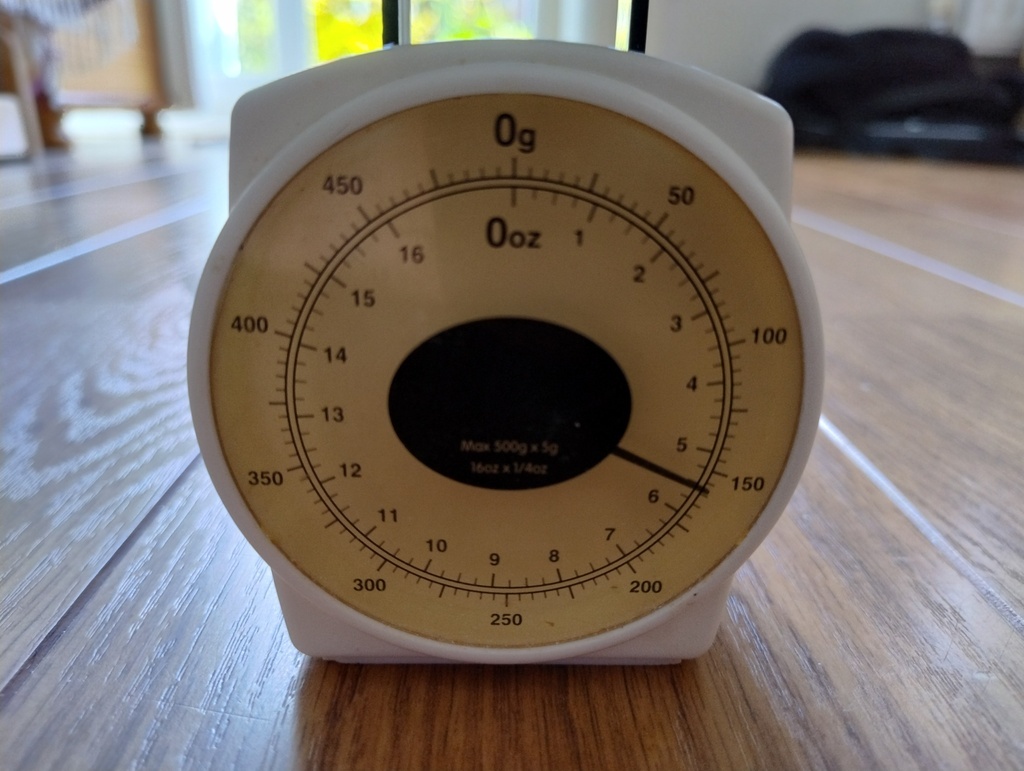 The 40.5cm by 94.5cm fabric with grommets and glass suckers weighs only 160grams.