Grow Your Own Ginger Beer Plant Recipe
I was looking how to grow my own ginger beer plant. A true Ginger Beer Plant consists of a symbiotic relationship of a particular strain of yeast and a particular bacteria. This recipe is more of a yeast starter. Although there is the possibility that over time it may develop into a Ginger Beer Plant over numerous batches.
The Plant
How to grow your own ginger beer plant (of sorts). Start the plant with:-
- 1/4 teaspoon of dried baking yeast
- 1 tablespoon sugar (caster or granulated)
- 1 tablespoon ground ginger
- 1/2 pint of cold water
Mix them all together in a clean (sterilised) jar then add the lid fitted loosely. Each day feed the plant by adding 1 level teaspoon of sugar and 1 level teaspoon of ground ginger, stir well.
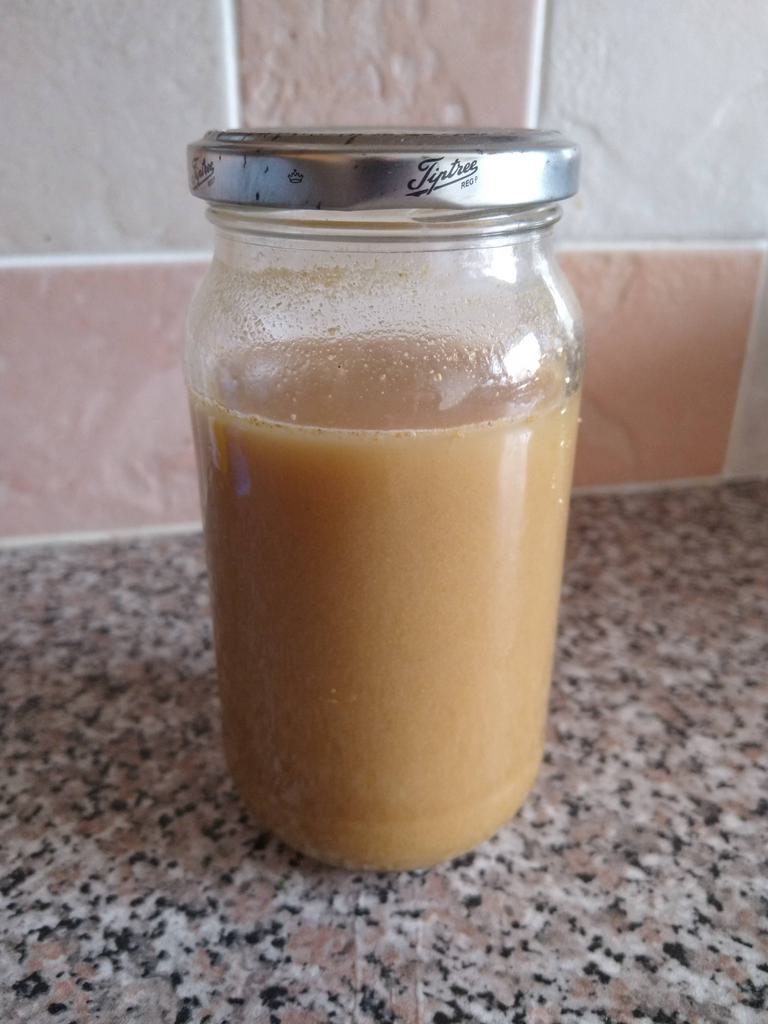 The Ginger Beer Plant in the Jar
The Drink
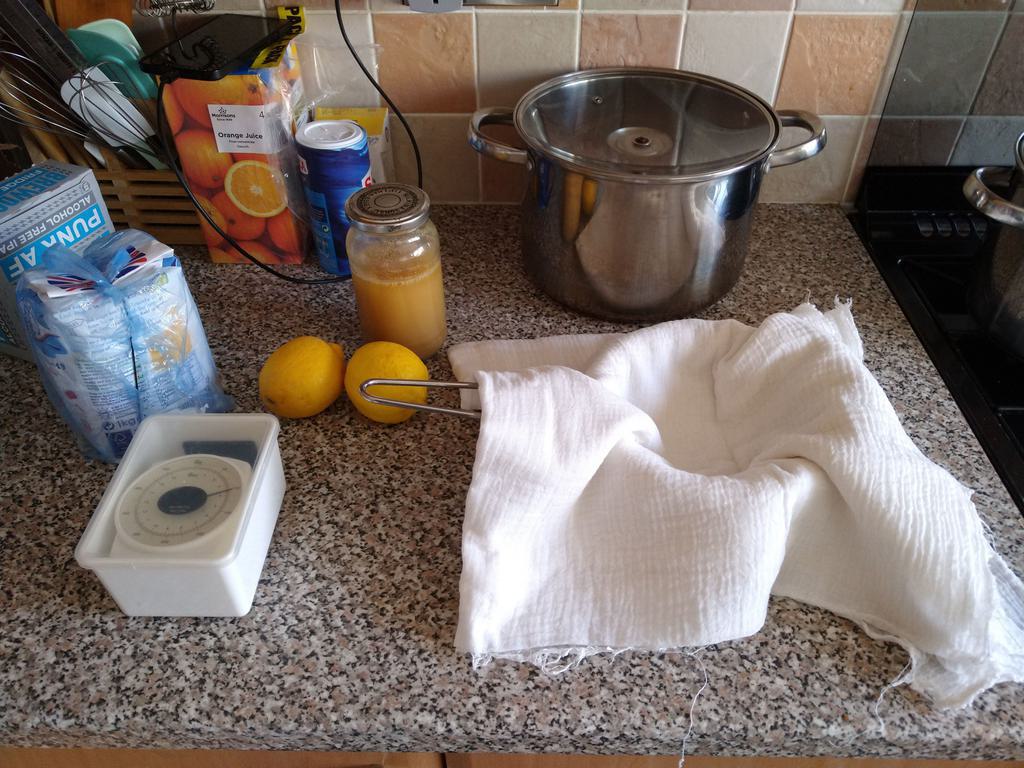 The Equipment and Ingredients
After 10 days use this concentrate to make up the drink. Take :-
- 18oz sugar (caster or granulated)
- 1 and 1/2 pints water
- juice of 2 lemons
- 6 pints of cold water
Note that I modified the quantities here in later batches. See below.
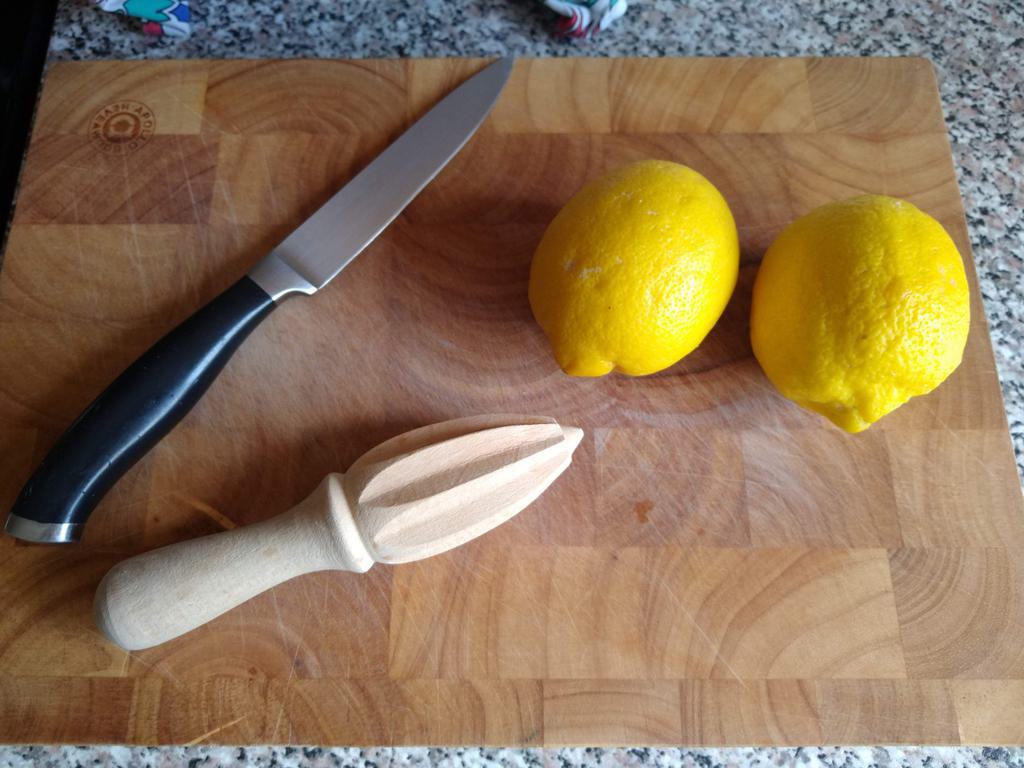 The Lemons
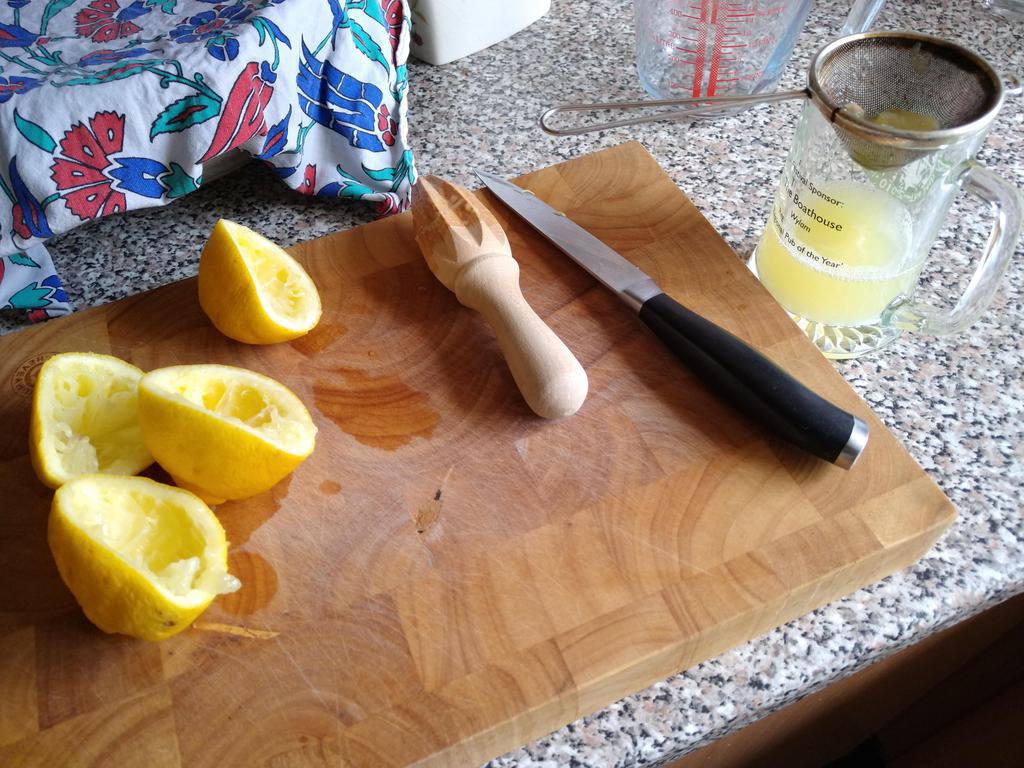 Juicing The Lemons
Dissolve the sugar in the 1 and 1/2 pints of water and bring to the boil. Allow to cool and then add the well strained lemon juice.
Strain the ginger beer plant very well using double thickness muslin. I used this Grade 90 cheesecloth folded over a couple of times. It takes a while to seep through. But you can also squeeze the bundle to get the last of the liquid out at the end. Leave the sediment to one side for later.
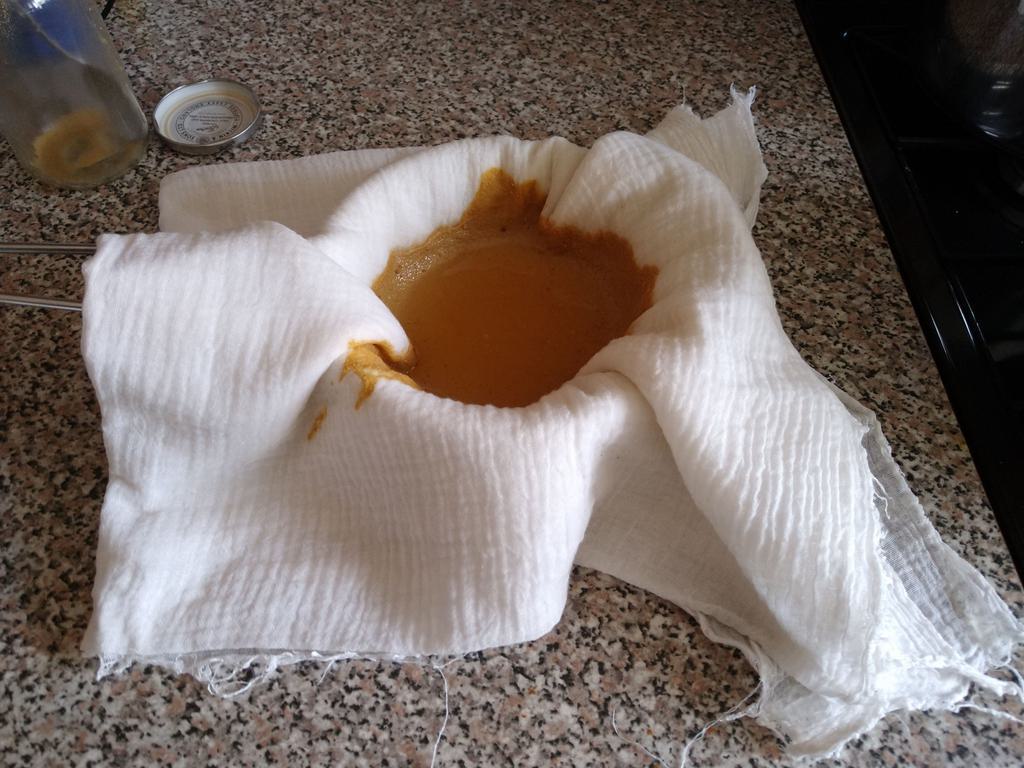 Straining the Ginger Beer Plant
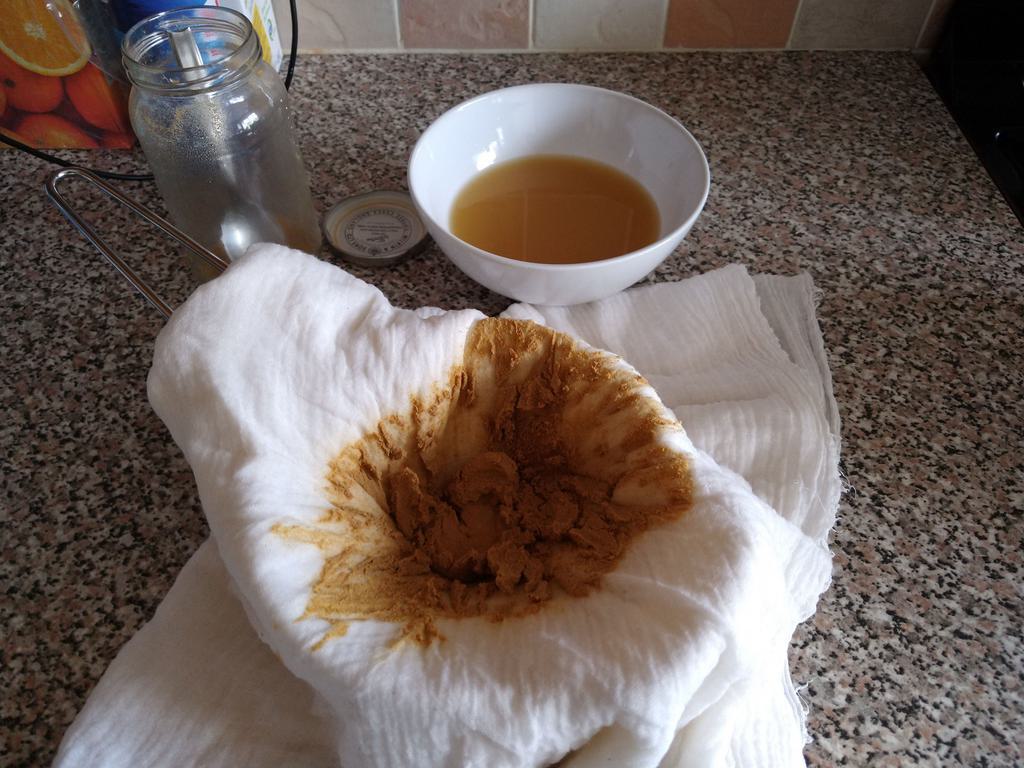 The Ginger Beer Plant Sediment and Liquid
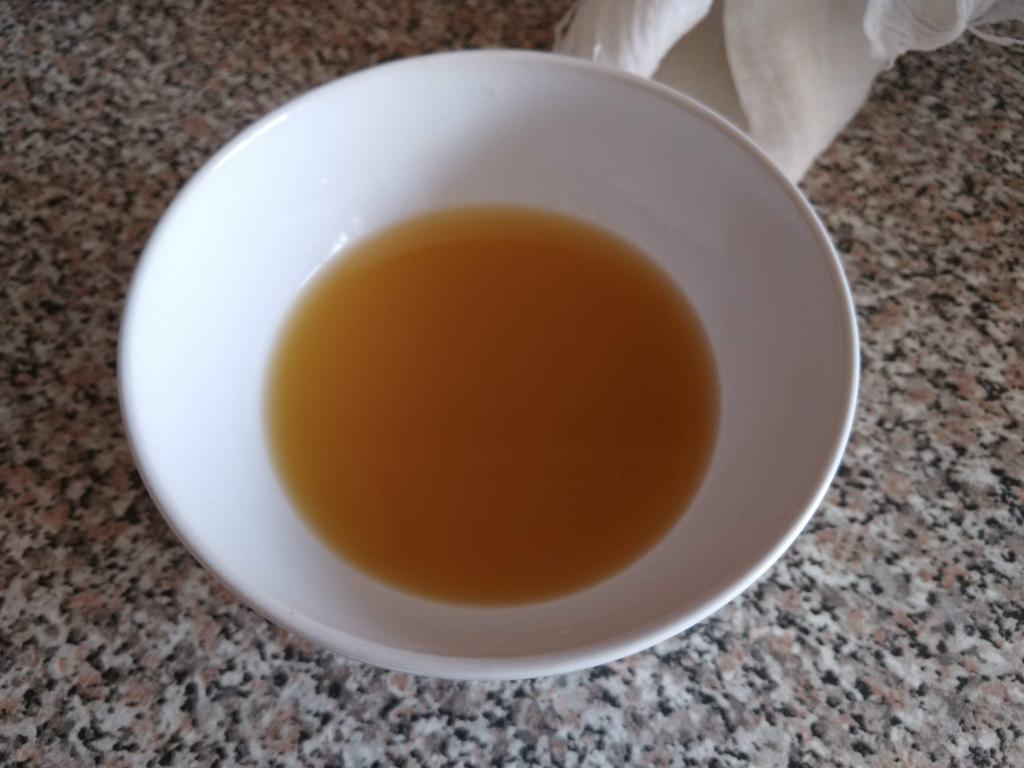 The Ginger Beer Liquid Concentrate
Add the liquid to the cooled mixture together with the 6 pints of cold water.
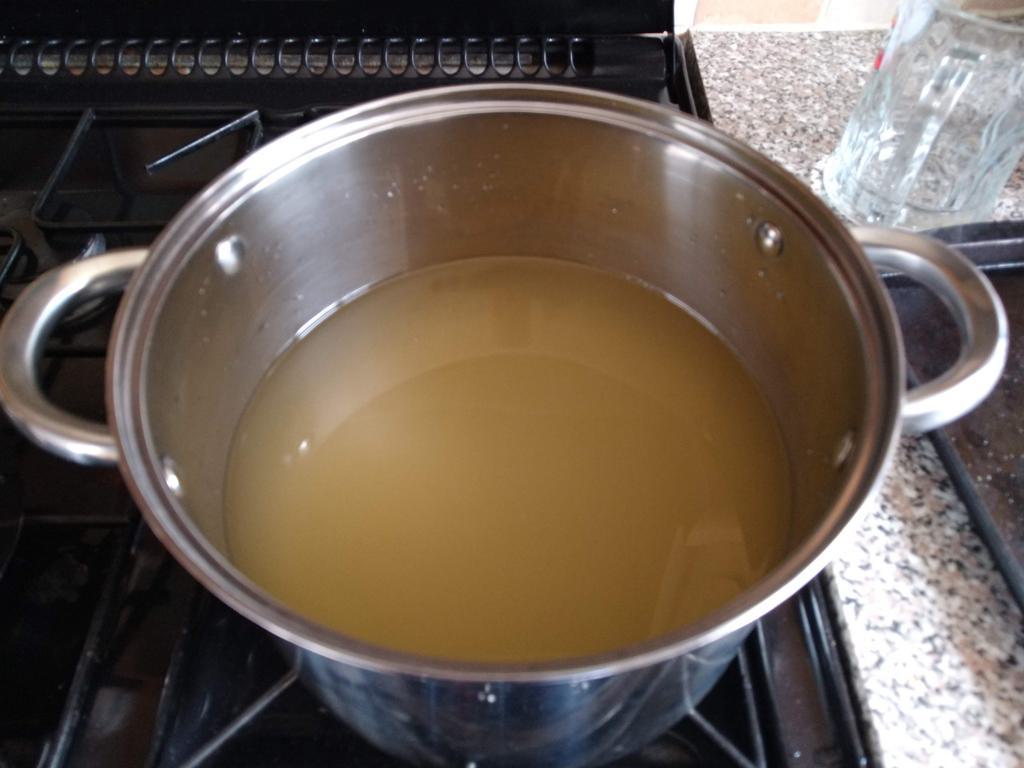 The Ginger Beer Mixture
Stir well and then syphon (or pour using a funnel) into bottles. Do NOT fill to the top. Leave an air gap so that the gas can collect under pressure.
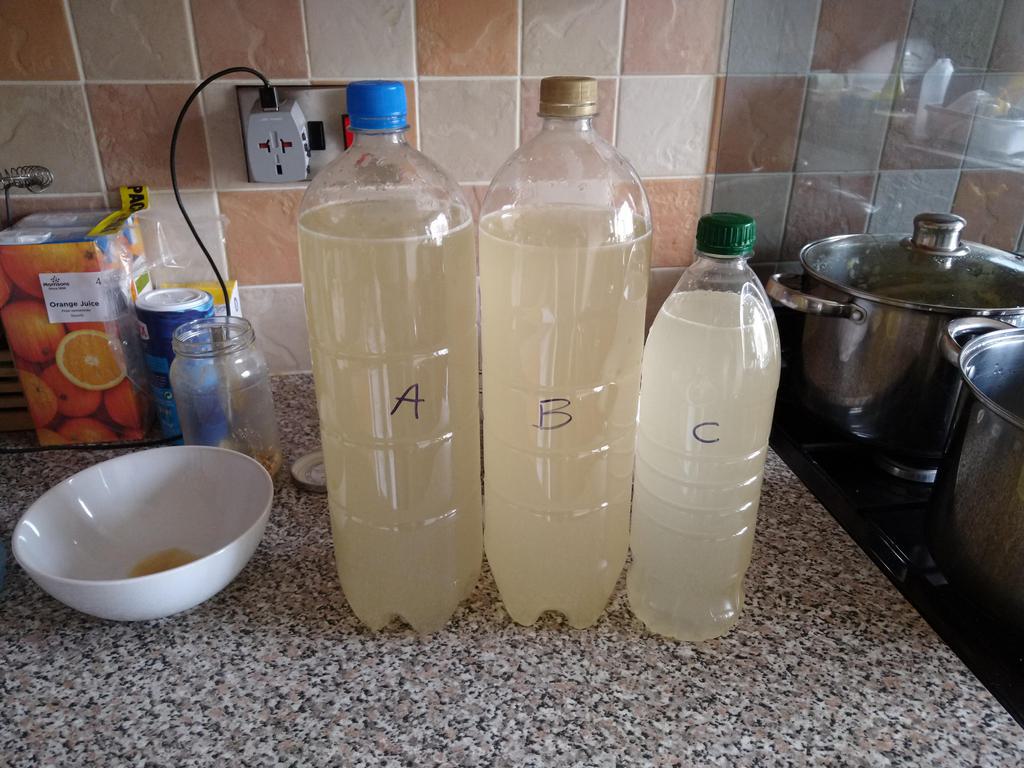 The Ginger Beer Bottled
Bottle Conditioning
Leave the bottles somewhere cool for 1 to 2 weeks, ideally using plastic bottles as this allows you to check the pressure building by squeezing and to release excess gas by briefly unscrewing the lid. This is because there is still active yeast in the liquid which is using the sugar to produce the carbon dioxide which, under pressure in the bottle, makes the drink fizzy.
The New Batch
Take the sediment, and put half into the clean jar along with 1/2 pint of cold water, 2 level teaspoons of ground ginger, and 2 level teaspoons of sugar, then stir well and loosely replace the lid. Proceed as before feeding the plant daily with 1 level teaspoon of sugar and 1 level teaspoon of ground ginger for 10 days. No yeast needs to be added because the sediment already contains live yeast.
The remaining half can either be composted or placed into a new jar and a further plant started and shared with friends and family. The perfect(?) present!
Modifications to the recipe on new batches.
For the first two batches I followed the above recipe exactly. Two 2 litre plastic pop bottles were used to contain the drink, and chilled in the fridge after a week prior to drinking. It had built up a nice level of fizz by then and was very refreshing to drink on a sunny day.
For the third batch, I started to add finely chopped fresh ginger root instead of ground ginger to the plant. So for the 10 days, about five days were ground ginger, and five days were fresh ginger.
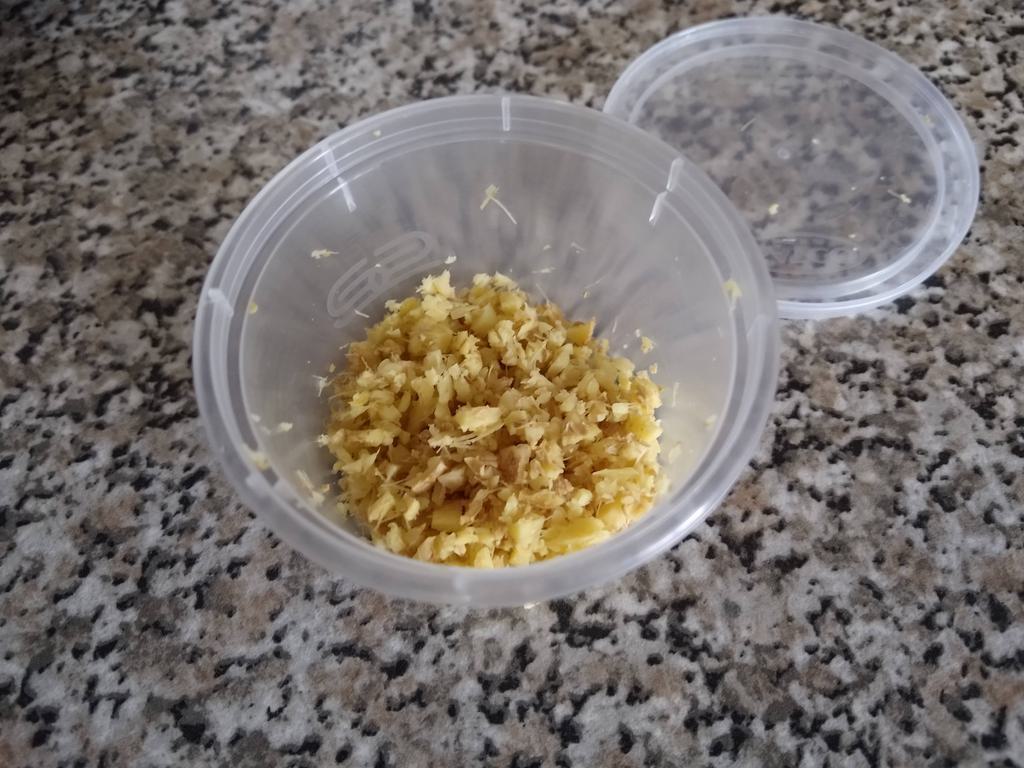 Fresh Chopped Ginger
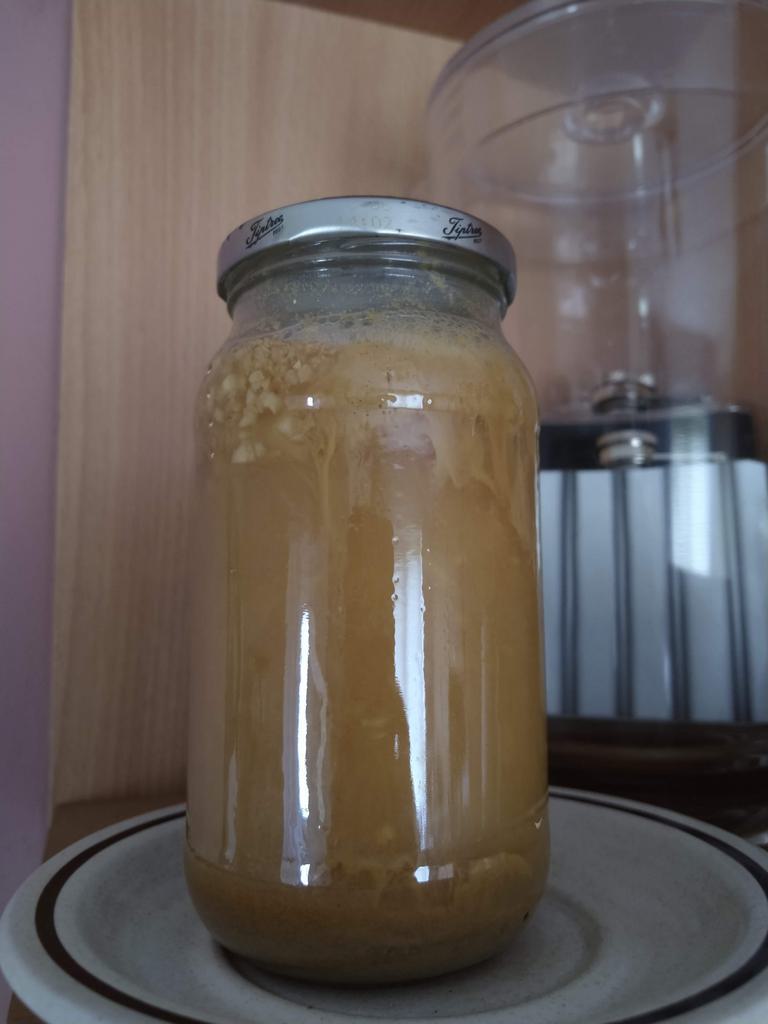 Ginger Beer Plant With Fresh Chopped Ginger
Tasting notes to be added in here over oncoming weeks as the plant develops.
I found the original recipe too sweet (we were drinking it after 1-2 weeks). For the subsequent batches I modified the drink recipe quantities as follows:
- 12oz sugar (caster or granulated)
- 1 and 1/2 pints water to dissolve the sugar
- juice of 2 lemons
- 5 pints of cold water
This ratio gave it slightly more ginger flavour and without being too sickly sweet. A week or so in the bottle was sufficient to produce the fizz, and was far more refreshing when chilled.
More homebrew
Other home brew recipes I’ve tried include orange wine.