Building a bed
We recently updated our bed. Not that exciting in itself, but the assembly process was somewhat involved. So the information below may prove useful to others considering buying one of these beds, or who also have questions during the assembly process.

In a compact house, all space needs to be utilised effectively. We were after a wider mattress, but wanted the bed to be relatively constrained. Get Laid Beds offered space saver options and the White Knight Space Saver looked the right bed for the job. They also manufacture the beds in the UK so we wanted to support UK manufacturing, expecting a higher quality product to match the premium price. We opted for the solid oak EU King 160x200cm. We also chose to round up the price and make a donation to the ITF to plant 10 “Olea Europaea Subsp Africana” (African Olive Trees) in Kenya.
The mattress ordered from Ikea was the HÖVÅG mattress and TUSSÖY mattress topper.
The Delivery
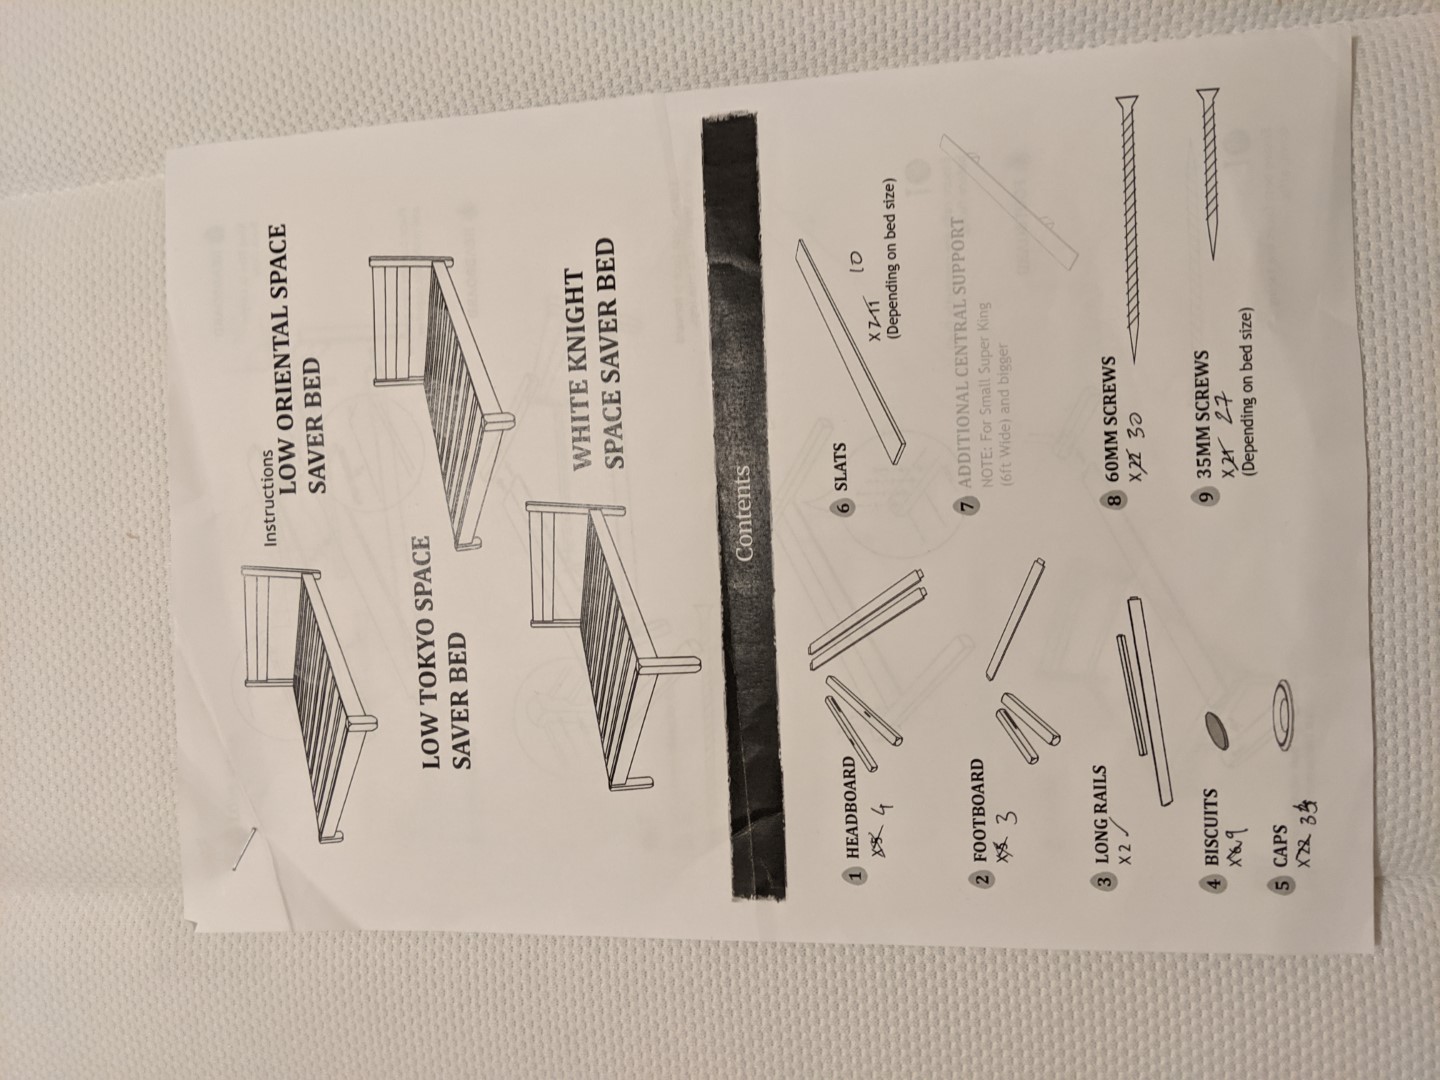
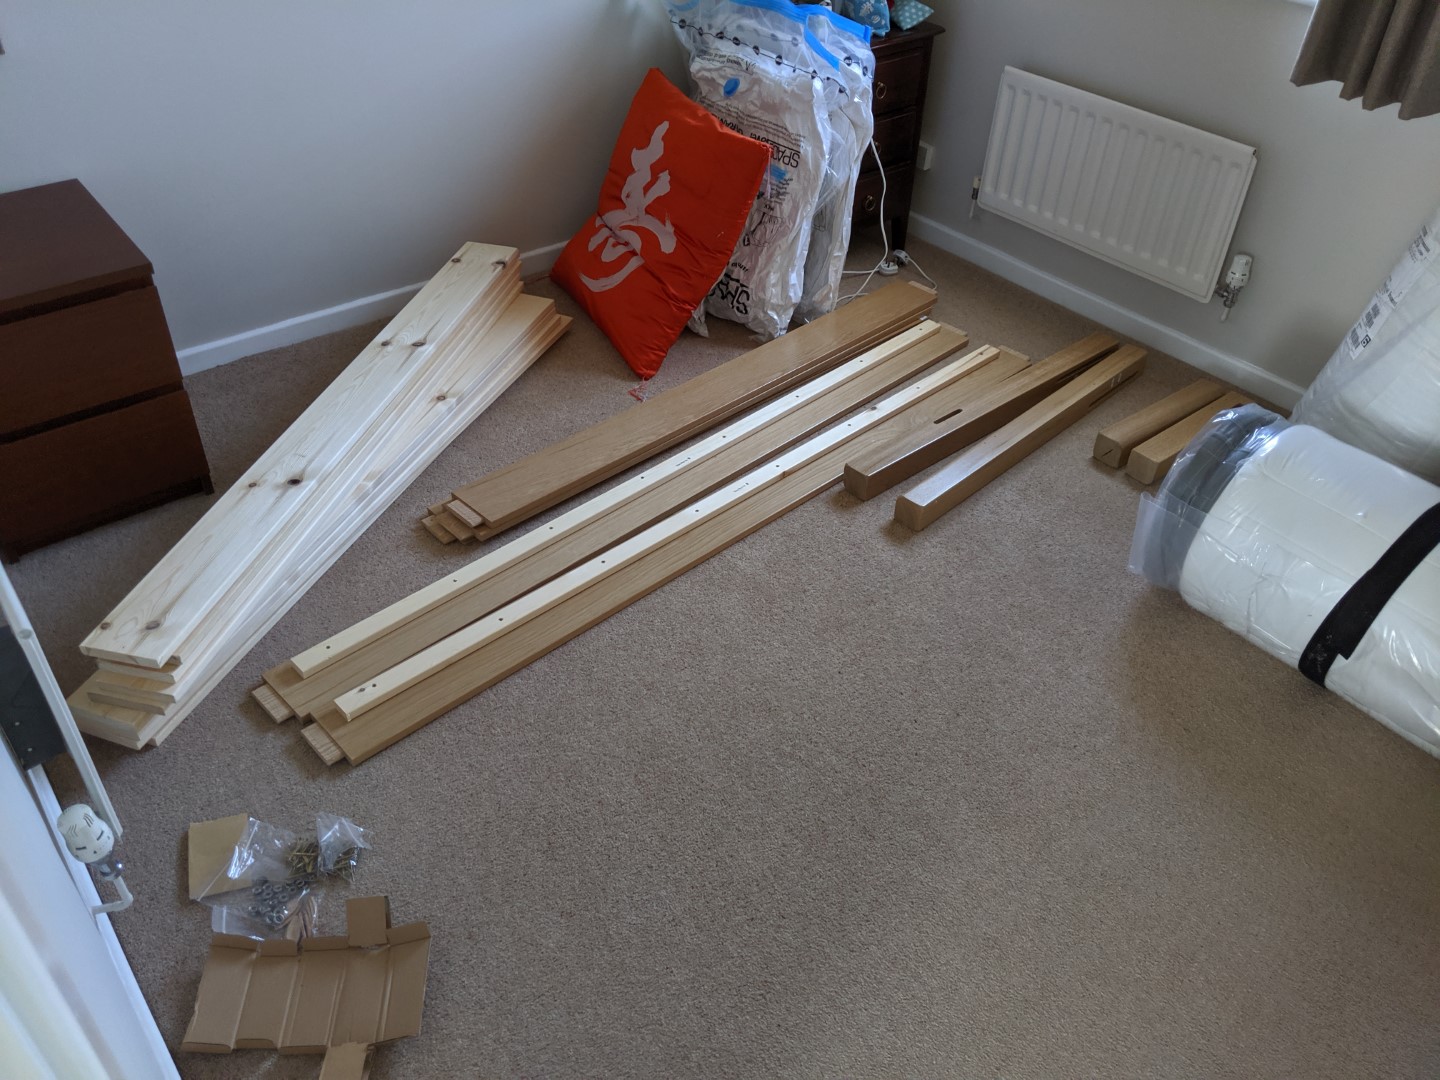
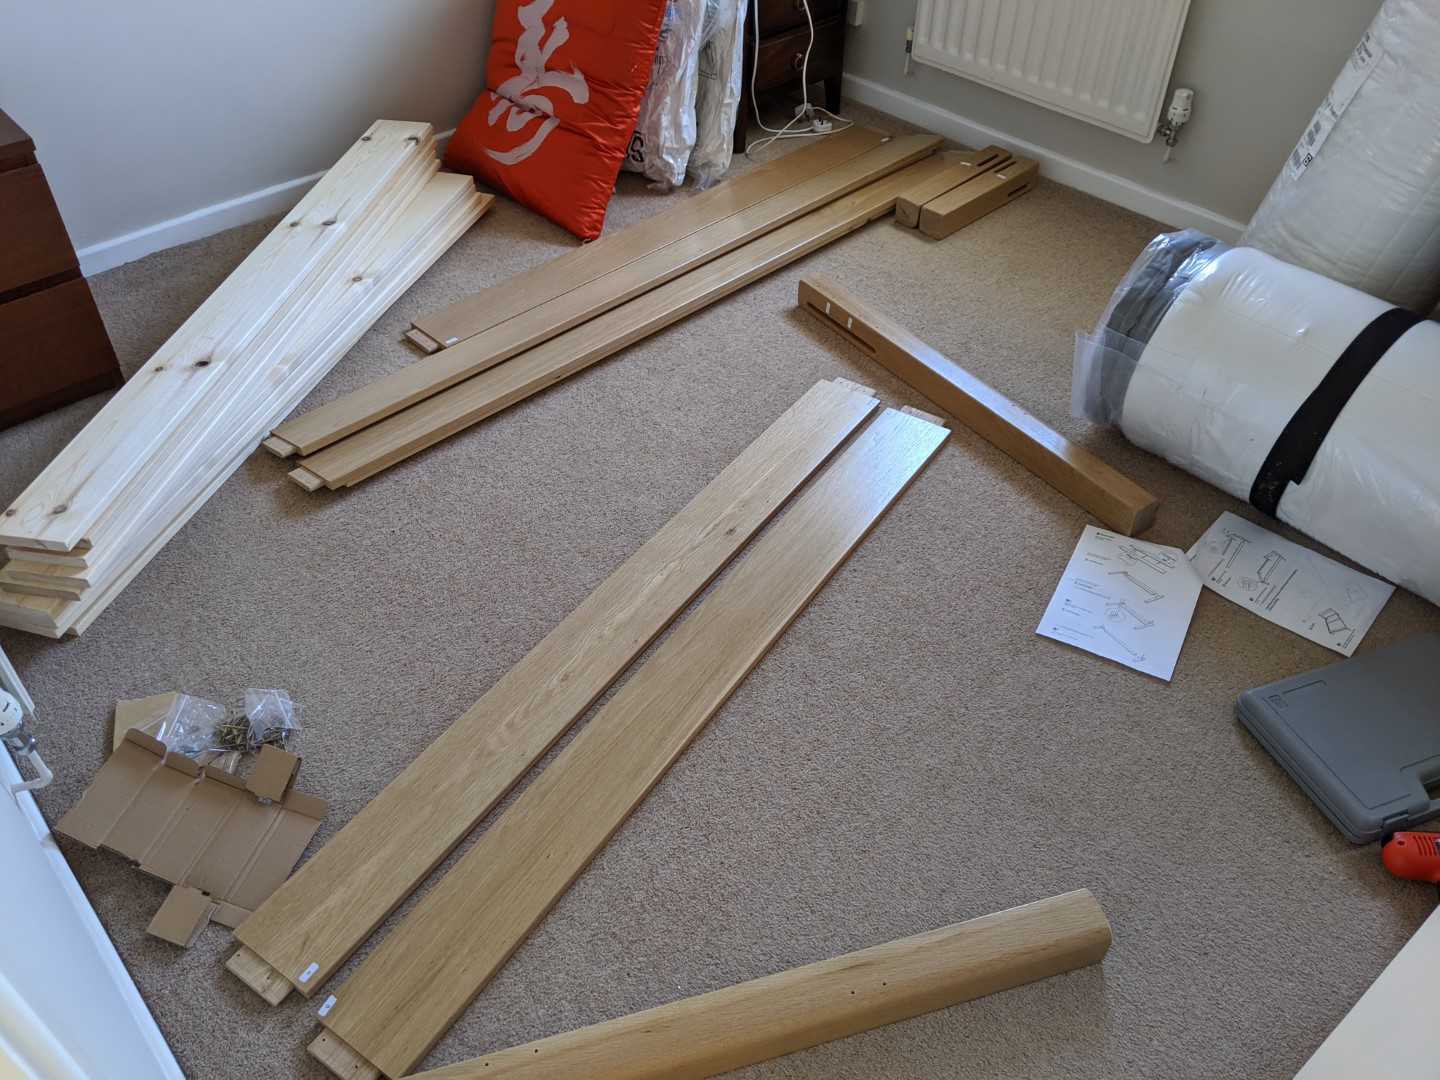
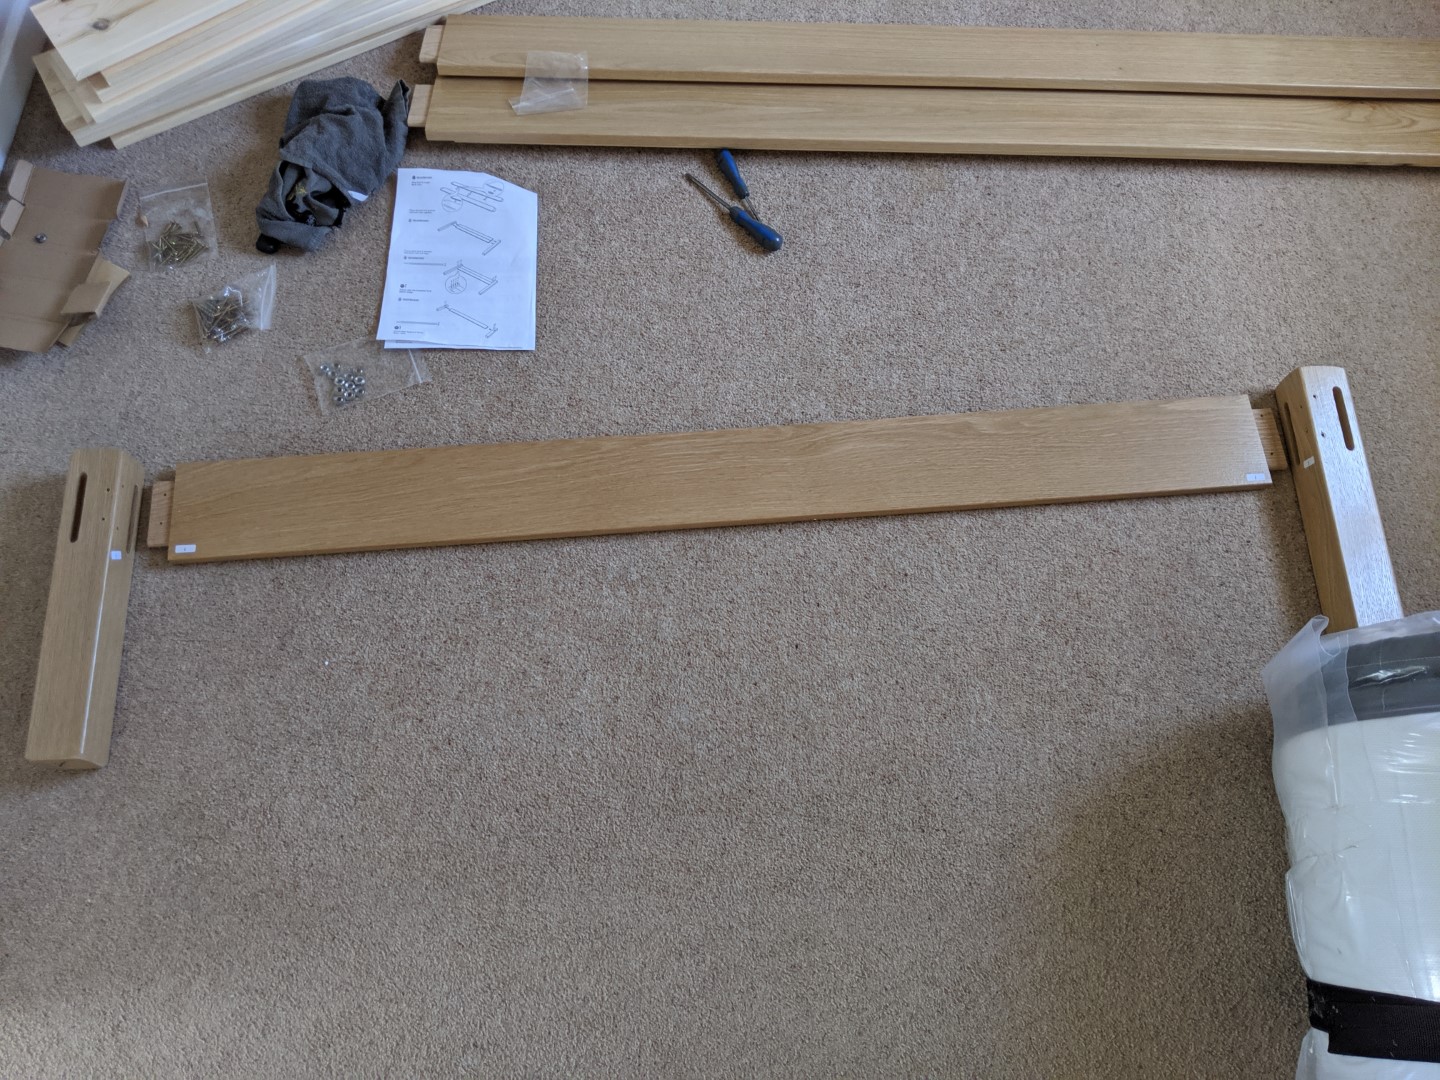
The boxes were unpacked systematically, with pieces inspected in turn and taken to the bedroom to be laid out in a sensible order. The inventory on the instructions sheet was then cross checked. Accounting for typos and reinterpreting the instructions to account for the specific bed configuration we had ordered, there were plenty of fixings with spares which was comforting.
Quality Control
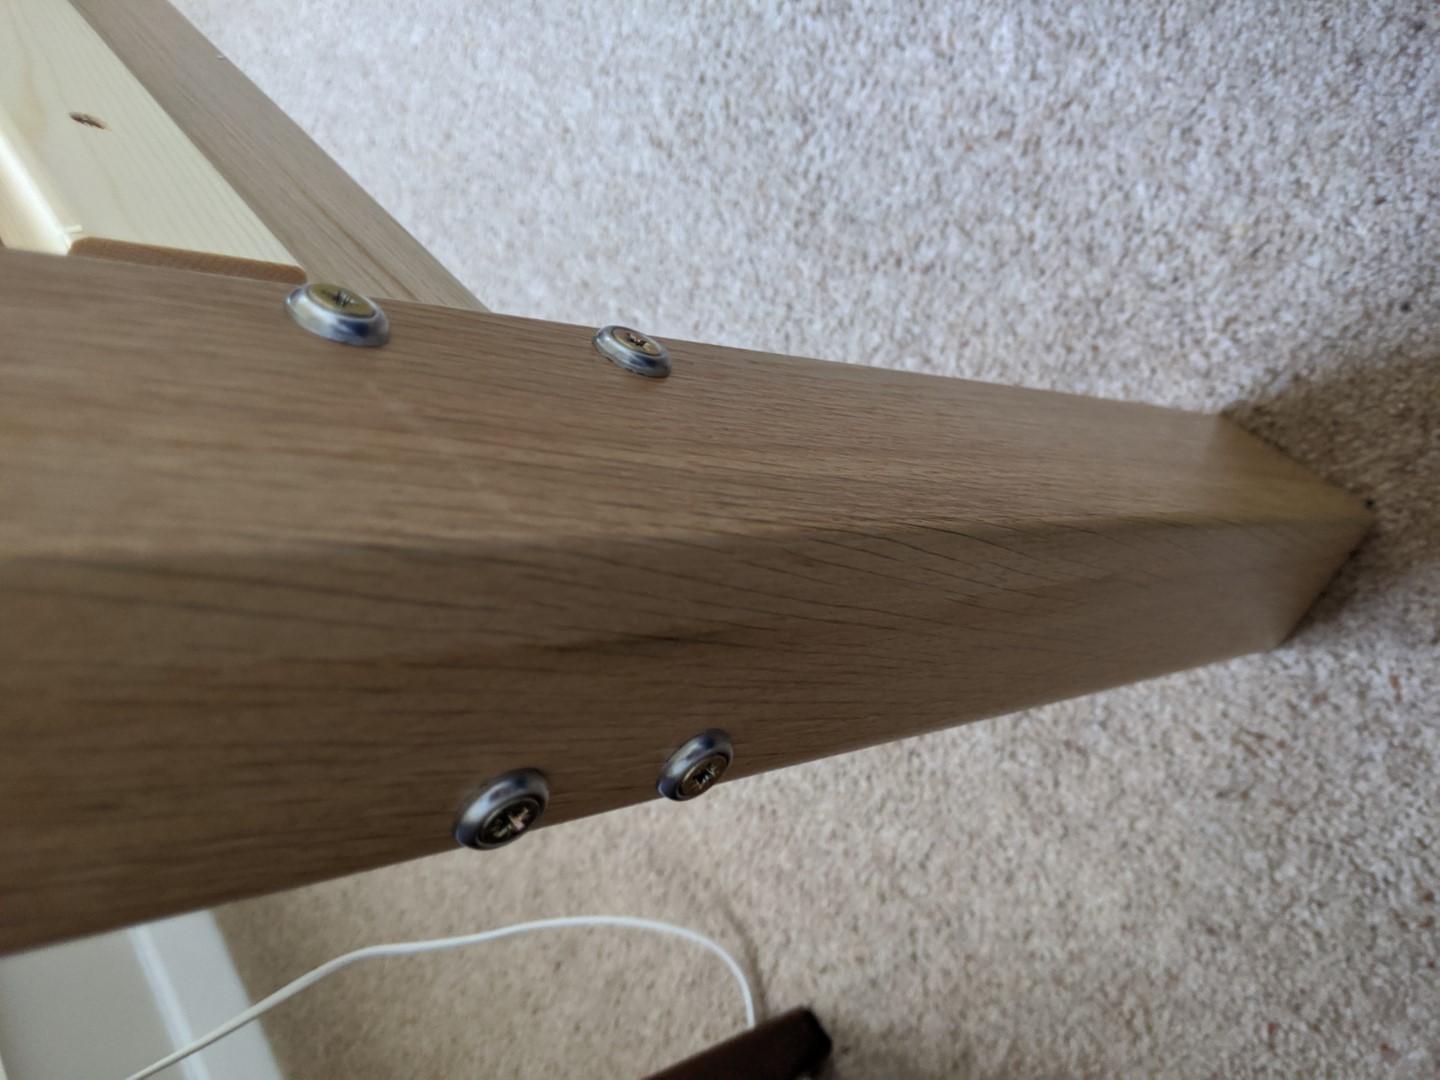
One of the legs (foot of bed) was found to have a split in the base. When pointed out to the company (with photos) they agreed that it shouldn’t have passed quality control, but refused to replace it. The production team assured us that this wouldn’t cause any structural issues and that we were covered by the 11 year guarantee. The rest of the pieces all looked great. Beautiful wood grain and colour with a subtle finish.
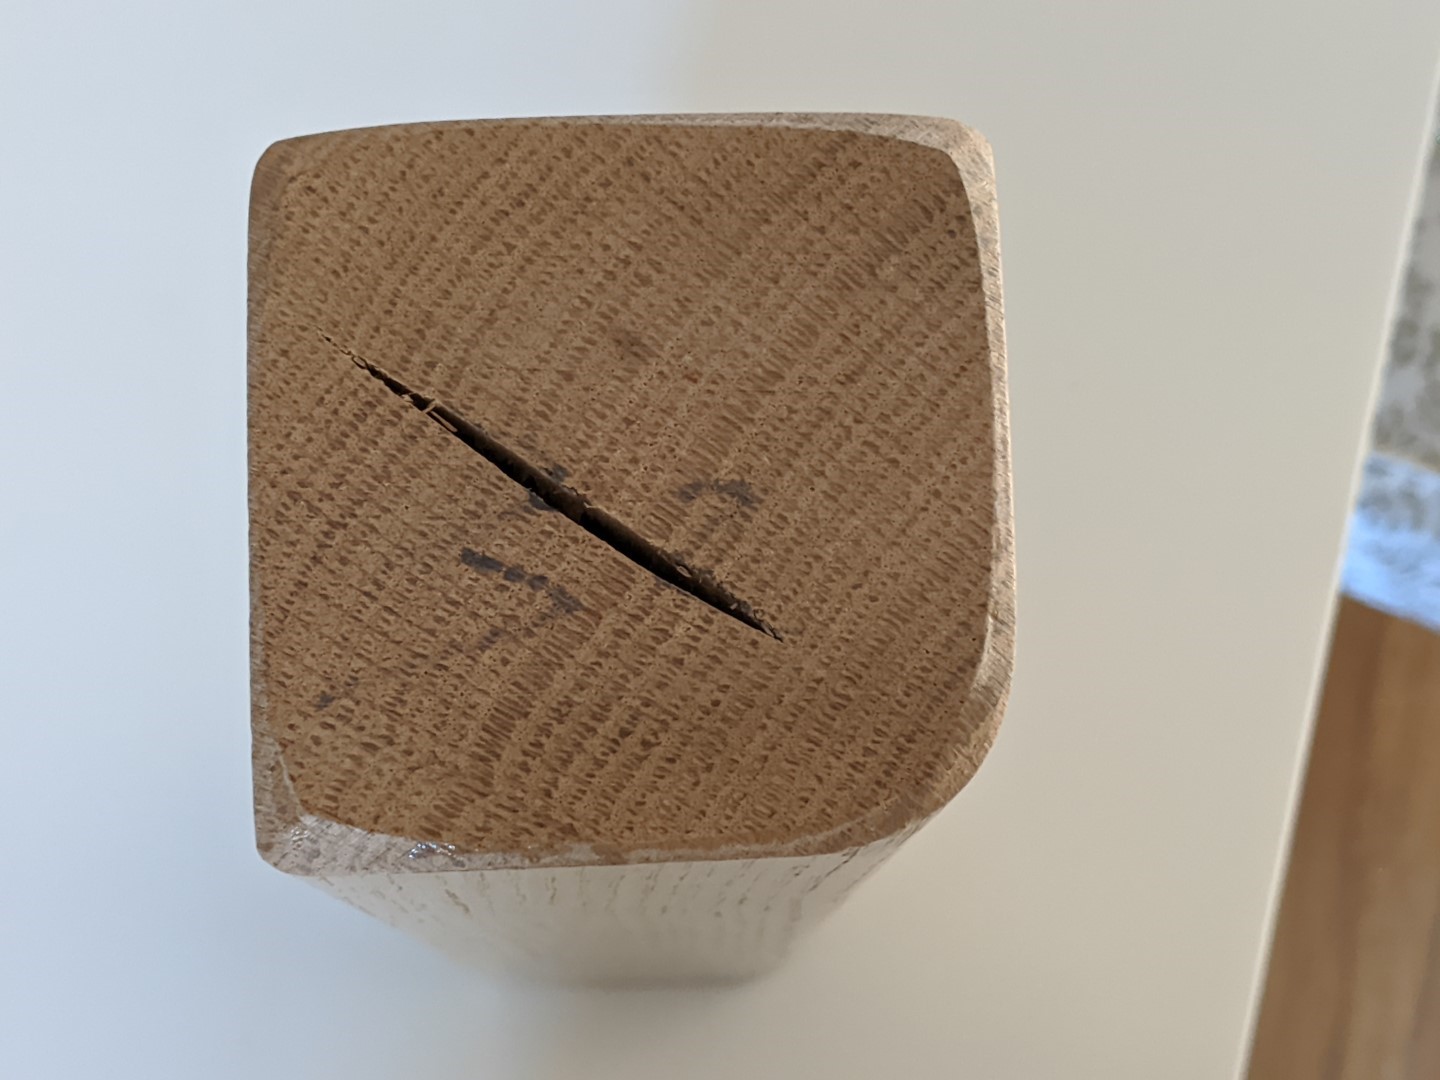 Crack in the base of one of the legs
The Assembly Instructions
 |
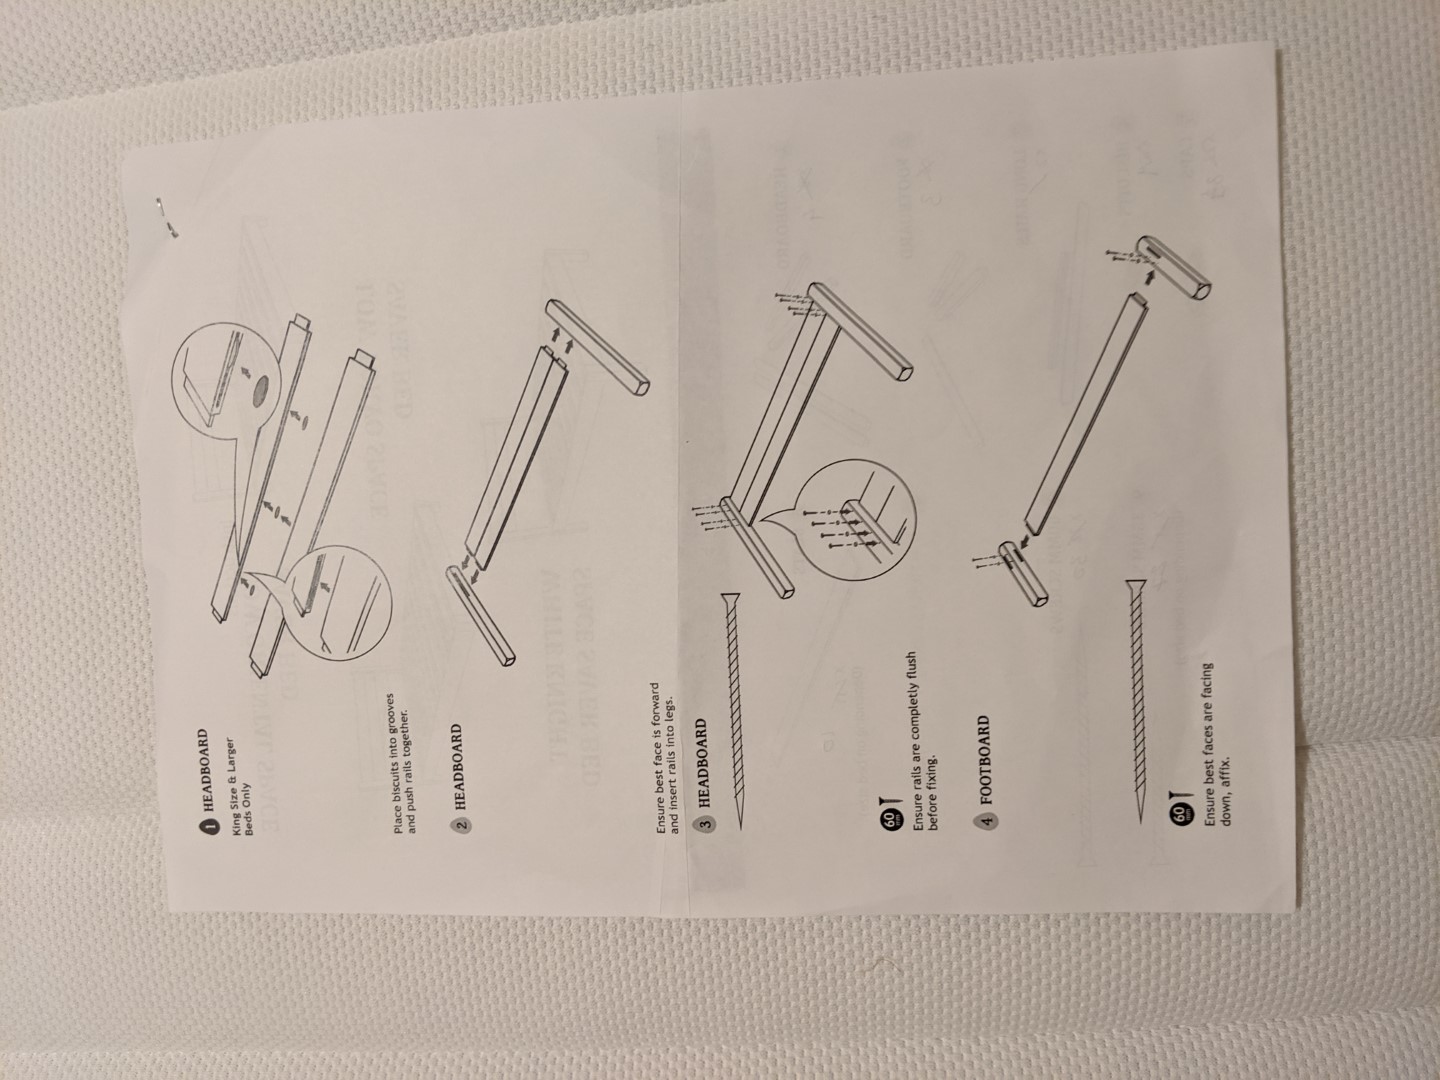 |
| Page 1 of the instructions | Page 2 of the instructions |
 |
 |
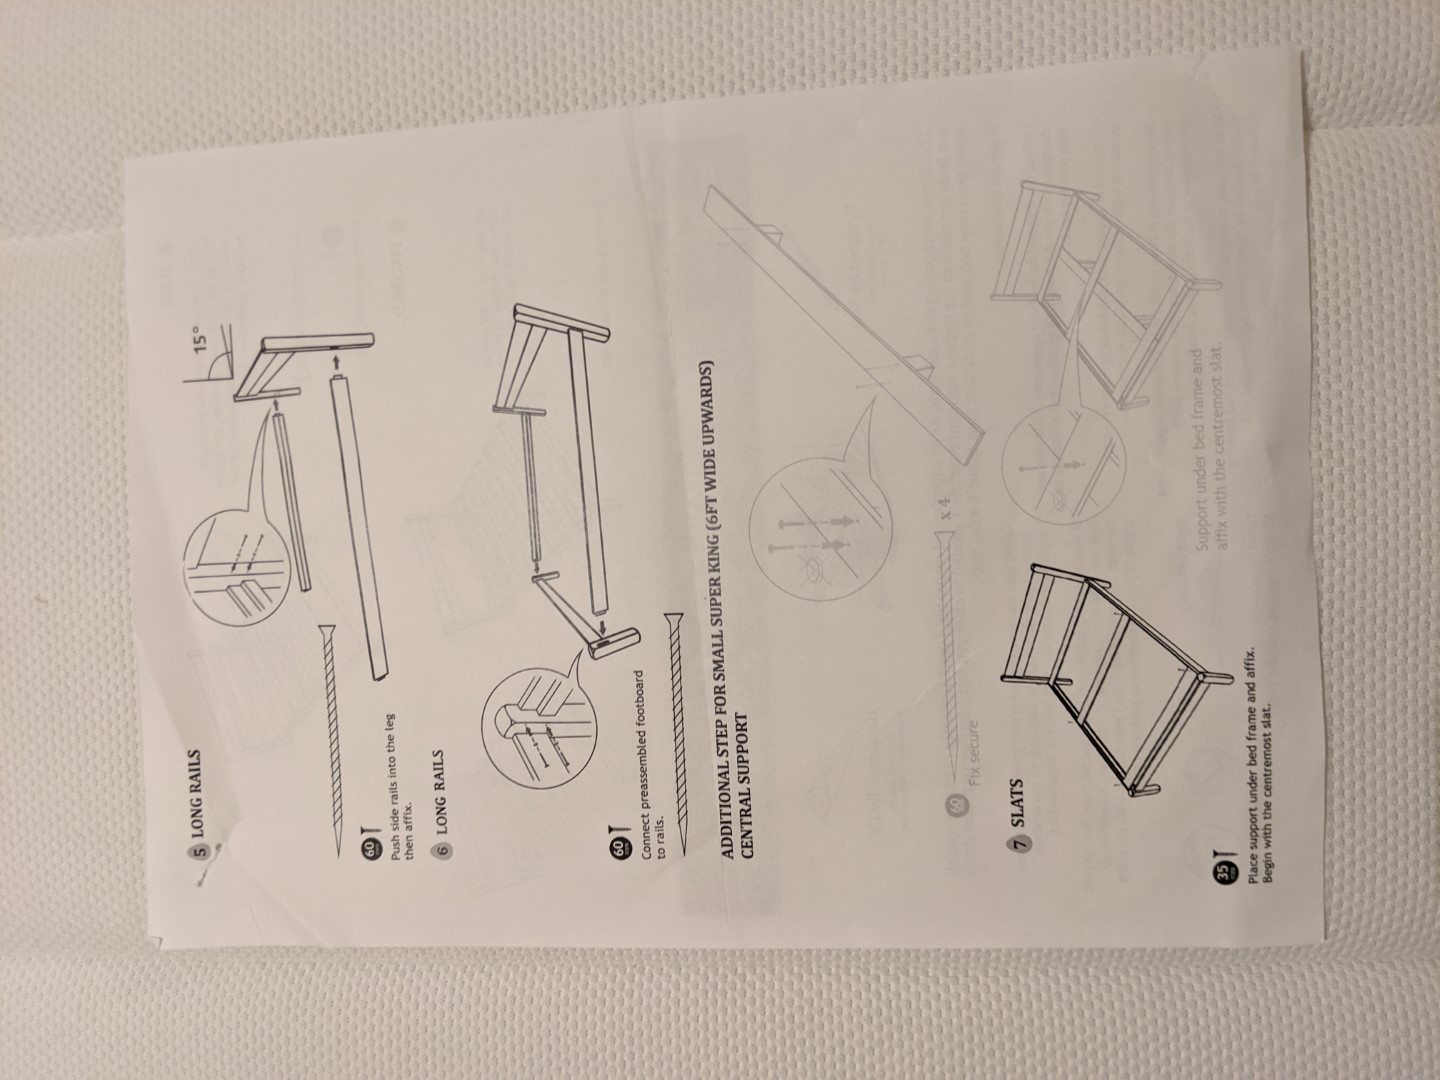
| Page 3 of the instructions | Page 4 of the instructions |
The Assembly Process
 |
 |
 |
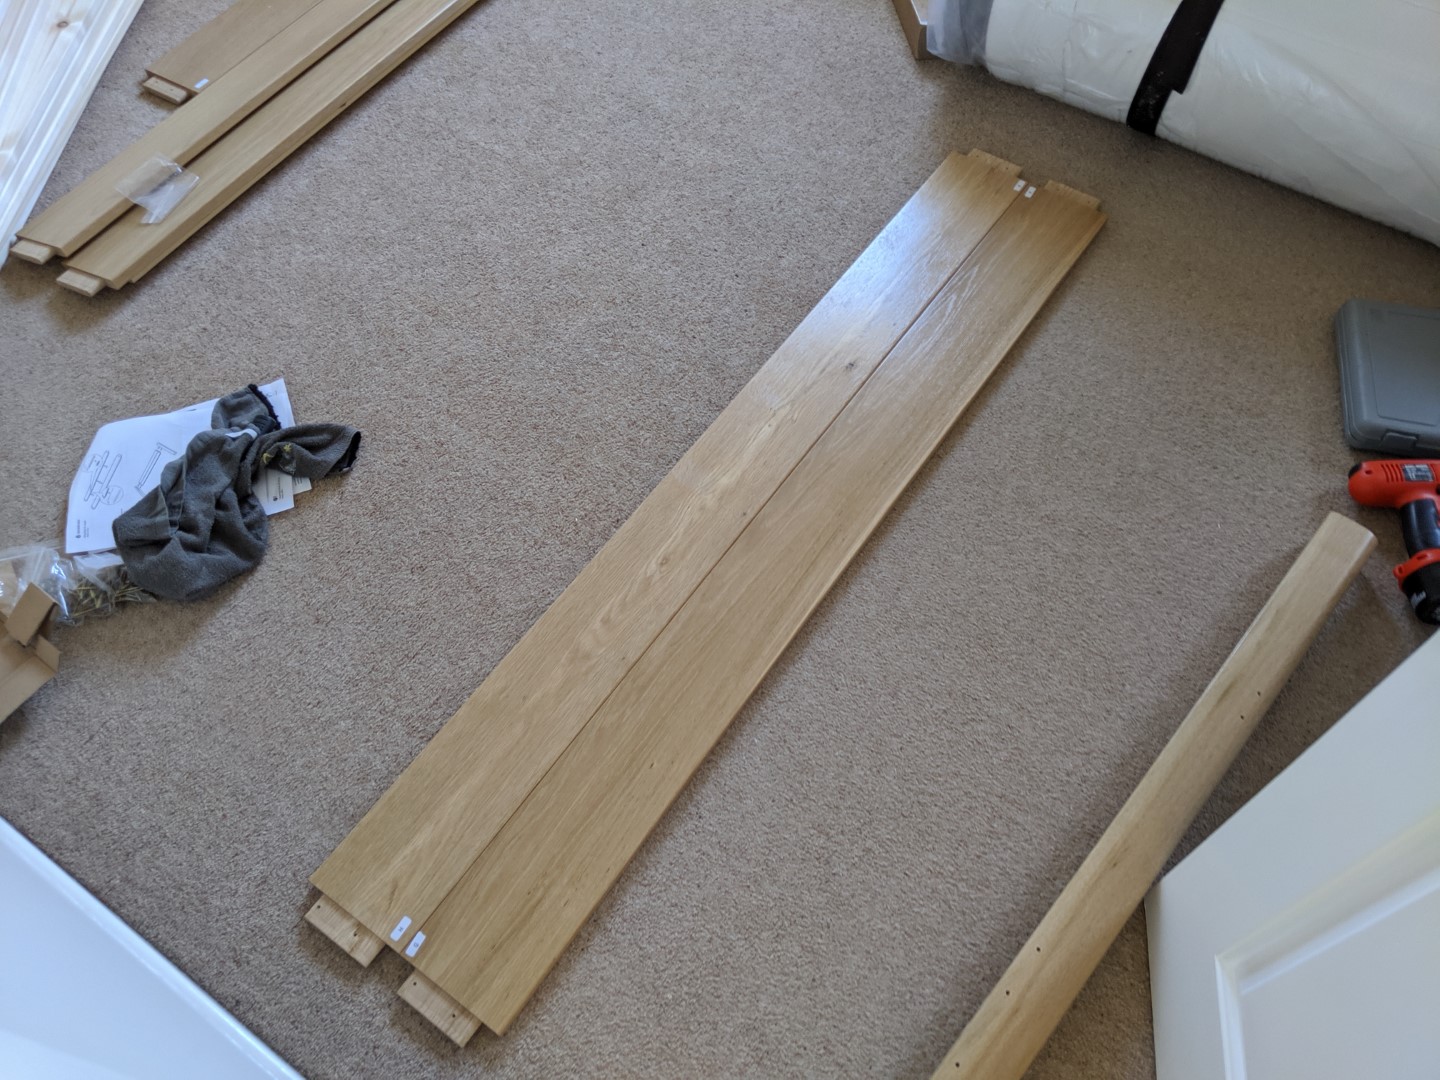
| Taking inventory. | The headboard parts. | Gently tapping the headboard and biscuits together with a rubber mallet wrapped in a teatowel. |
 |
 |
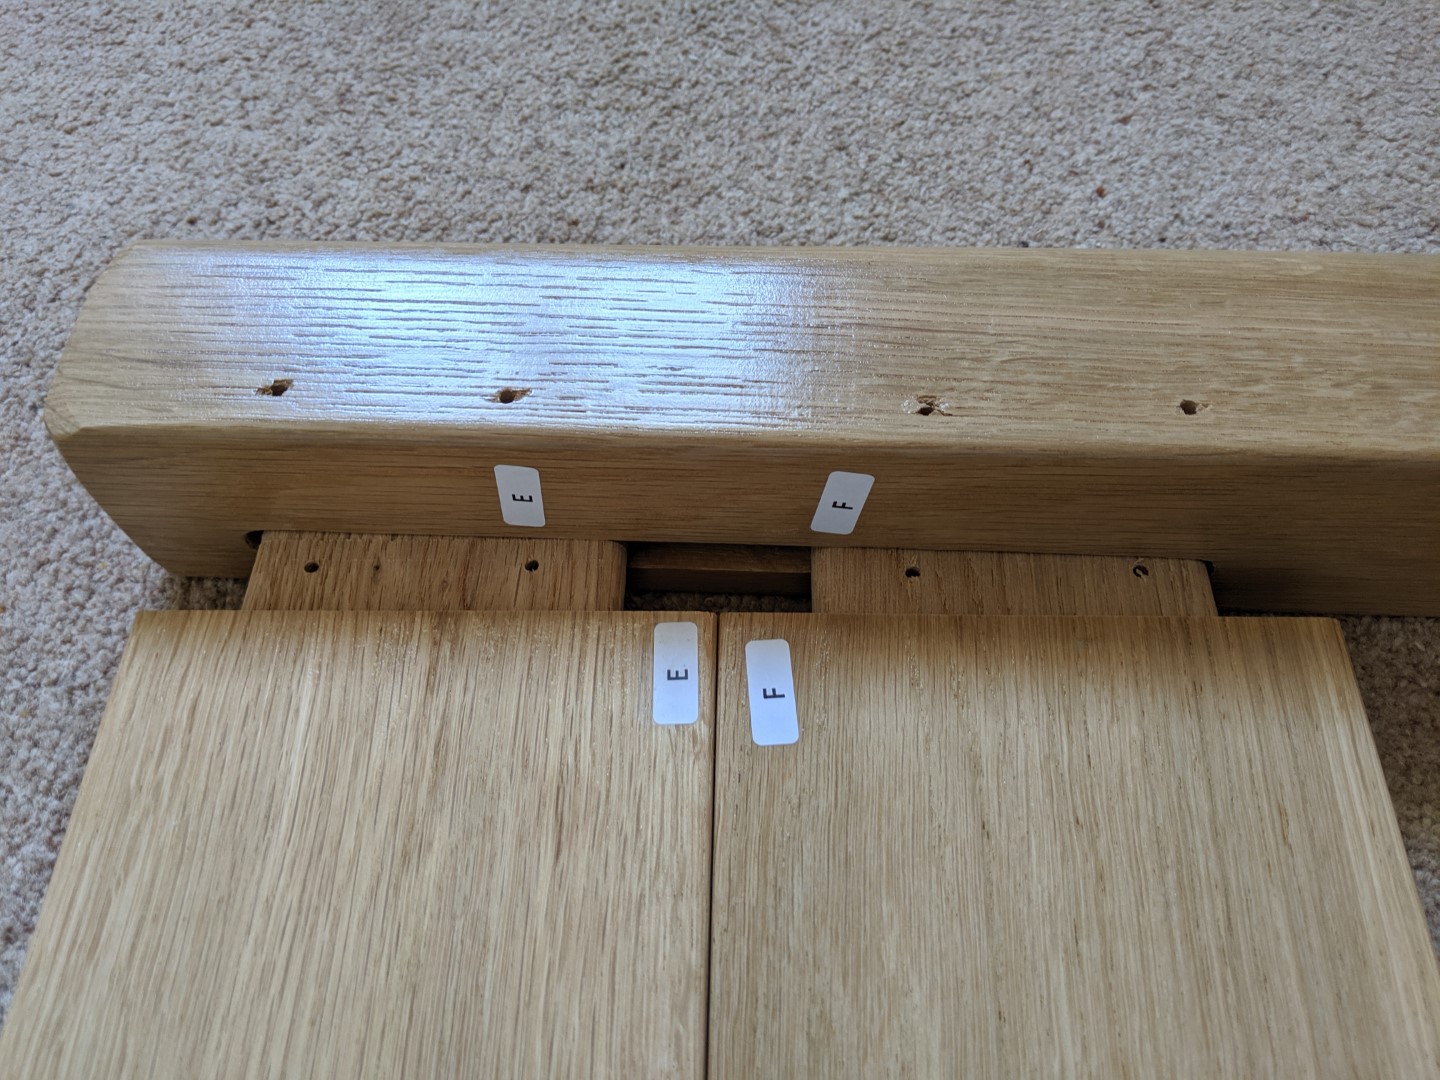 |
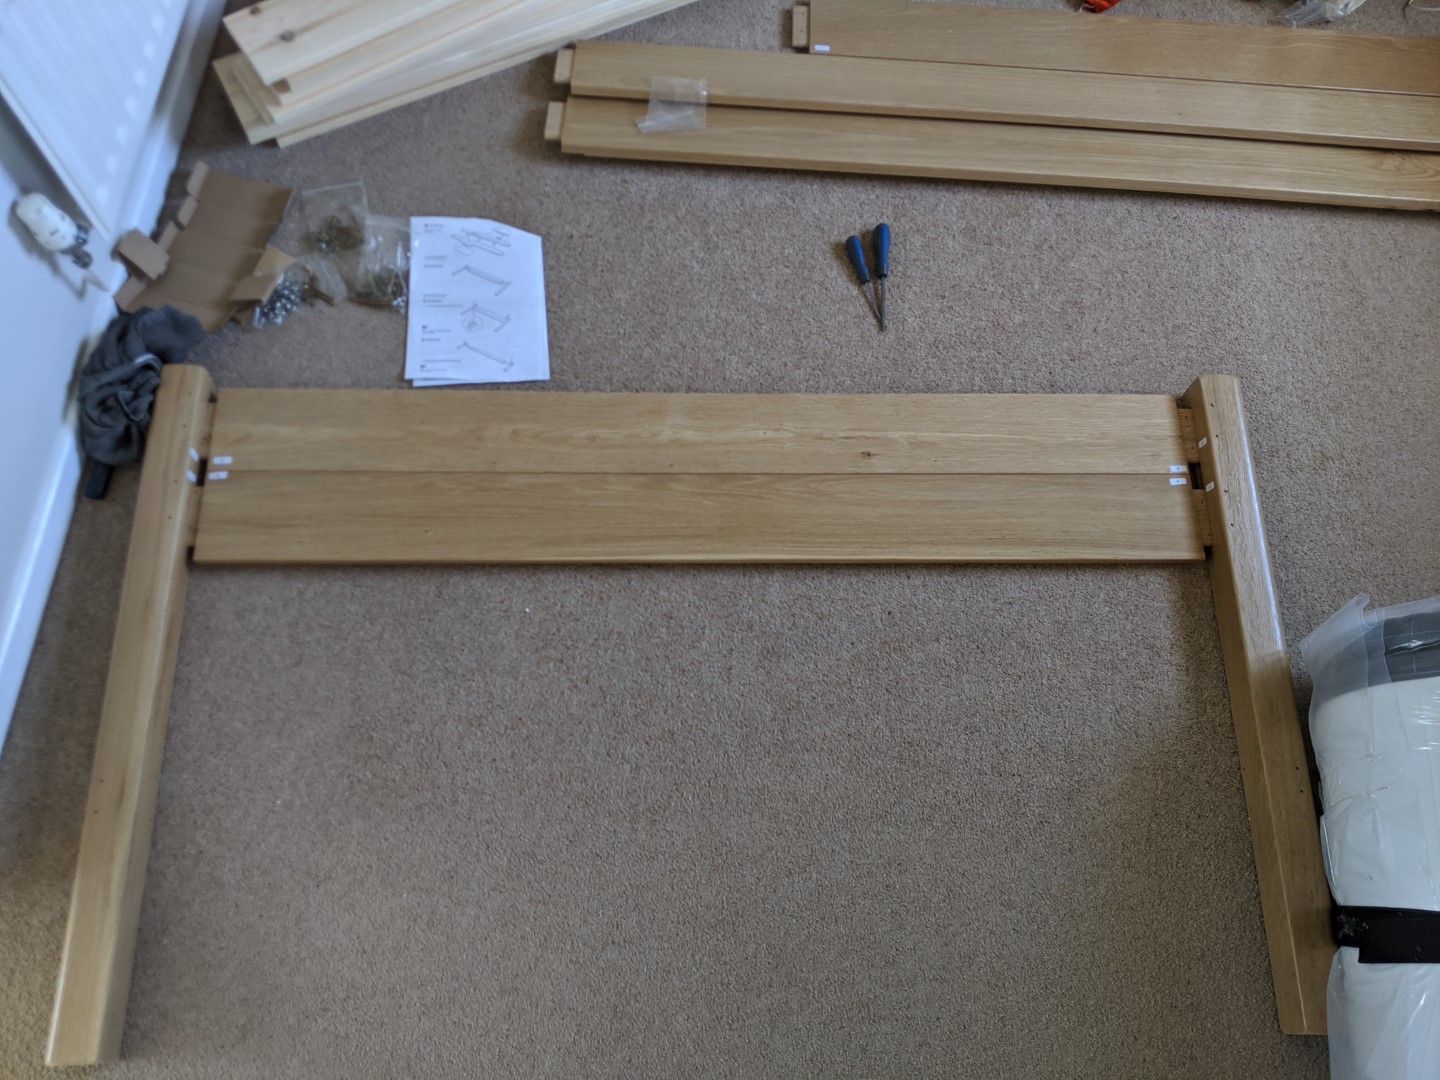
| The completed headboard join. | The headboard and legs. Aligning matching letters. | EF Side of the headboard. |
 |
 |
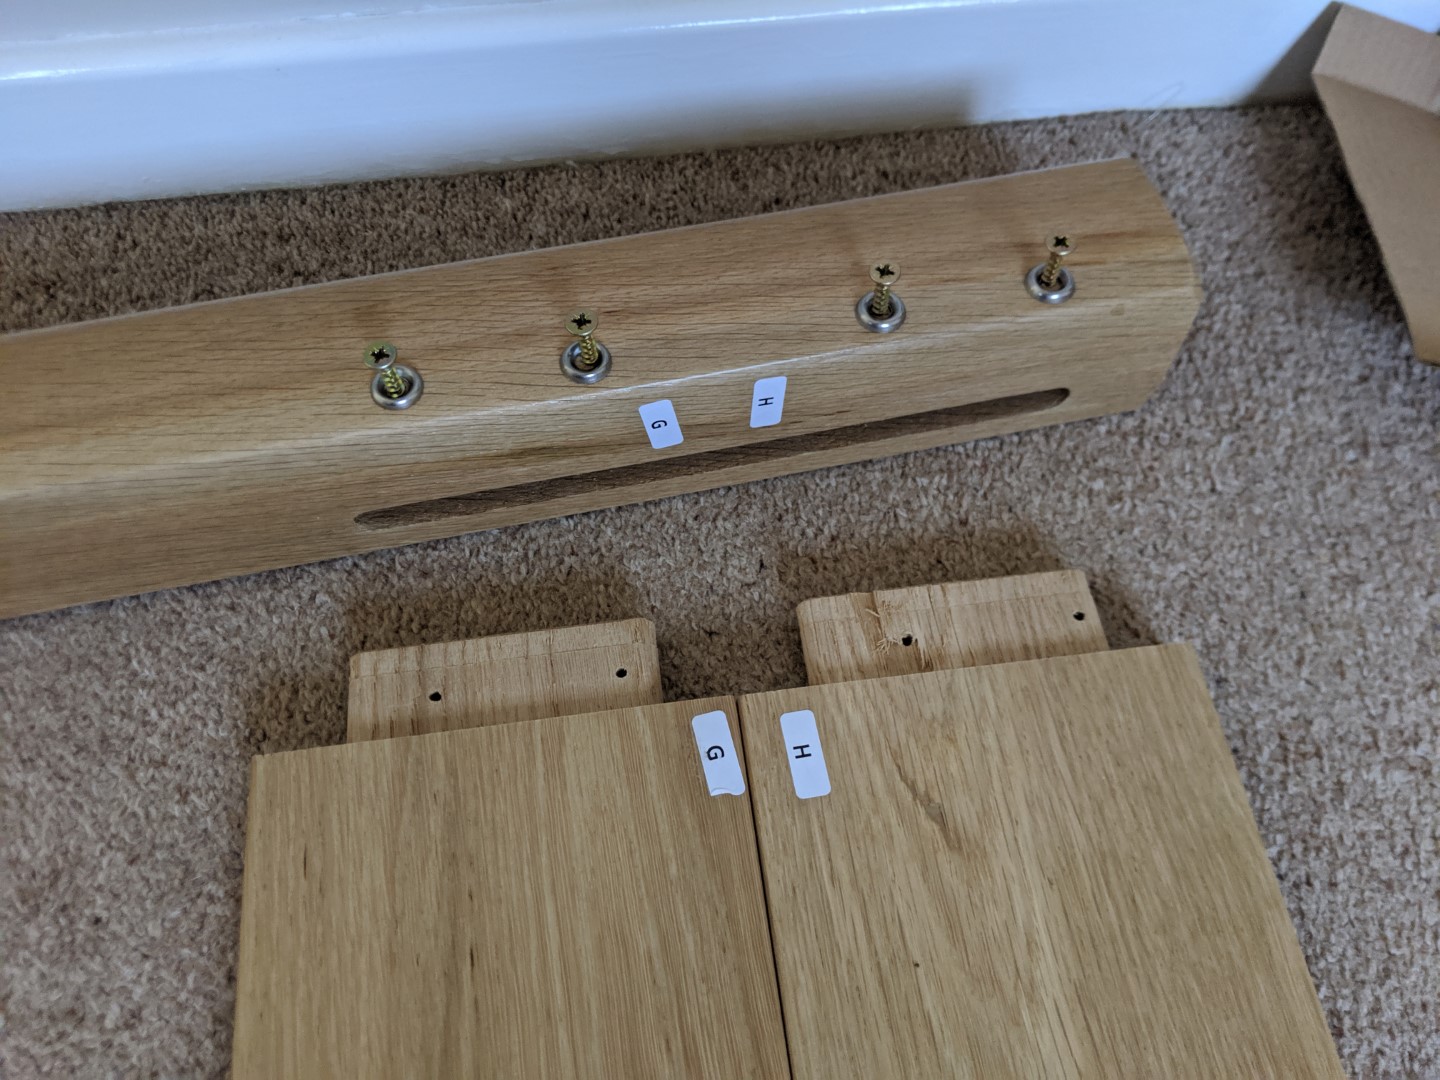 |
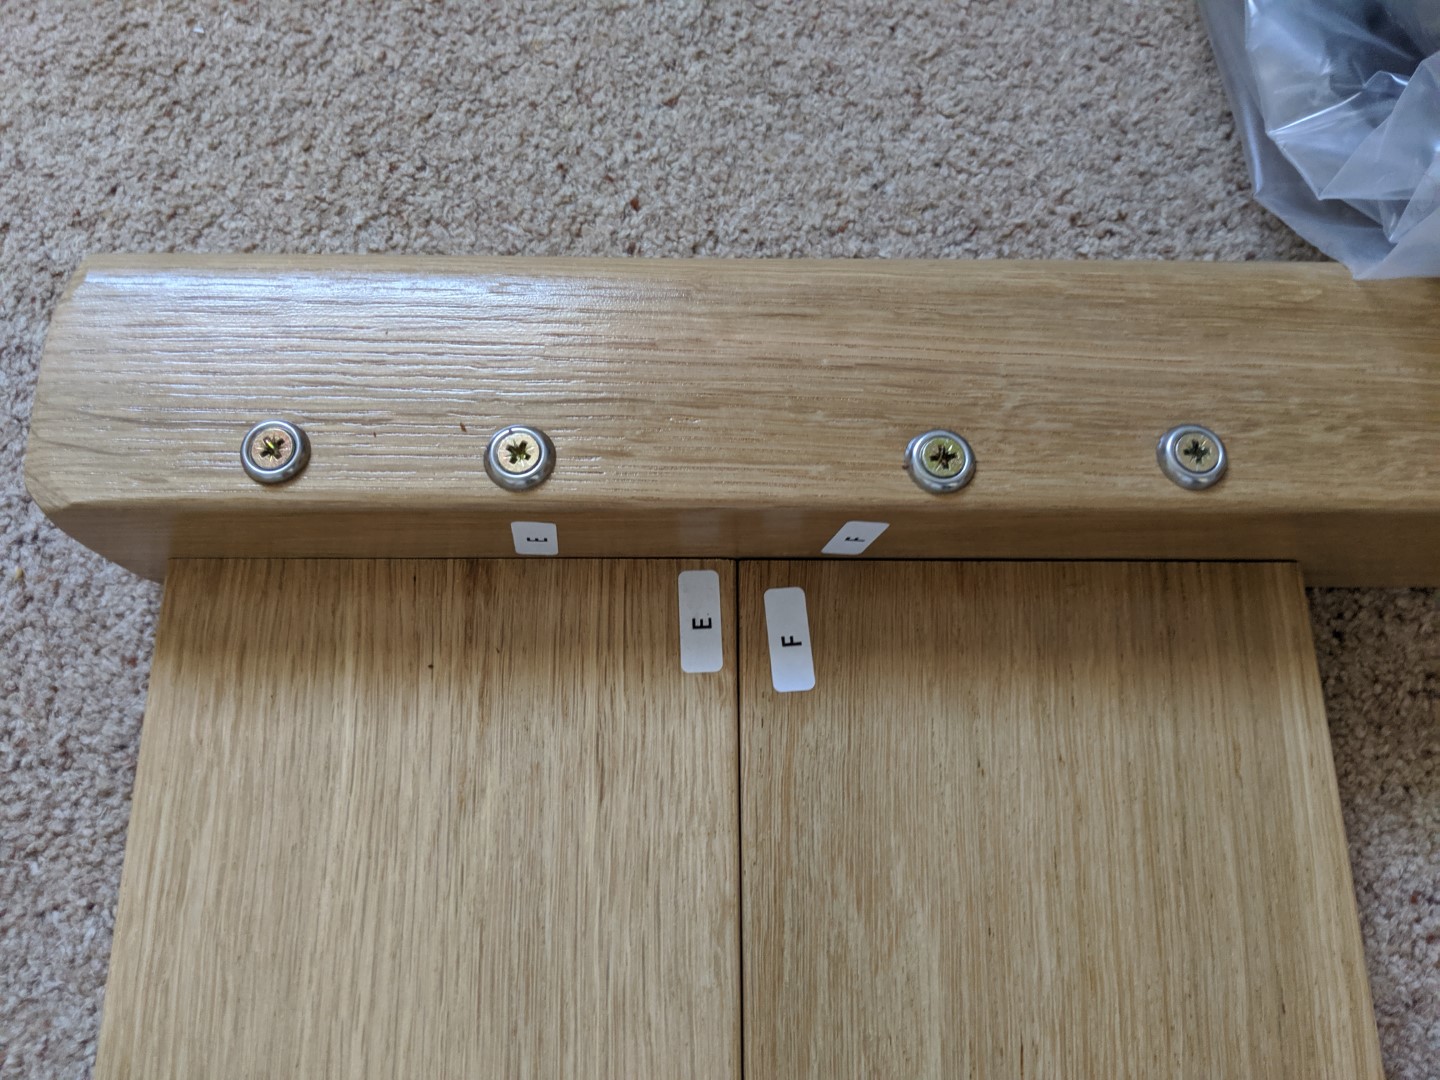
| GH Side of the headboard. | EF Side screwed together. | GH side with screws part fitted ready for insertion. |
 |
 |
 |
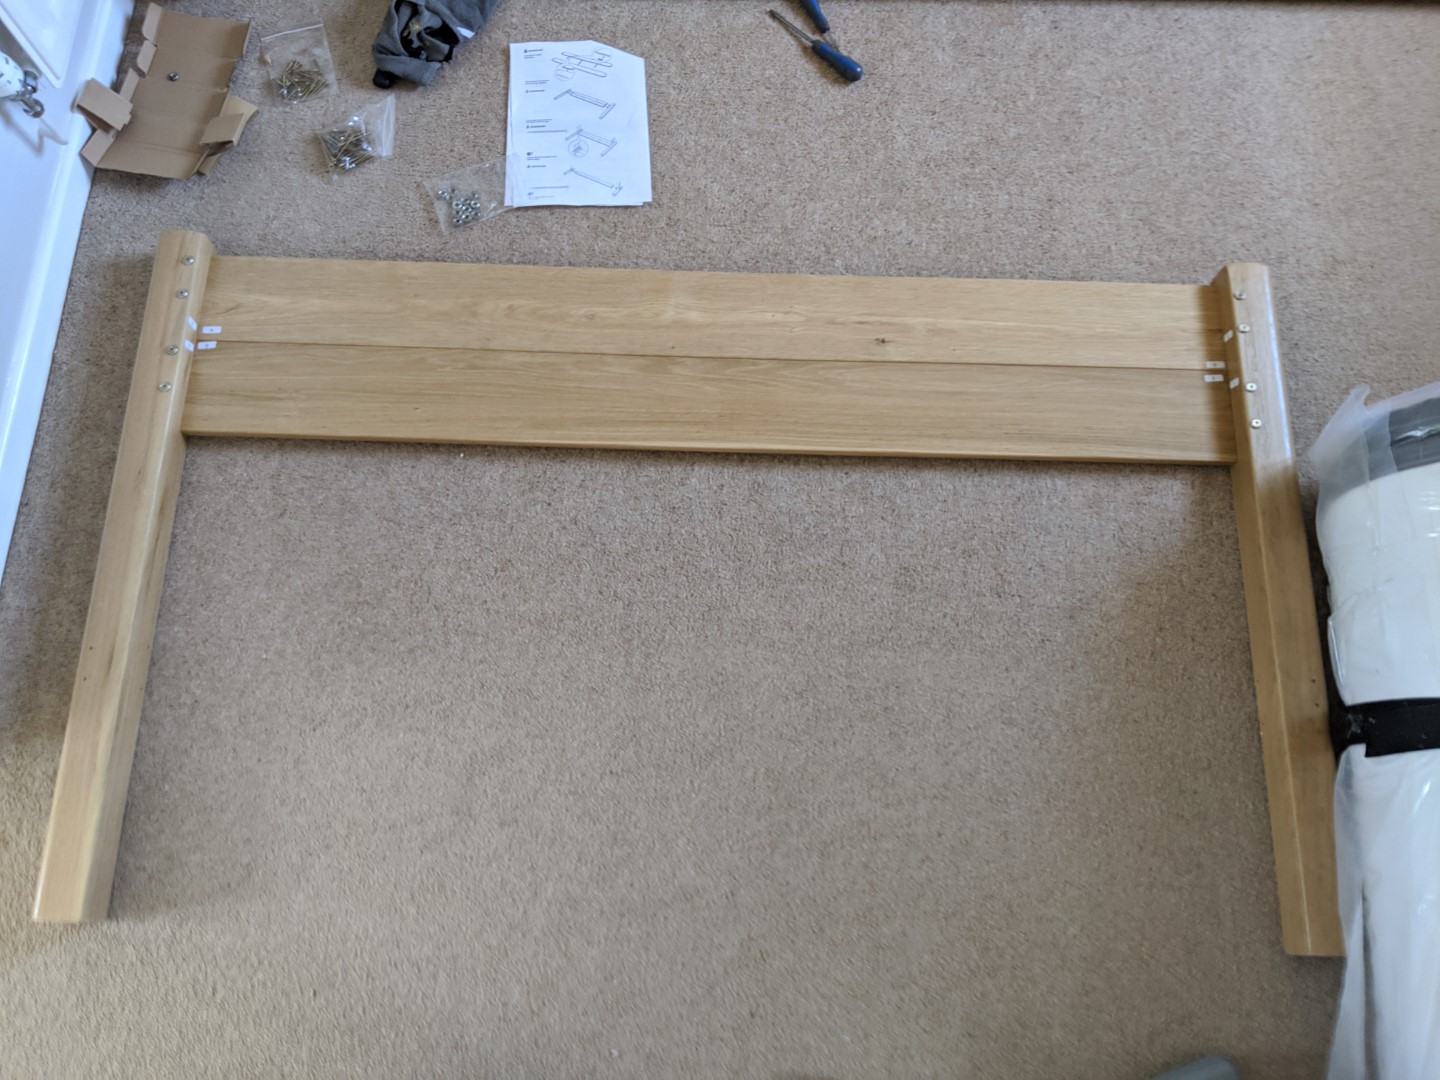
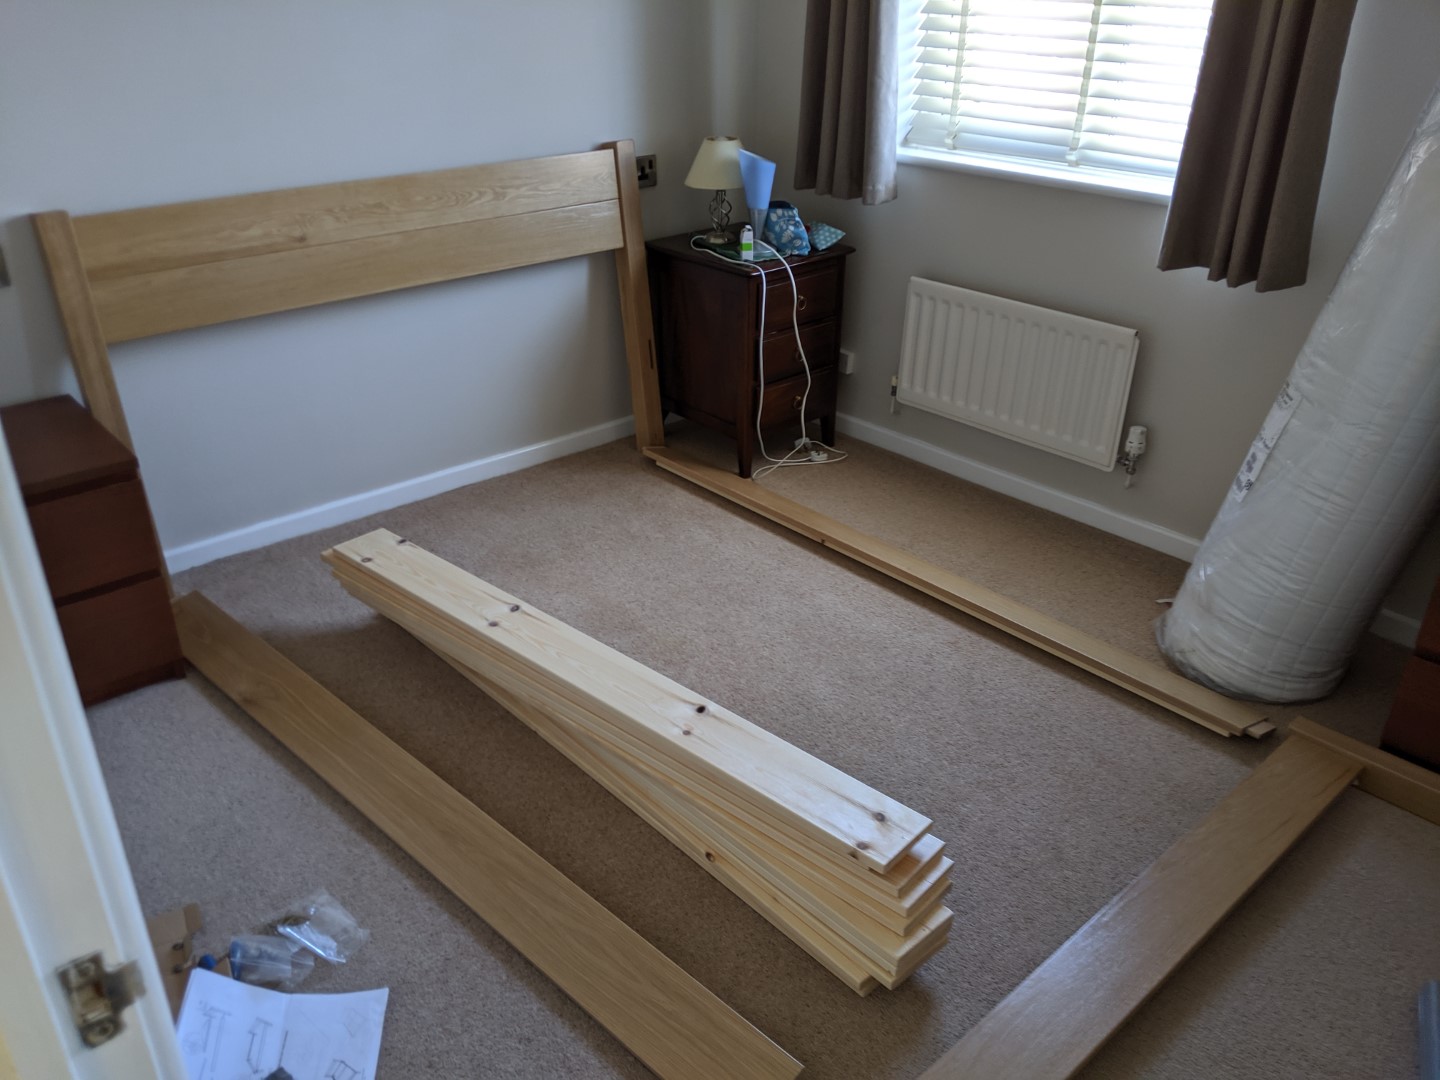
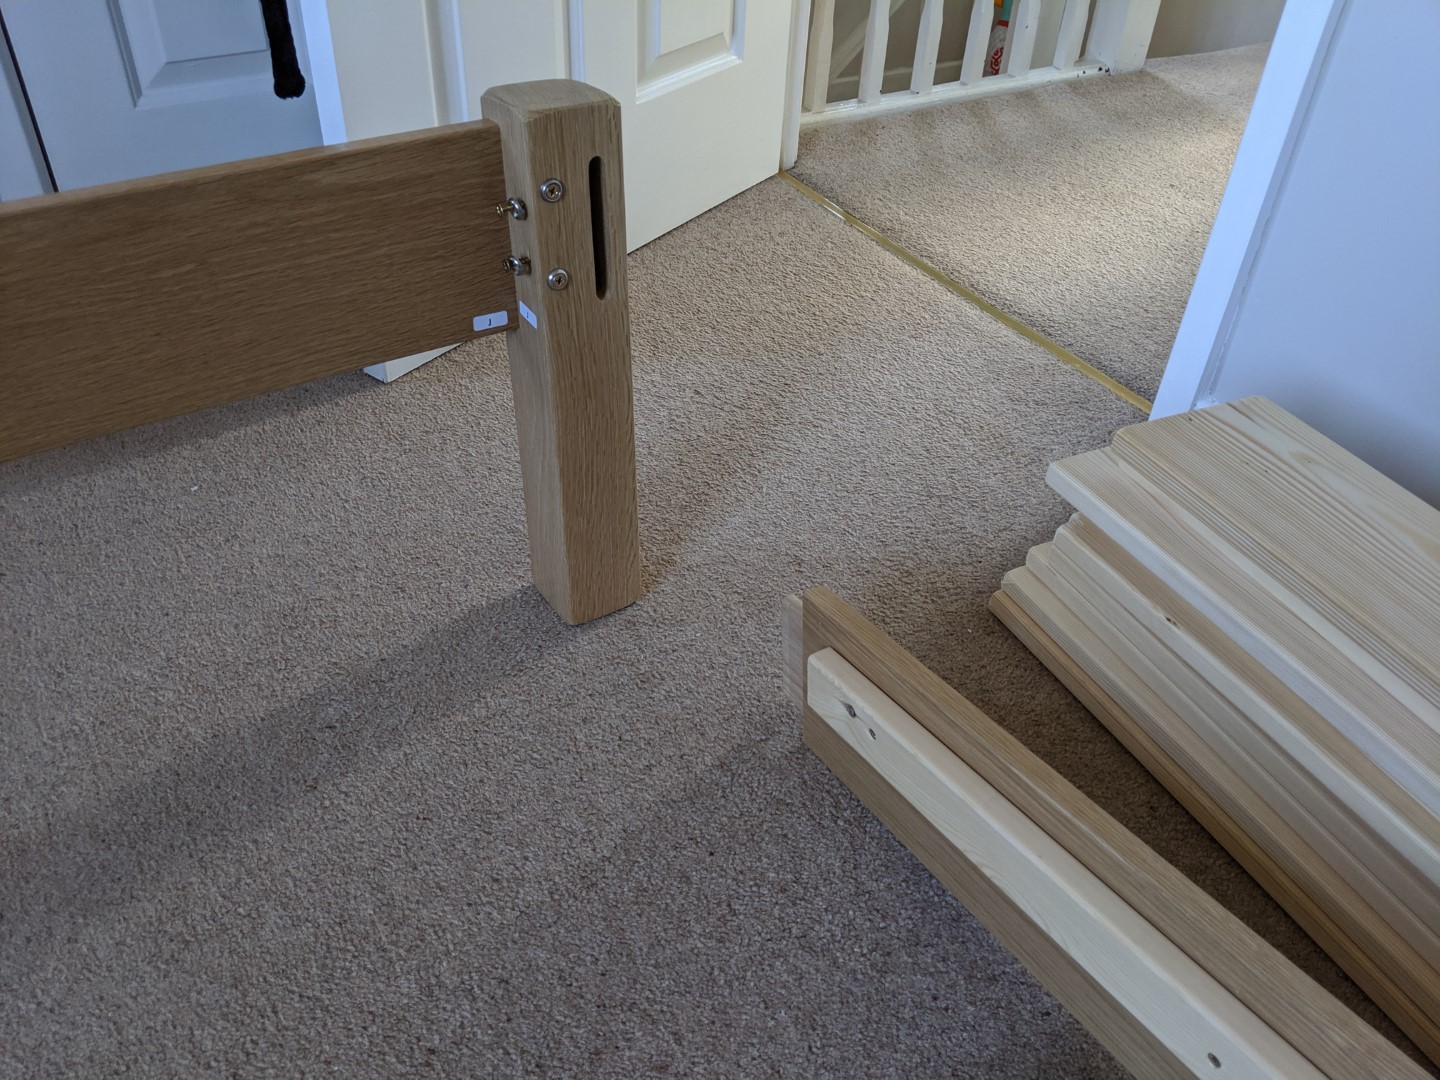
| GH side screwed together. | Completed headboard part. | Laying out the footboard. |
 |
 |
 |
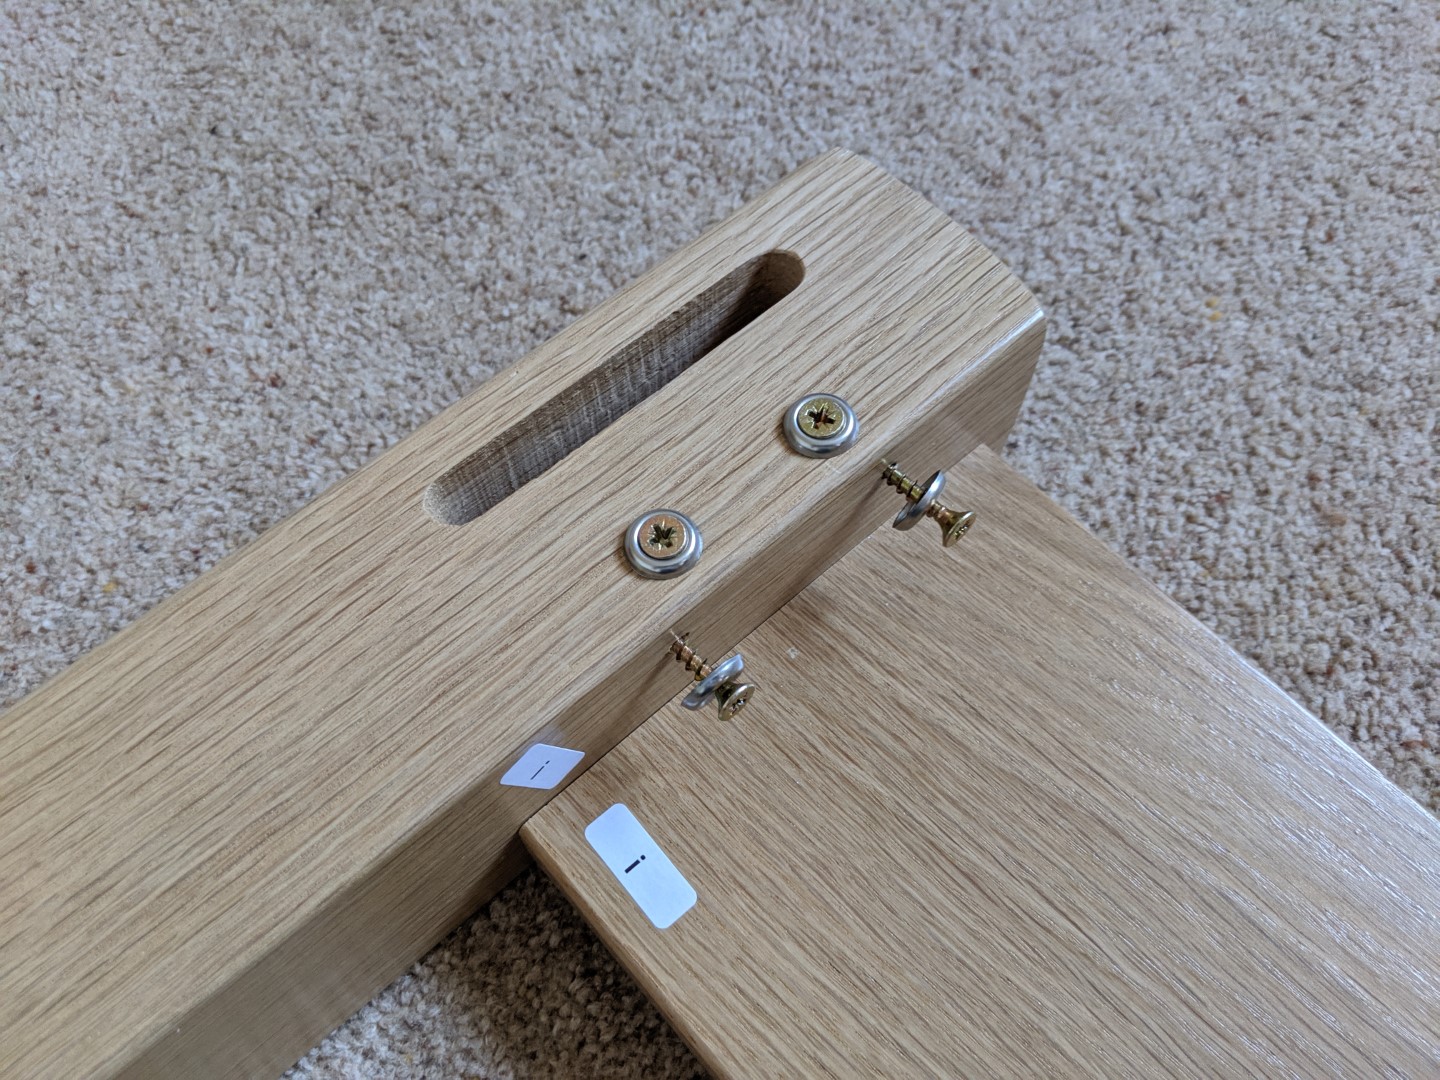
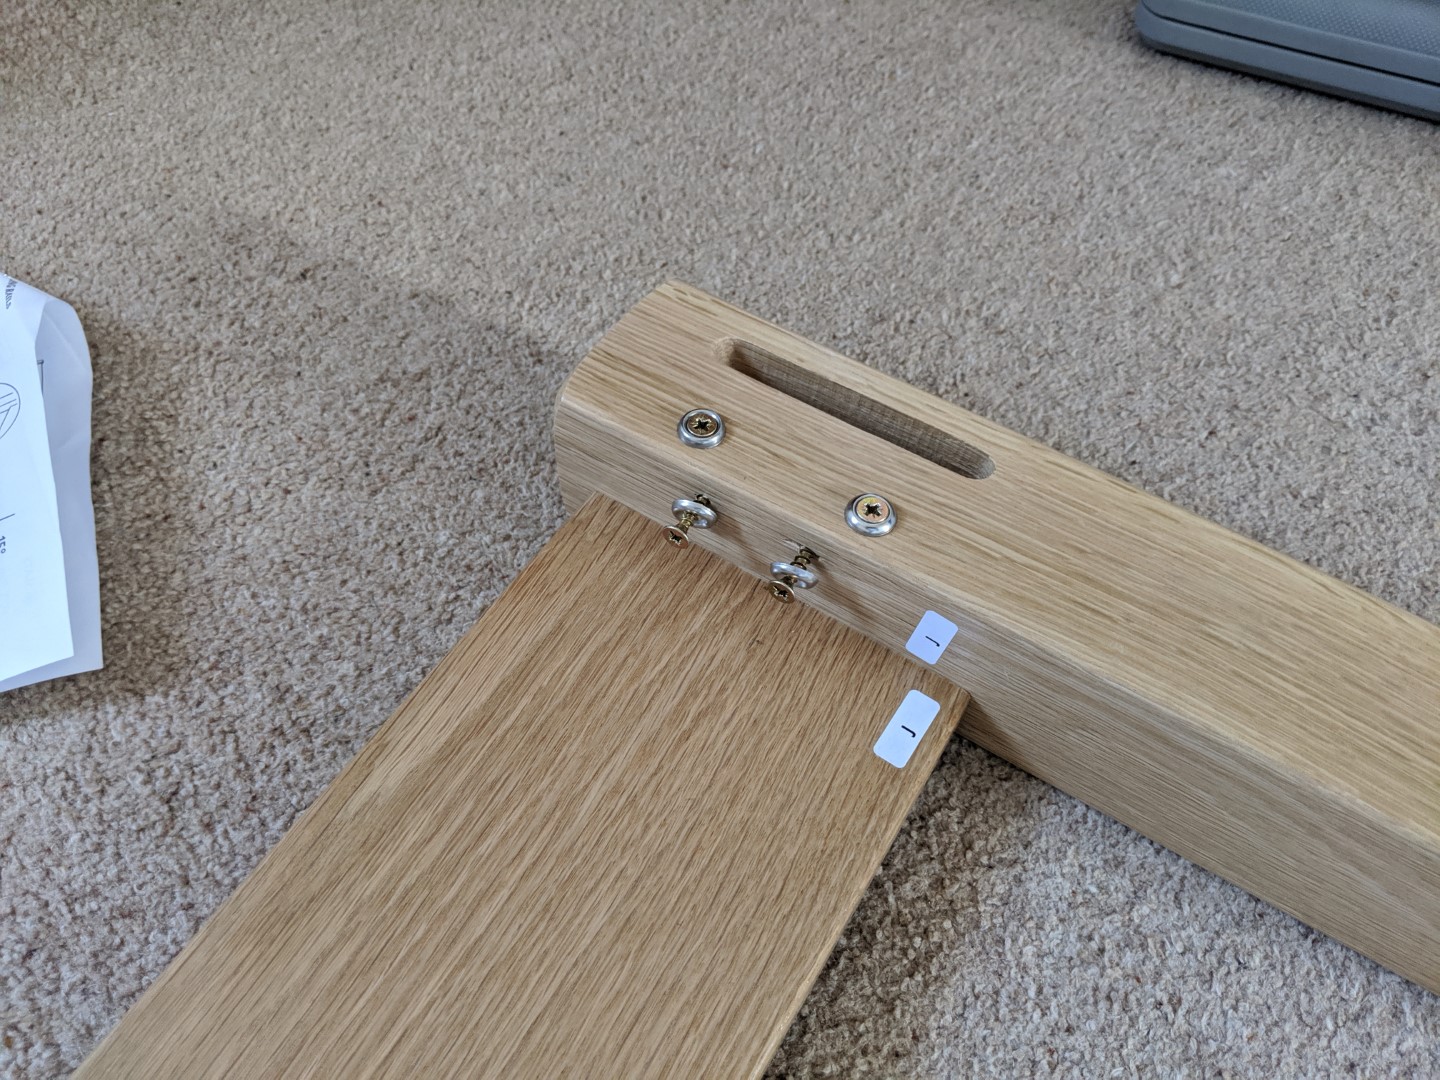
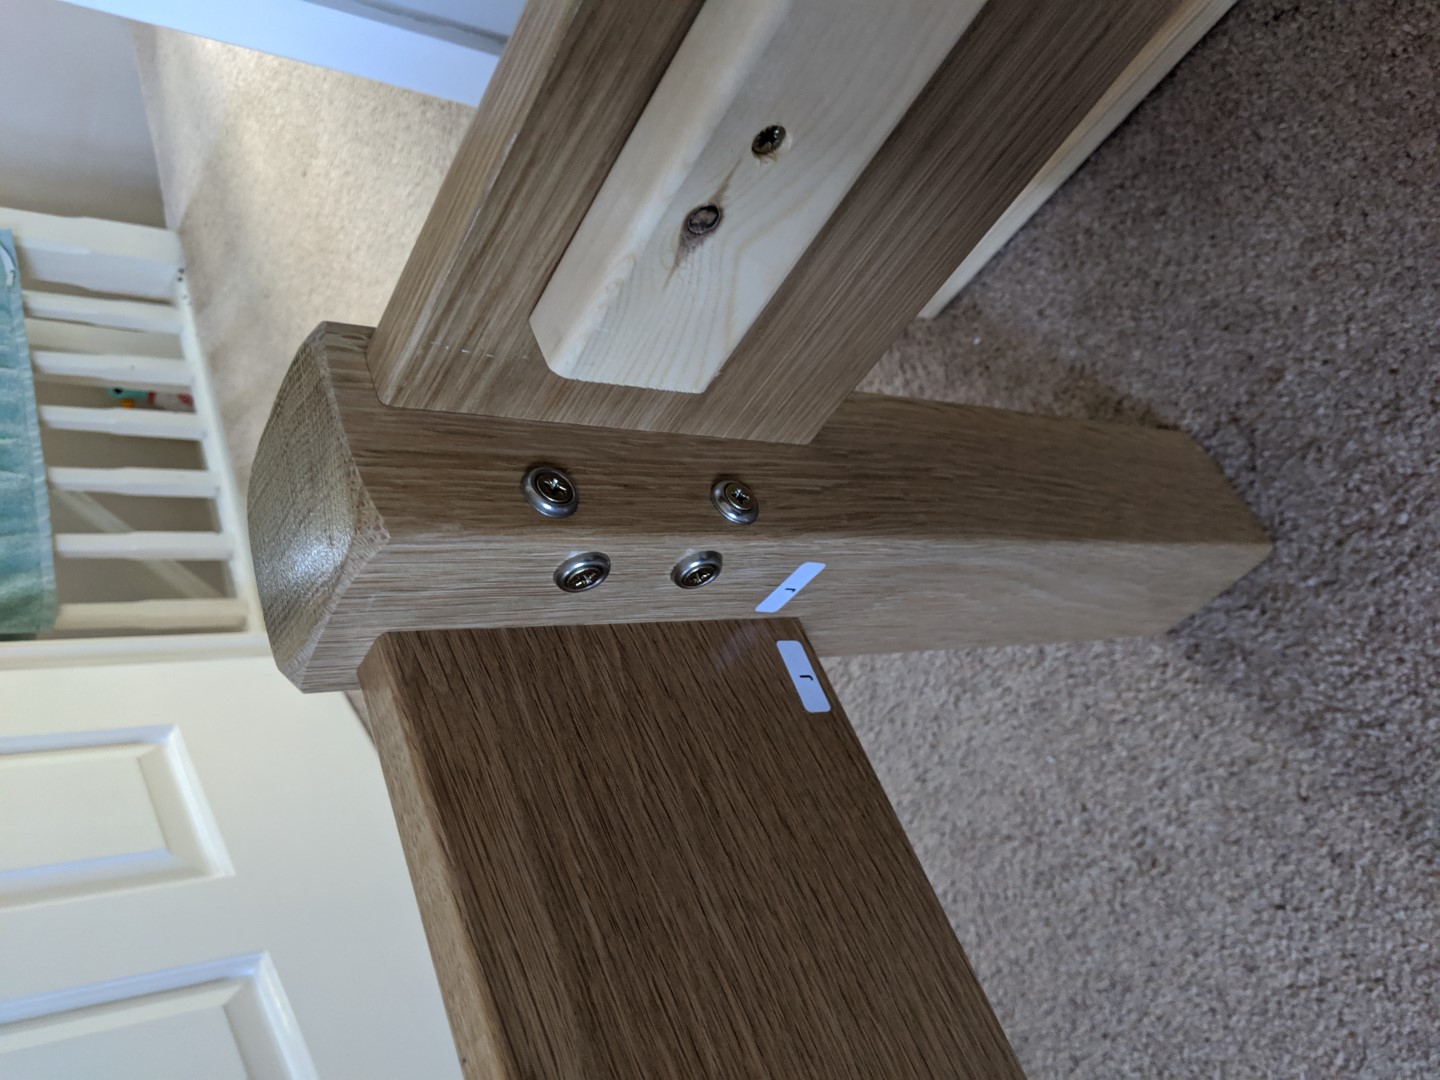
| I side of the footboard with screws part fitted. | I side of the footboard screwed together. | J side of the footboard with screws part fitted. |
 |
 |
 |
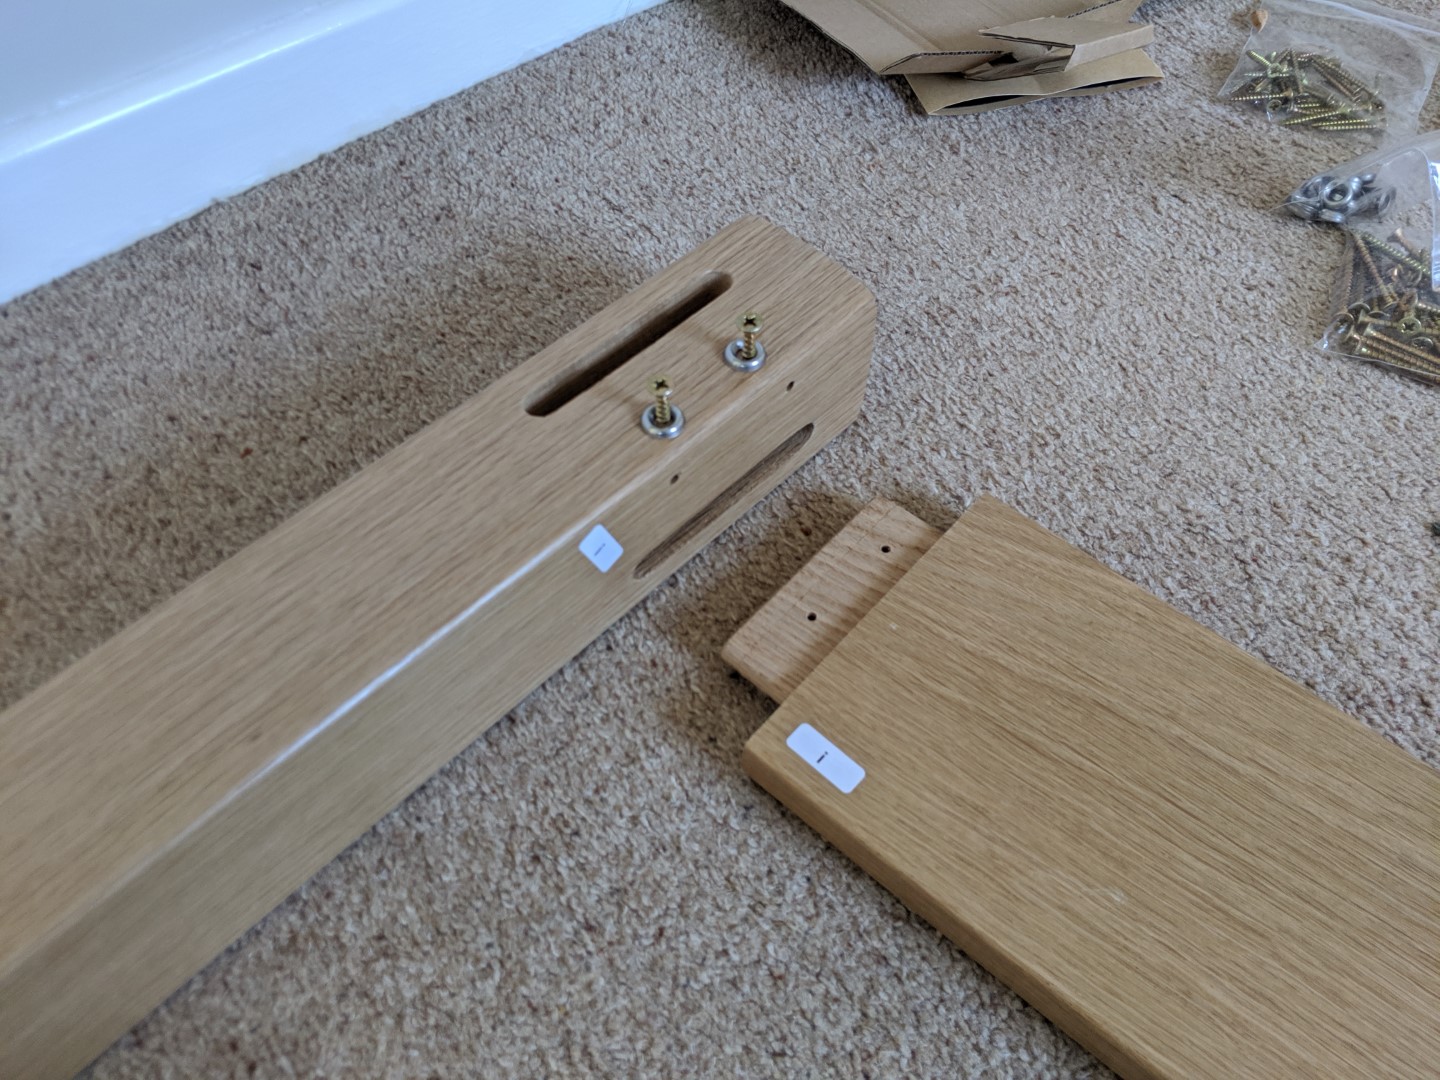
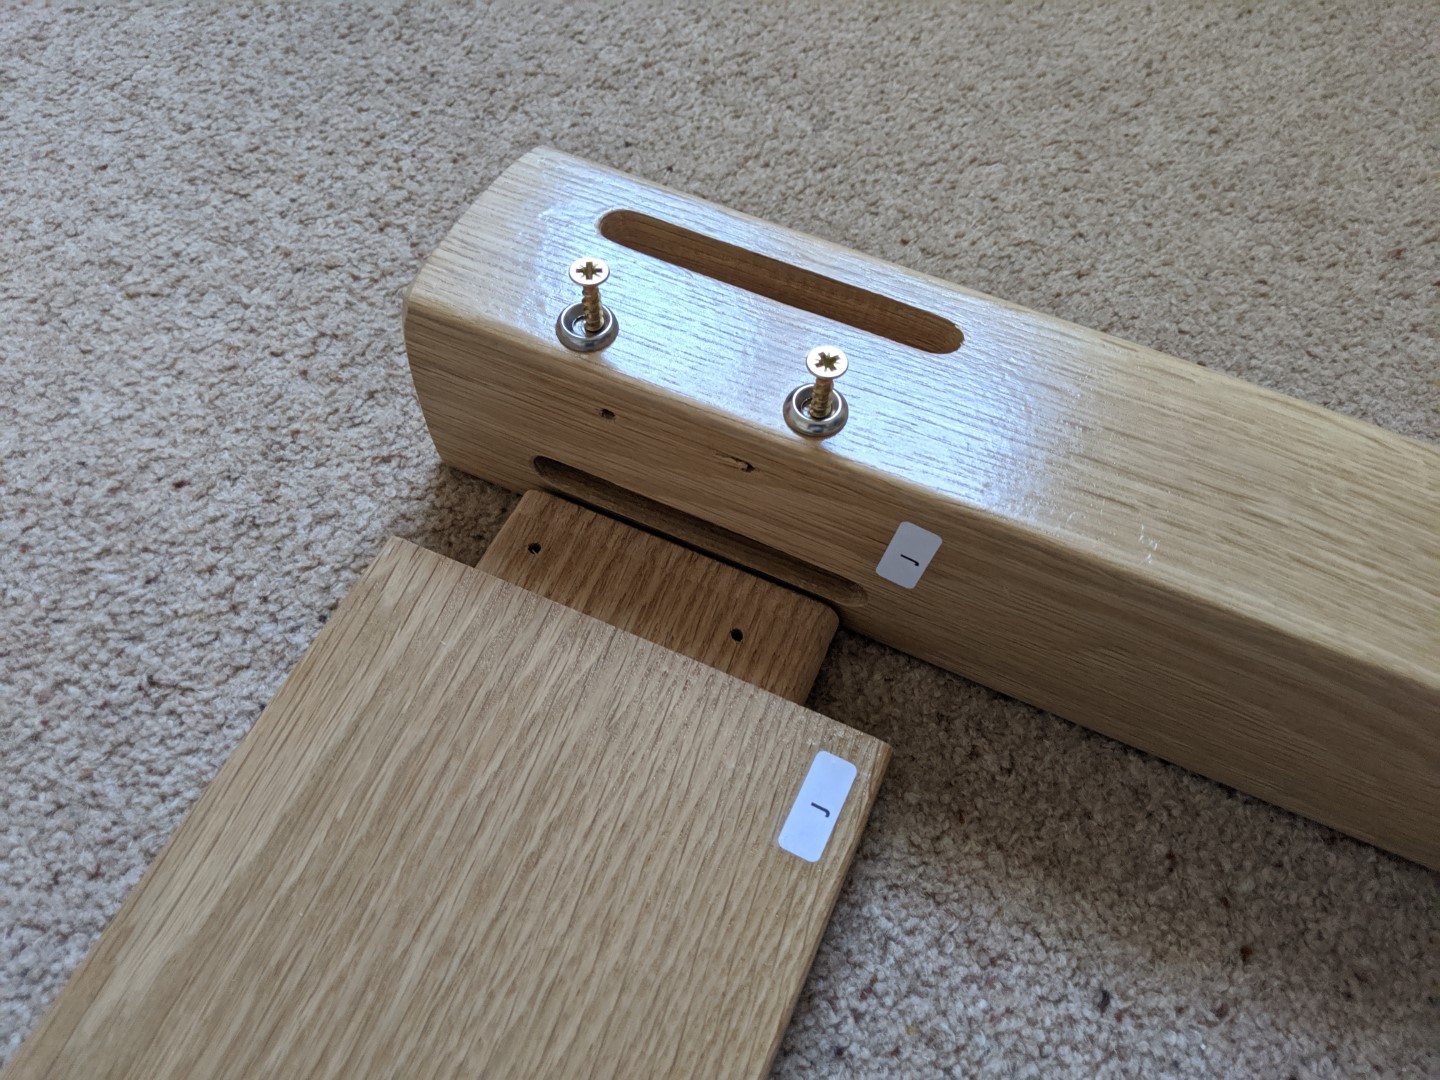
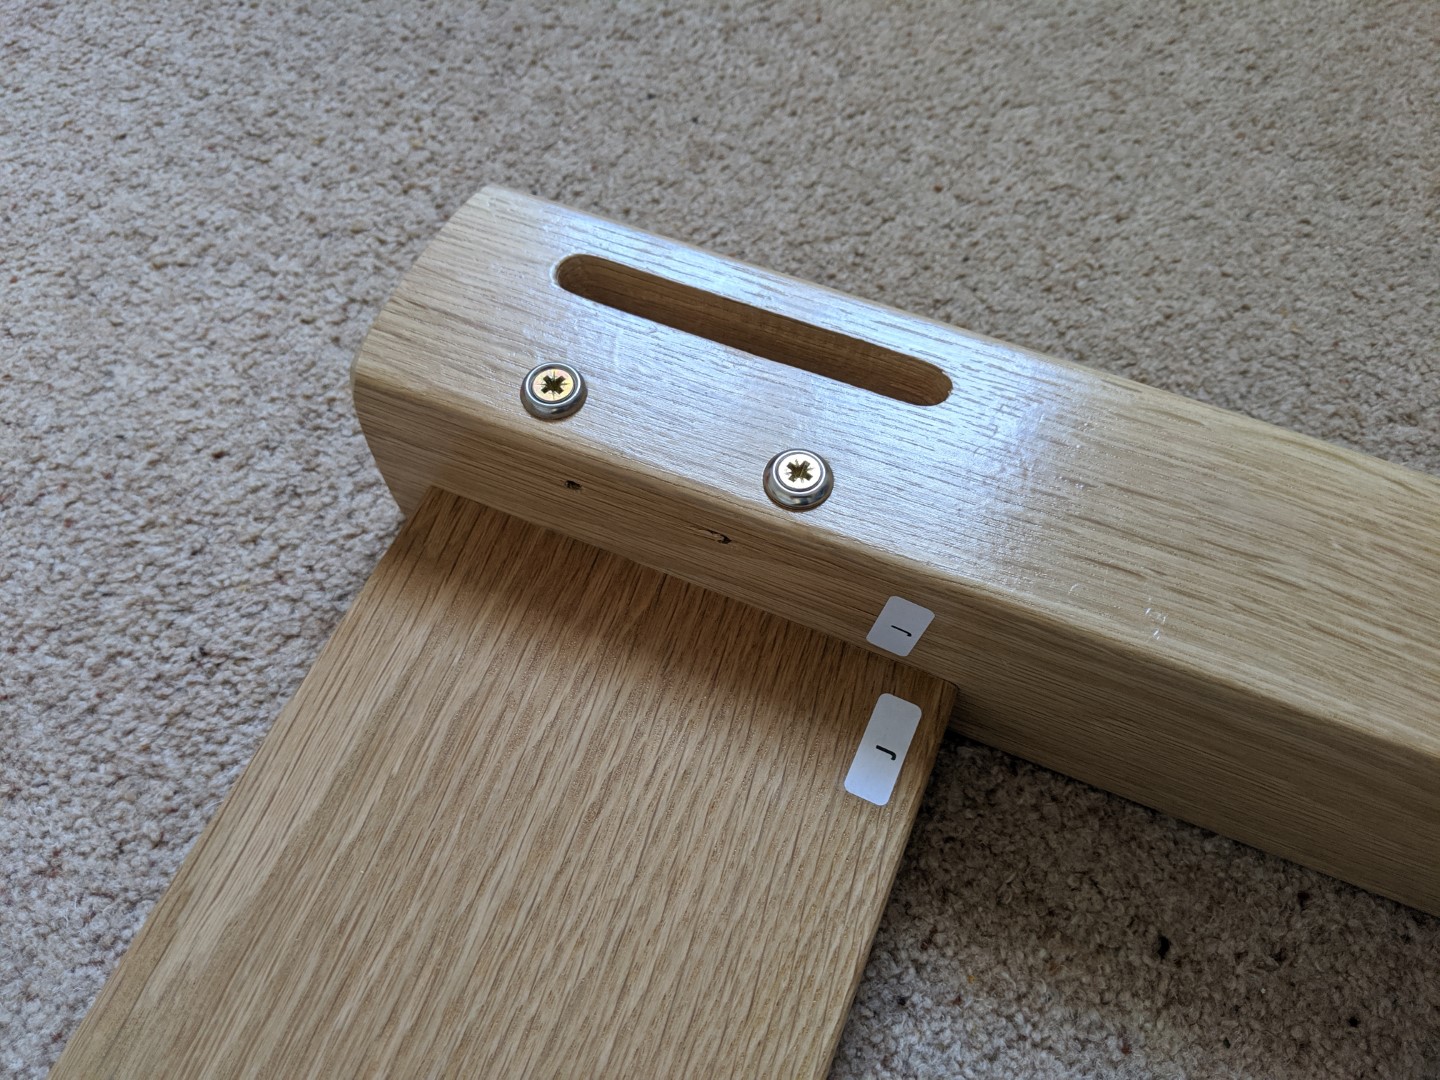
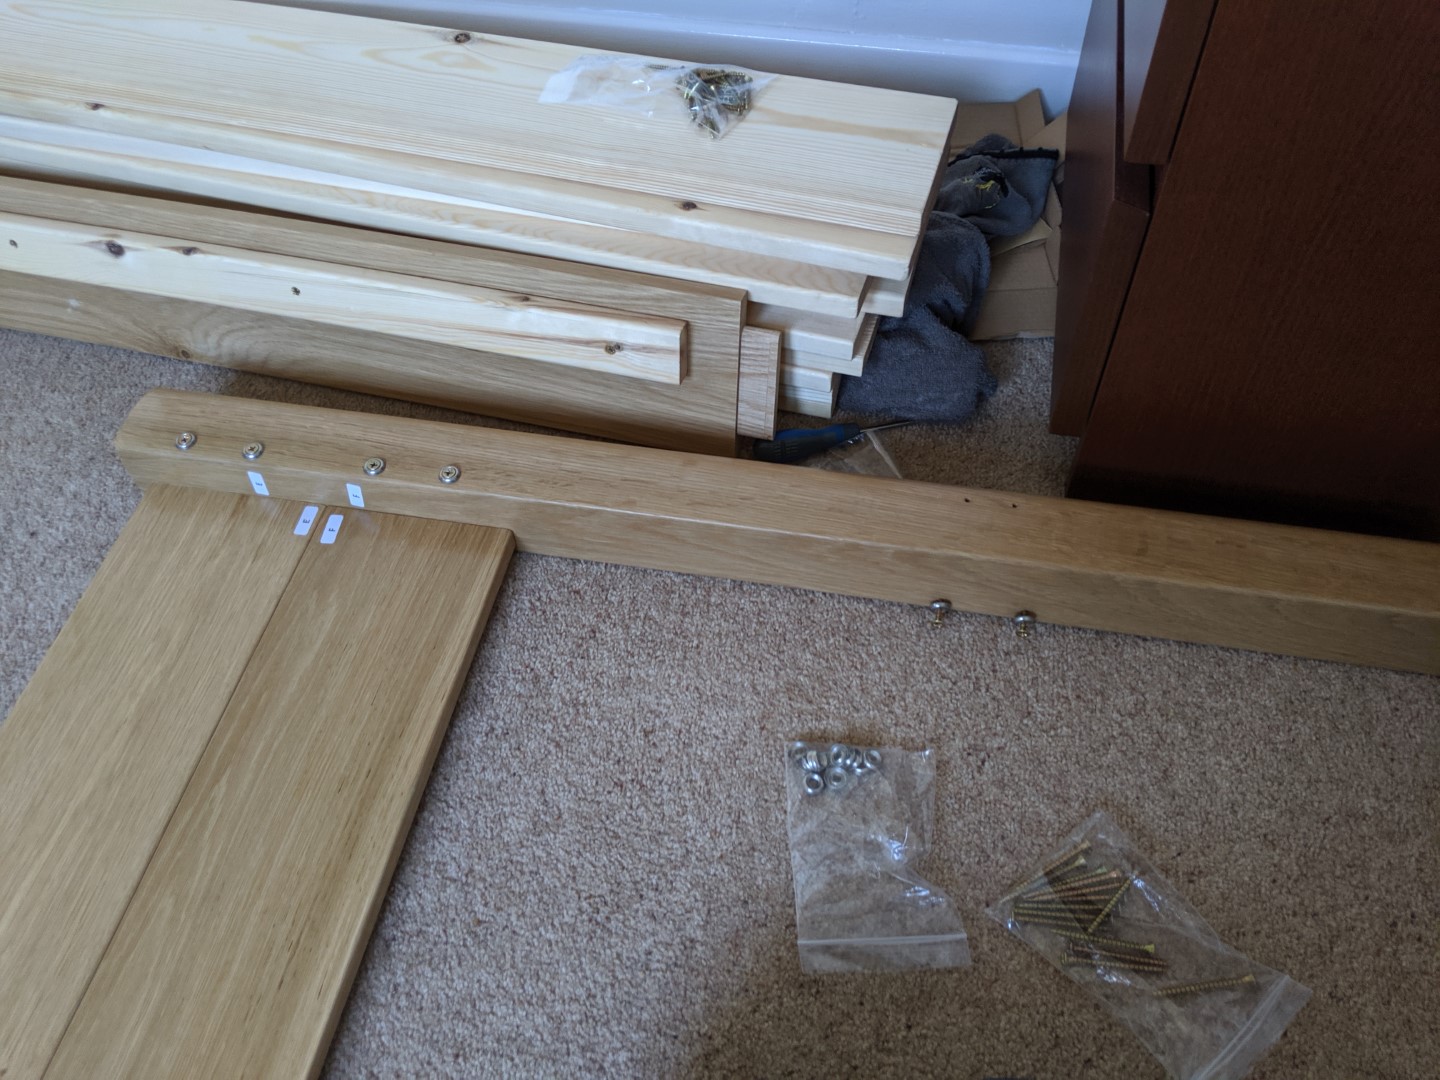
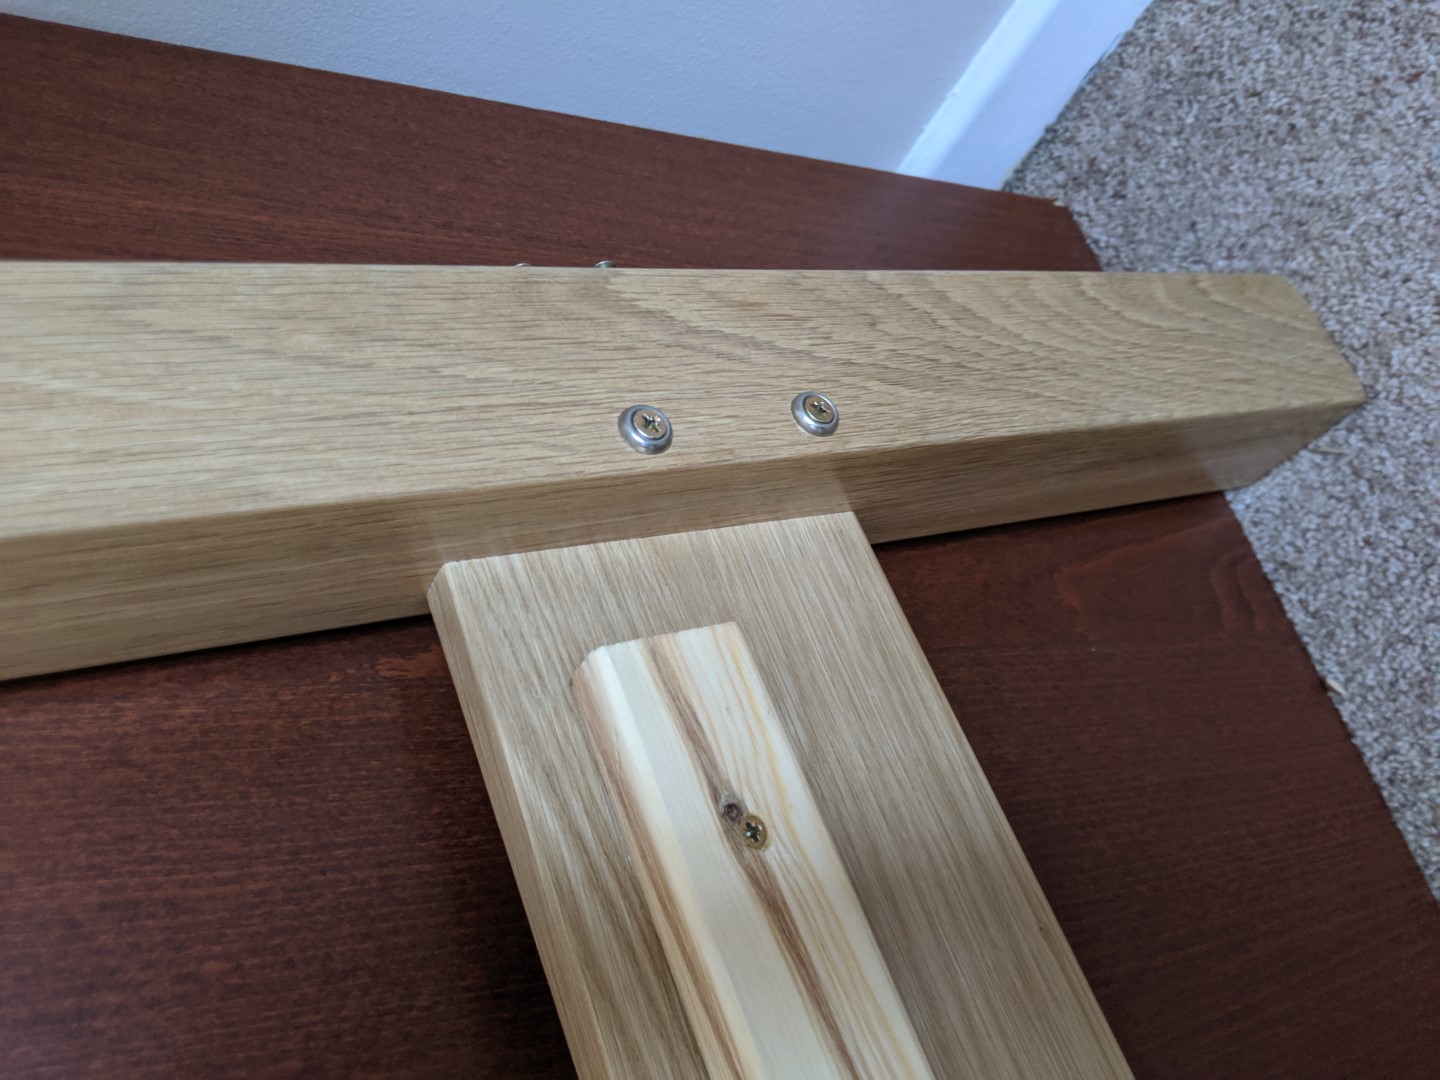
| J side of the footboard screwed together. | Laying out the bed frame. | The left side of the headboard with side screws part fitted. |
 |
 |
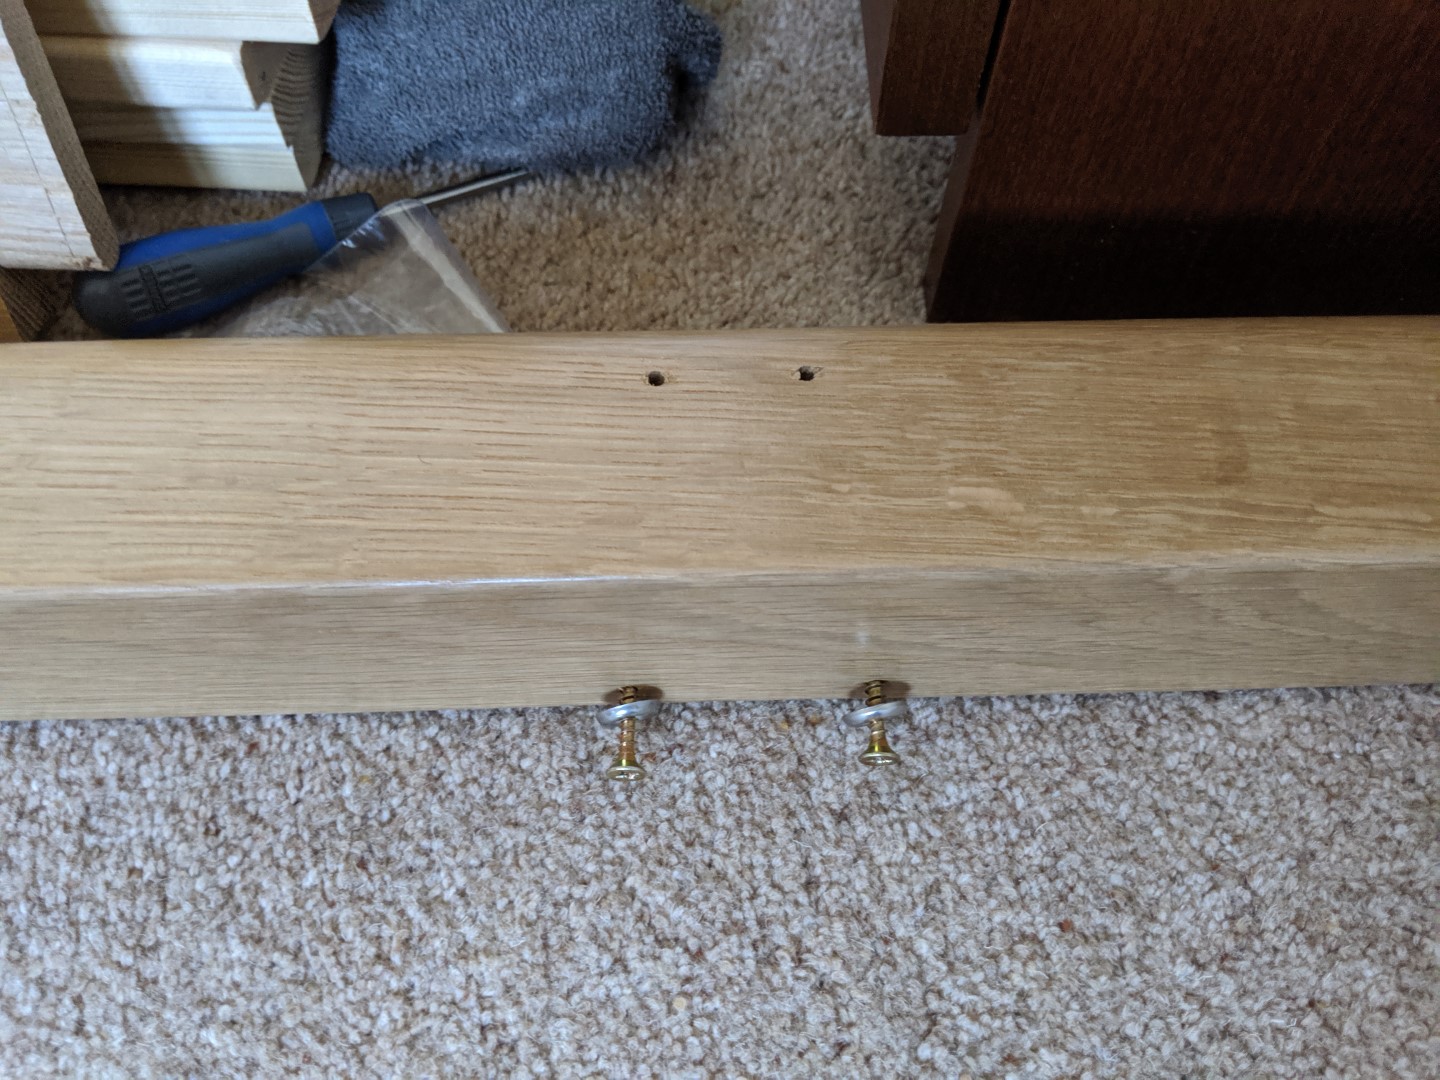 |
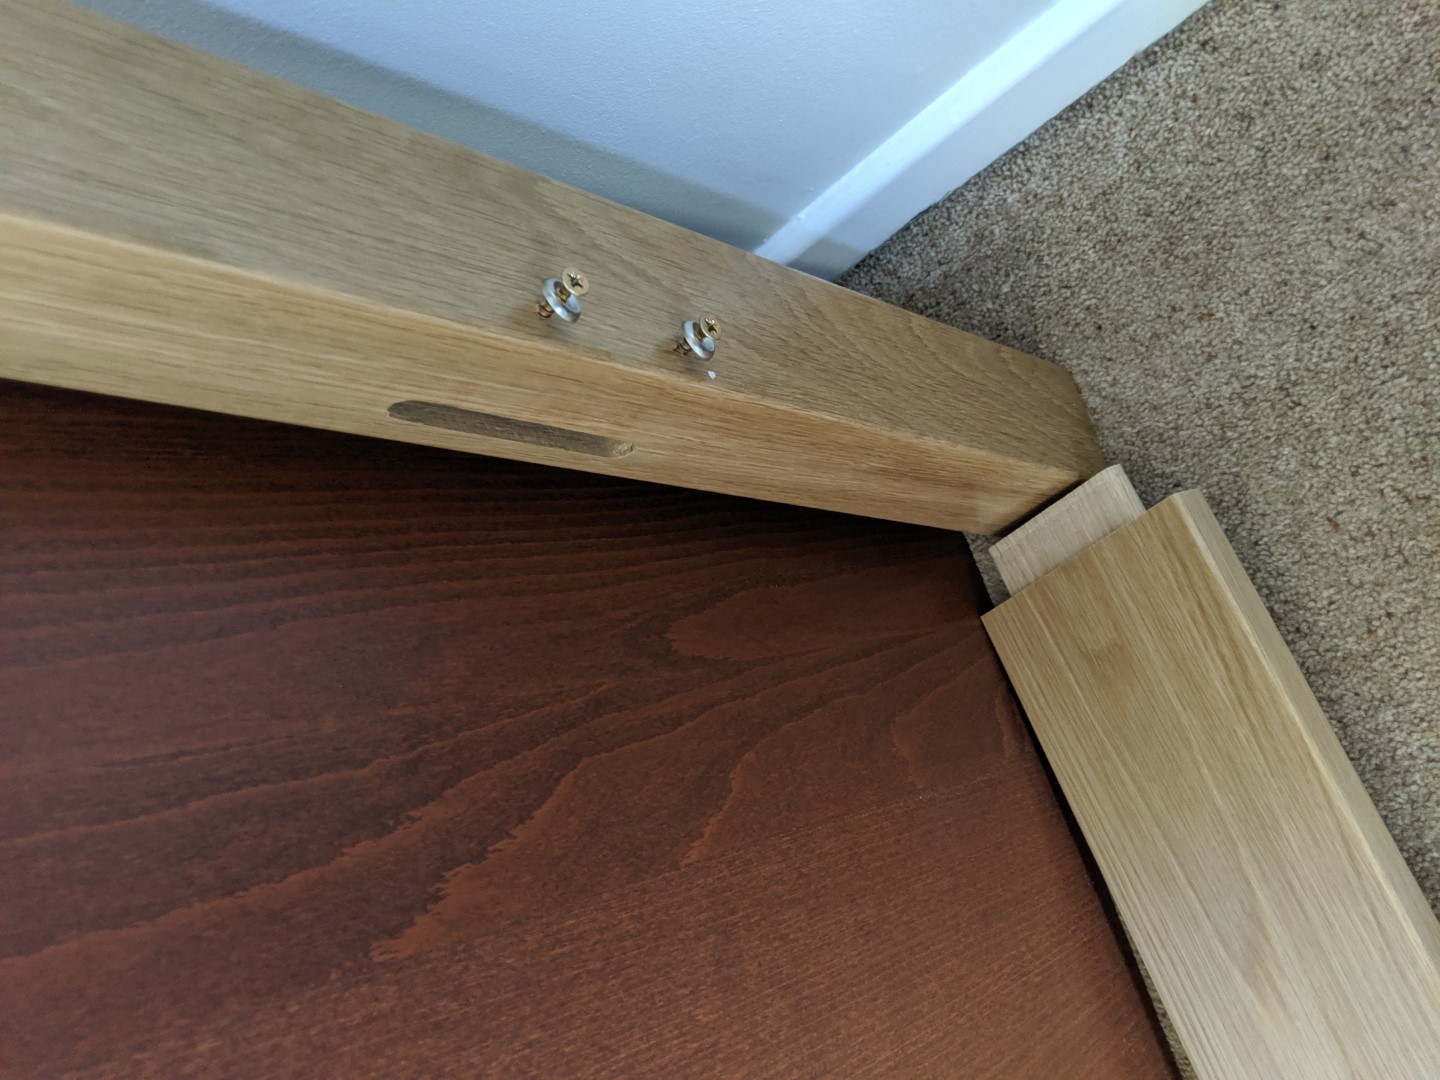
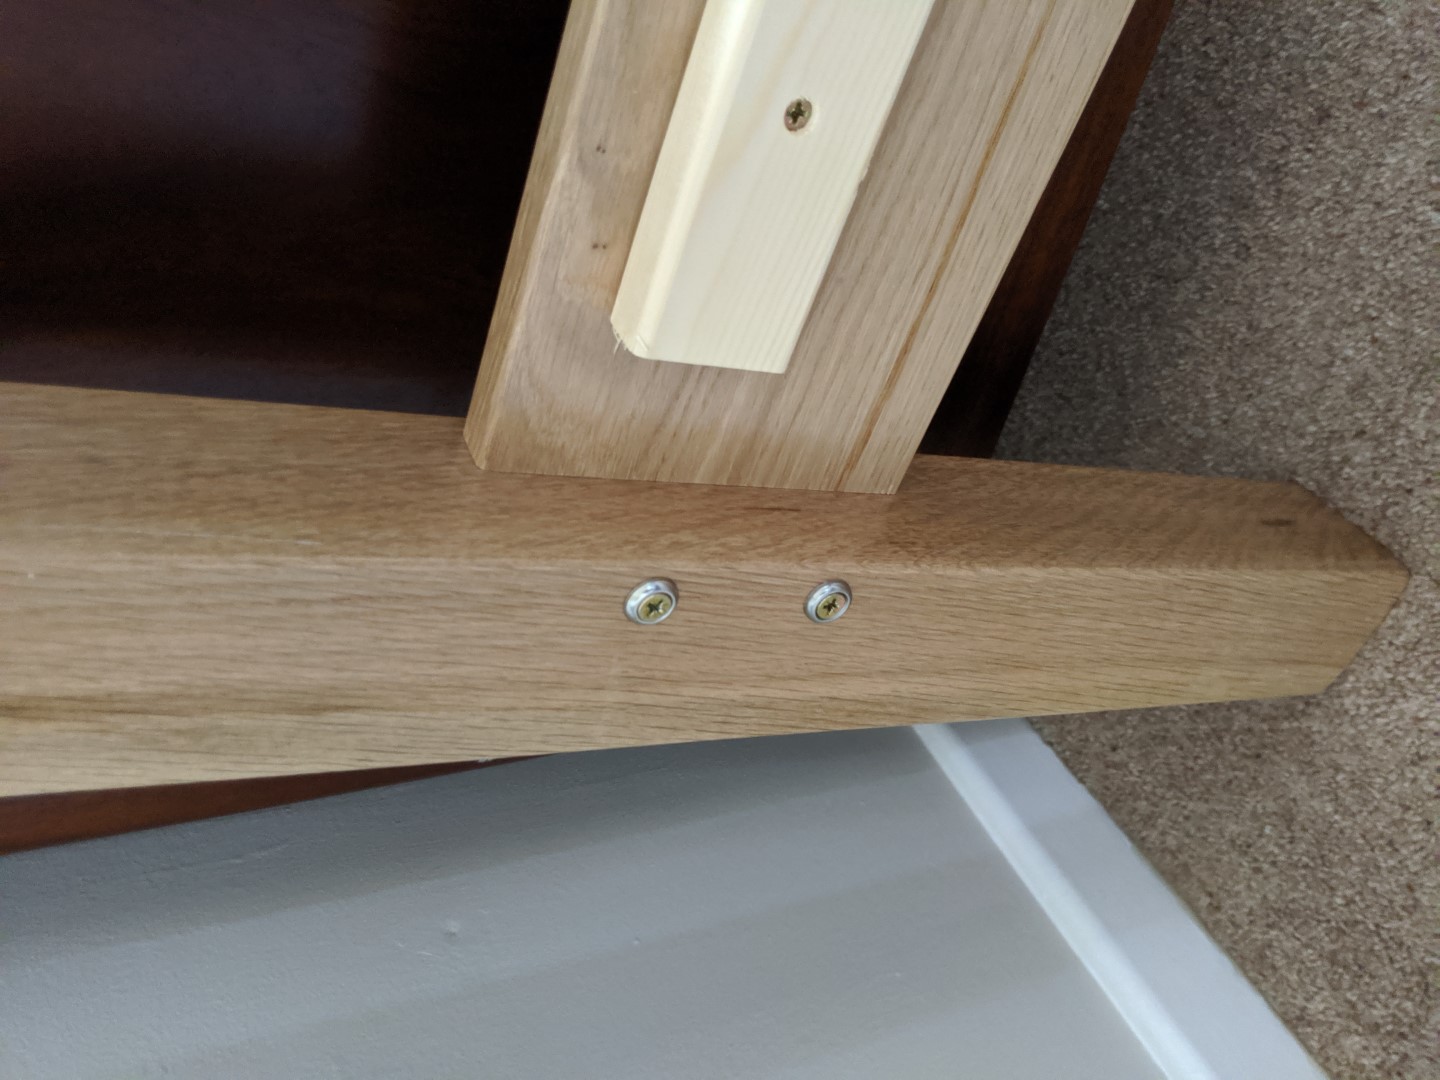
| Right side of the headboard with side screws part fitted. | Back of headboard post. Showing bonus screw holes not mentioned in the instructions. | Close up of screw holes on back of headboard post. |
 |
 |
 |
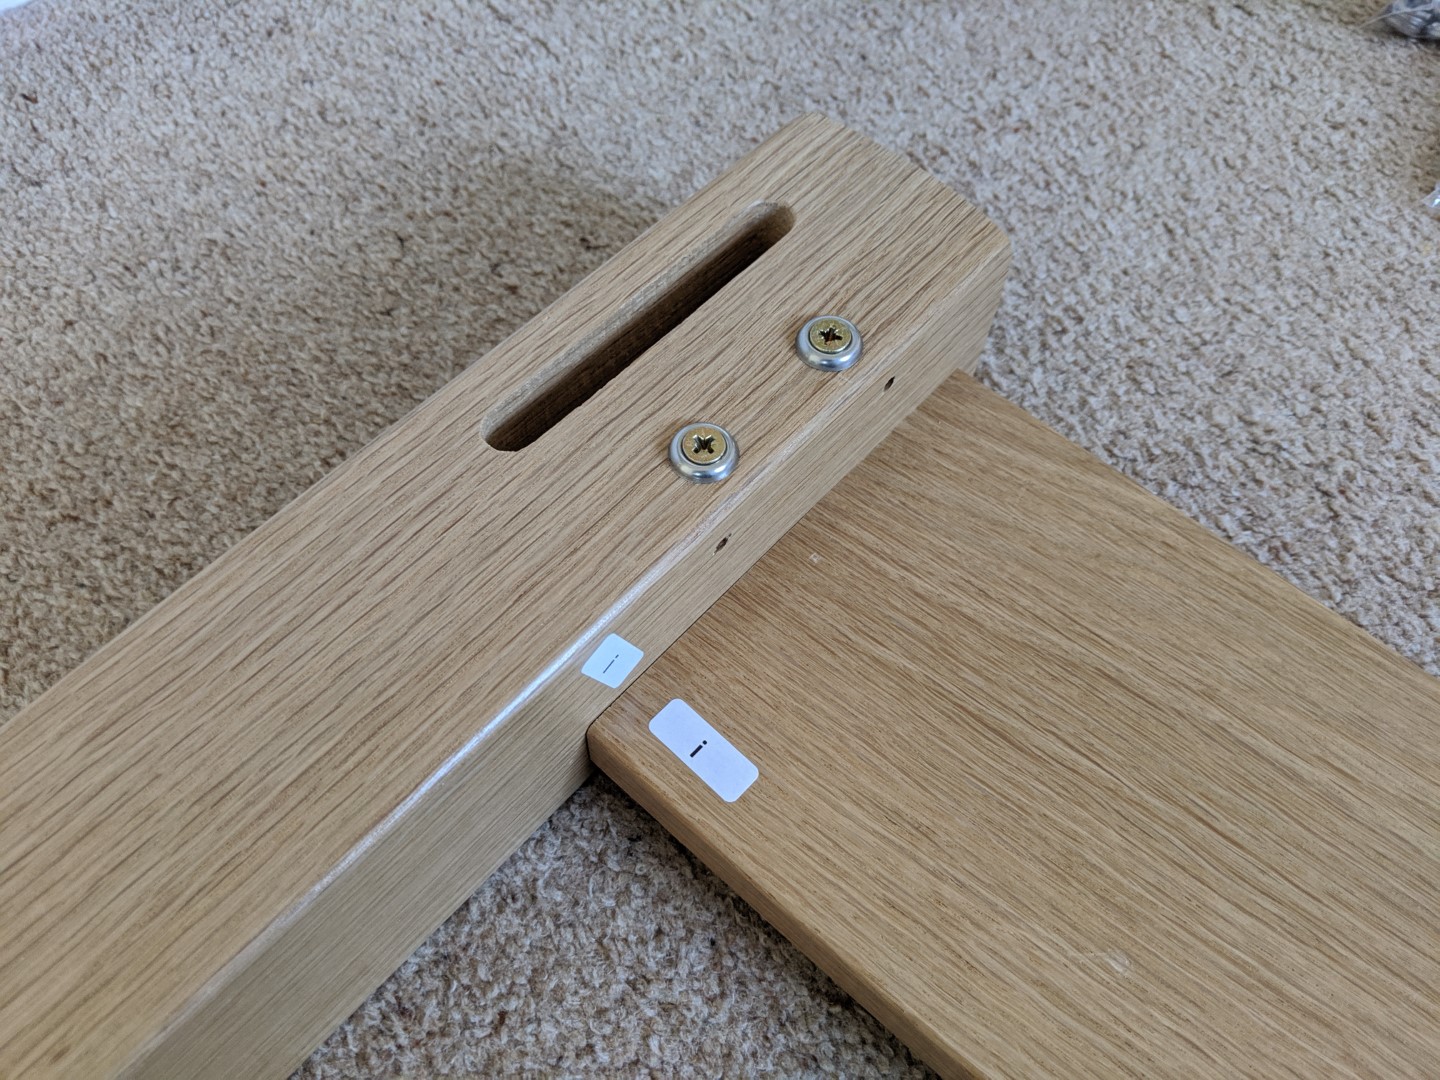
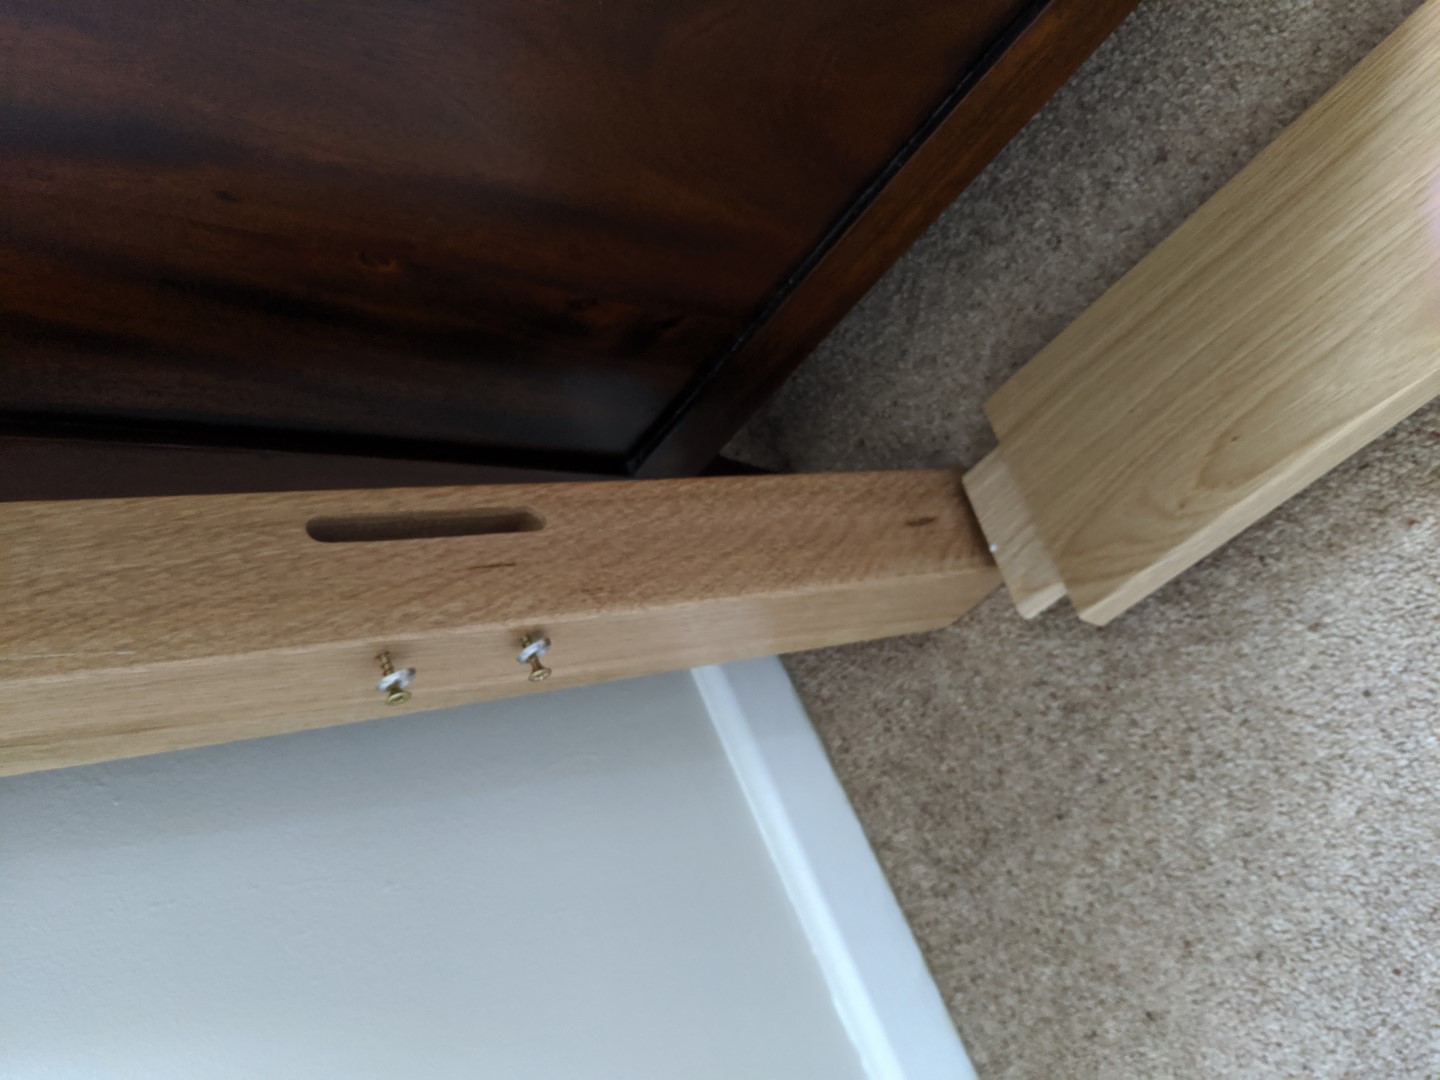
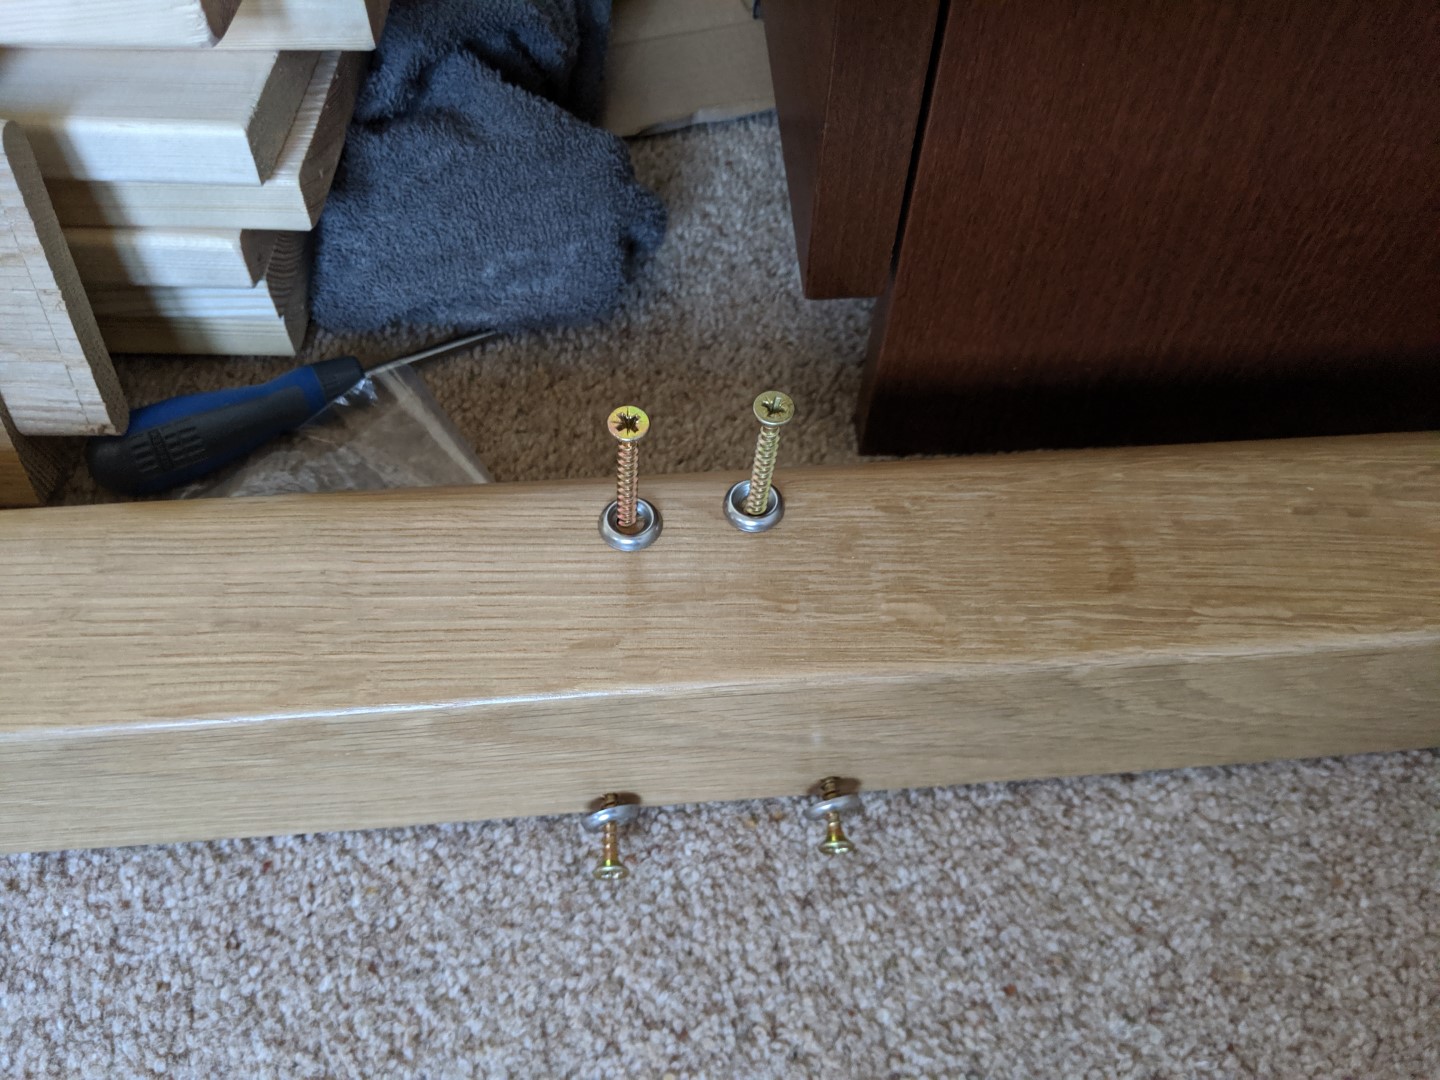
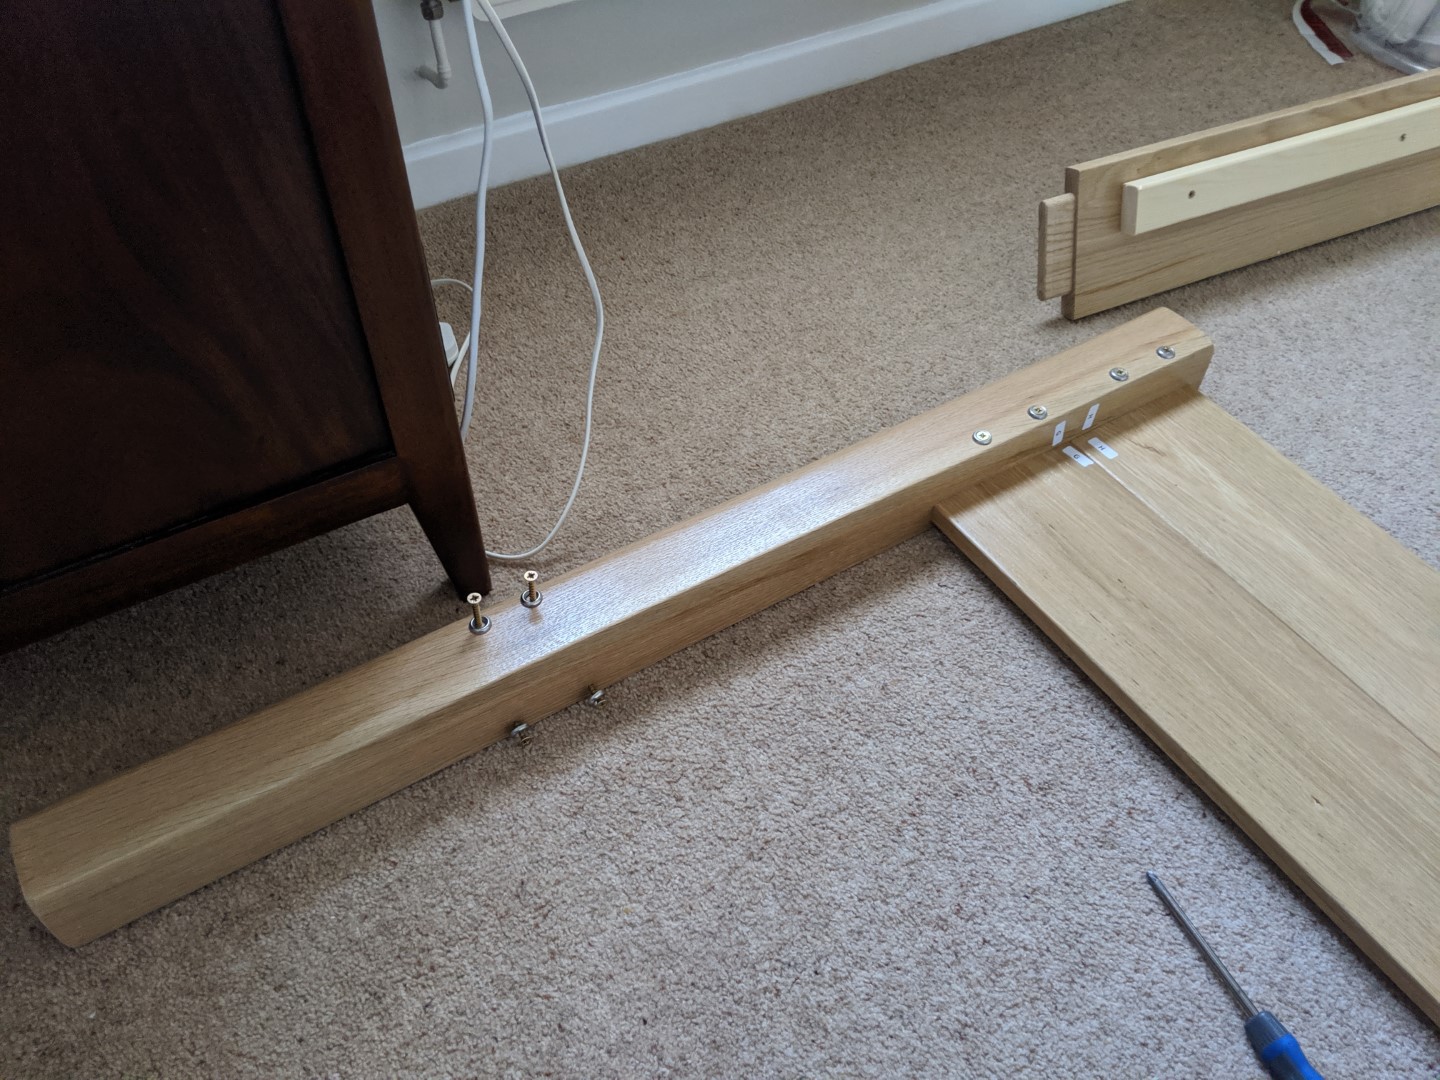
| Left side back of headboard post with screws part fitted. | Right side back of headboard post with screws part fitted. | Left side of headboard post with side rail screwed together using side screws only at this stage. |
 |
 |
 |
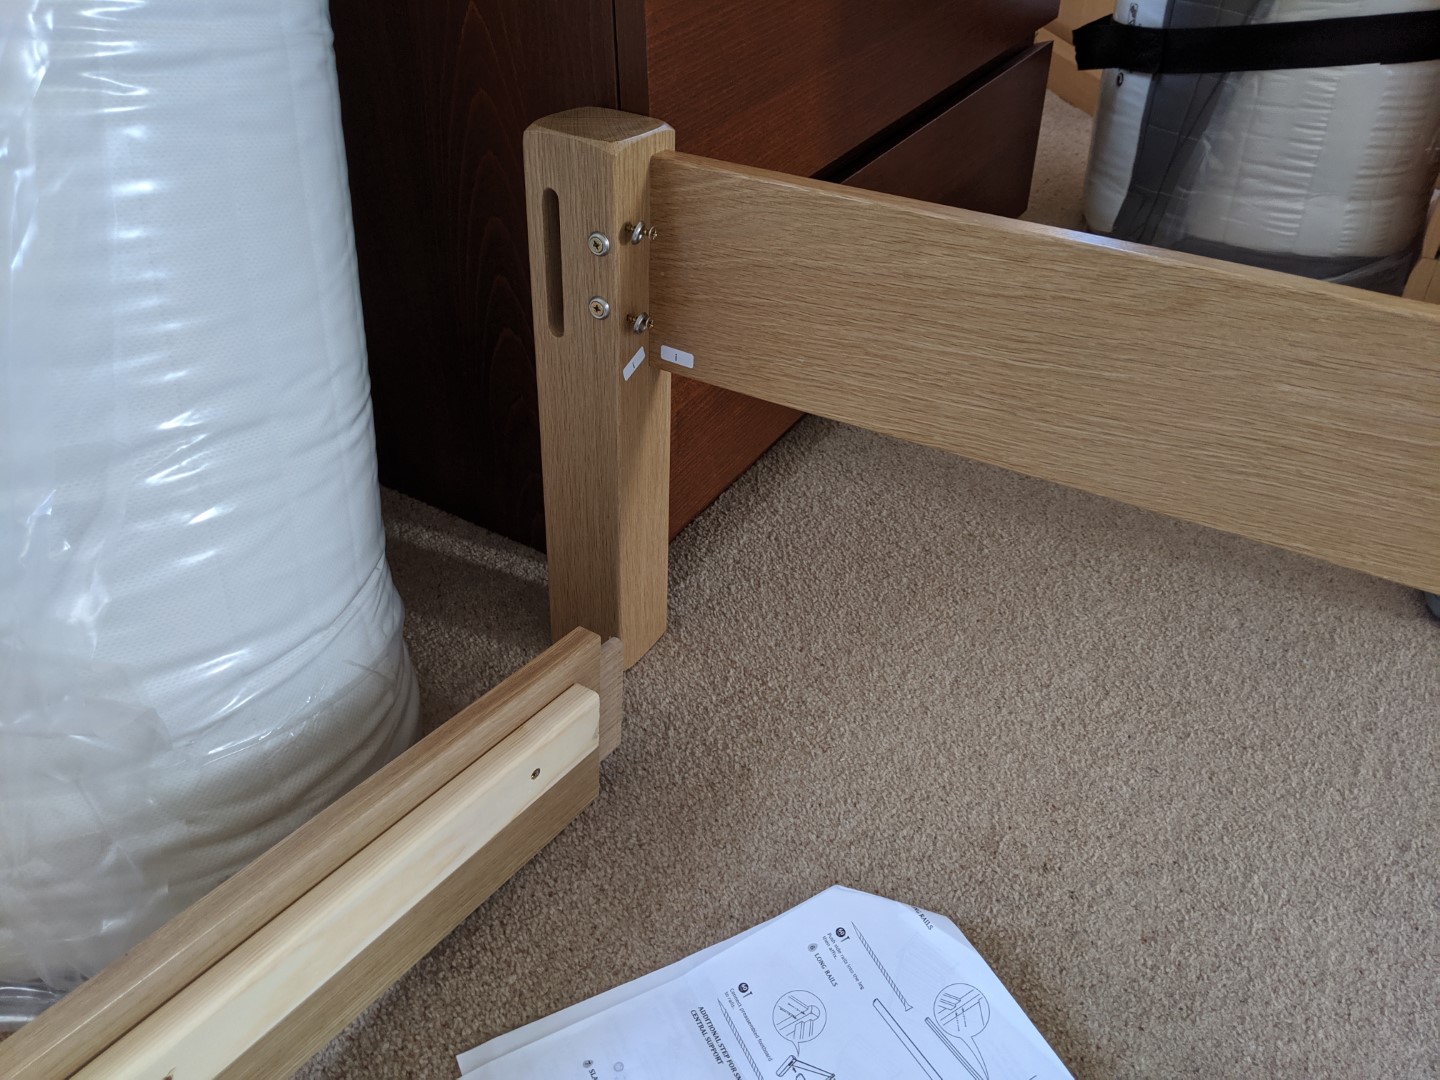
| Right side of headboard post with side rails screwed together using side screws only at this stage. | I side of foot post with screws part fitted. | J side of foot post with screws part fitted. |
 |
 |
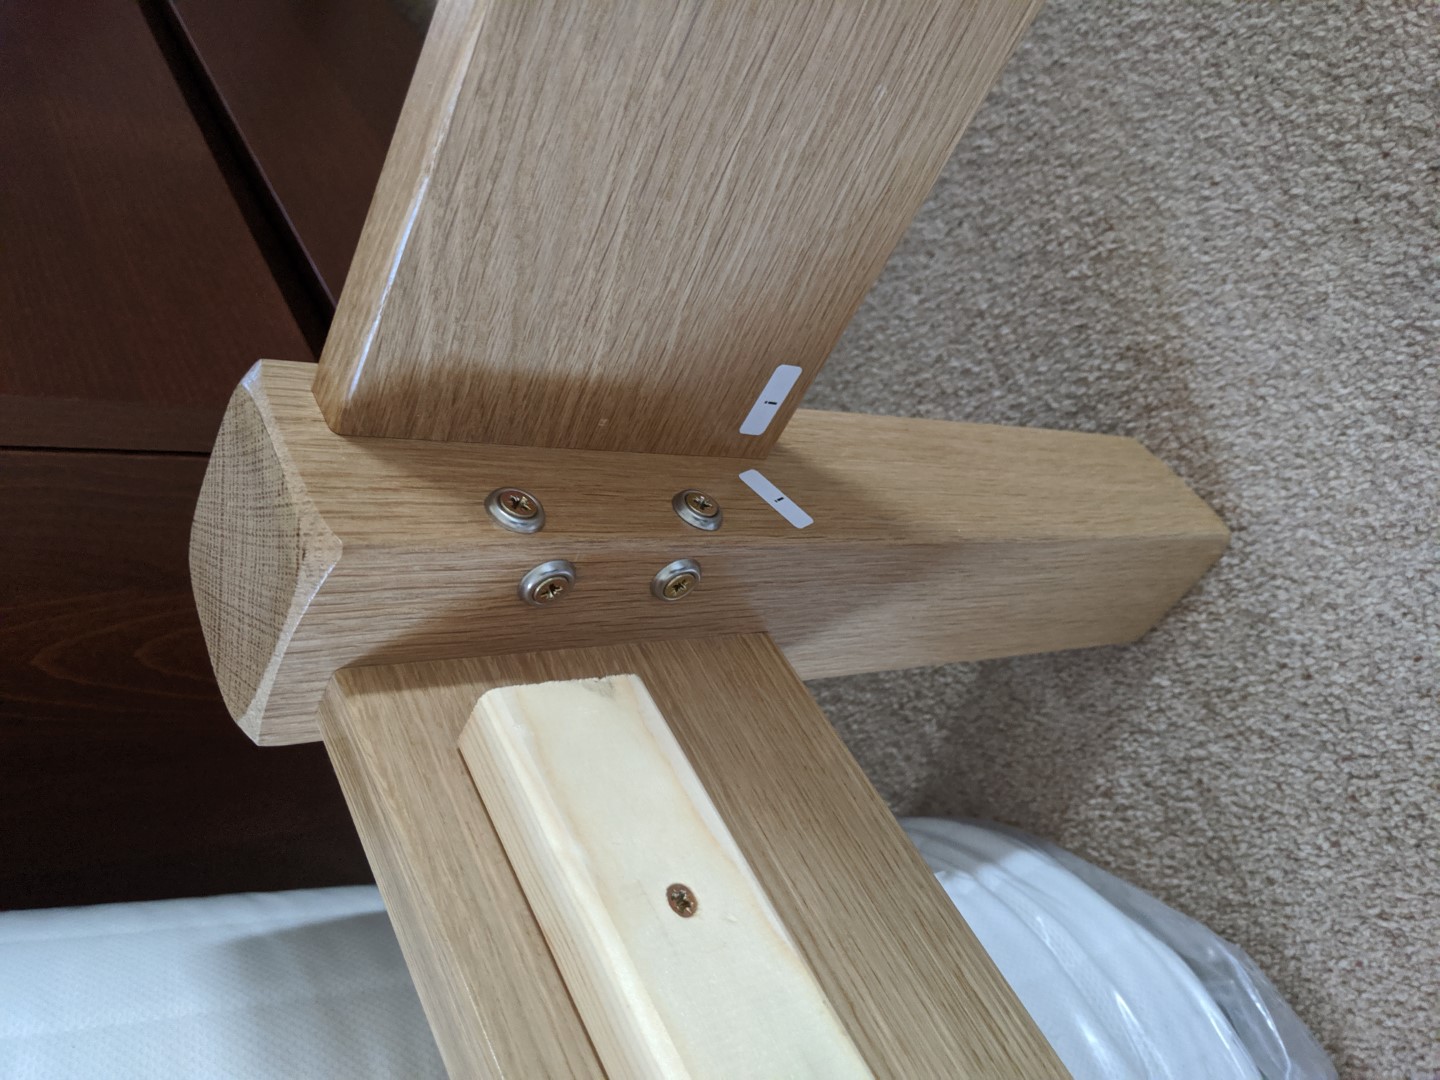 |
| Aligning the left side rail at the foot. | Aligning the right rail at the foot. | I side, right foot and rail screwed together. |
 |
 |
 |
| J side, left foot and rail ready to be screwed together. | J side, left foot with side rail screwed together. | Right side headboard post back screws now screwed together into side rail end. |
 |
 |
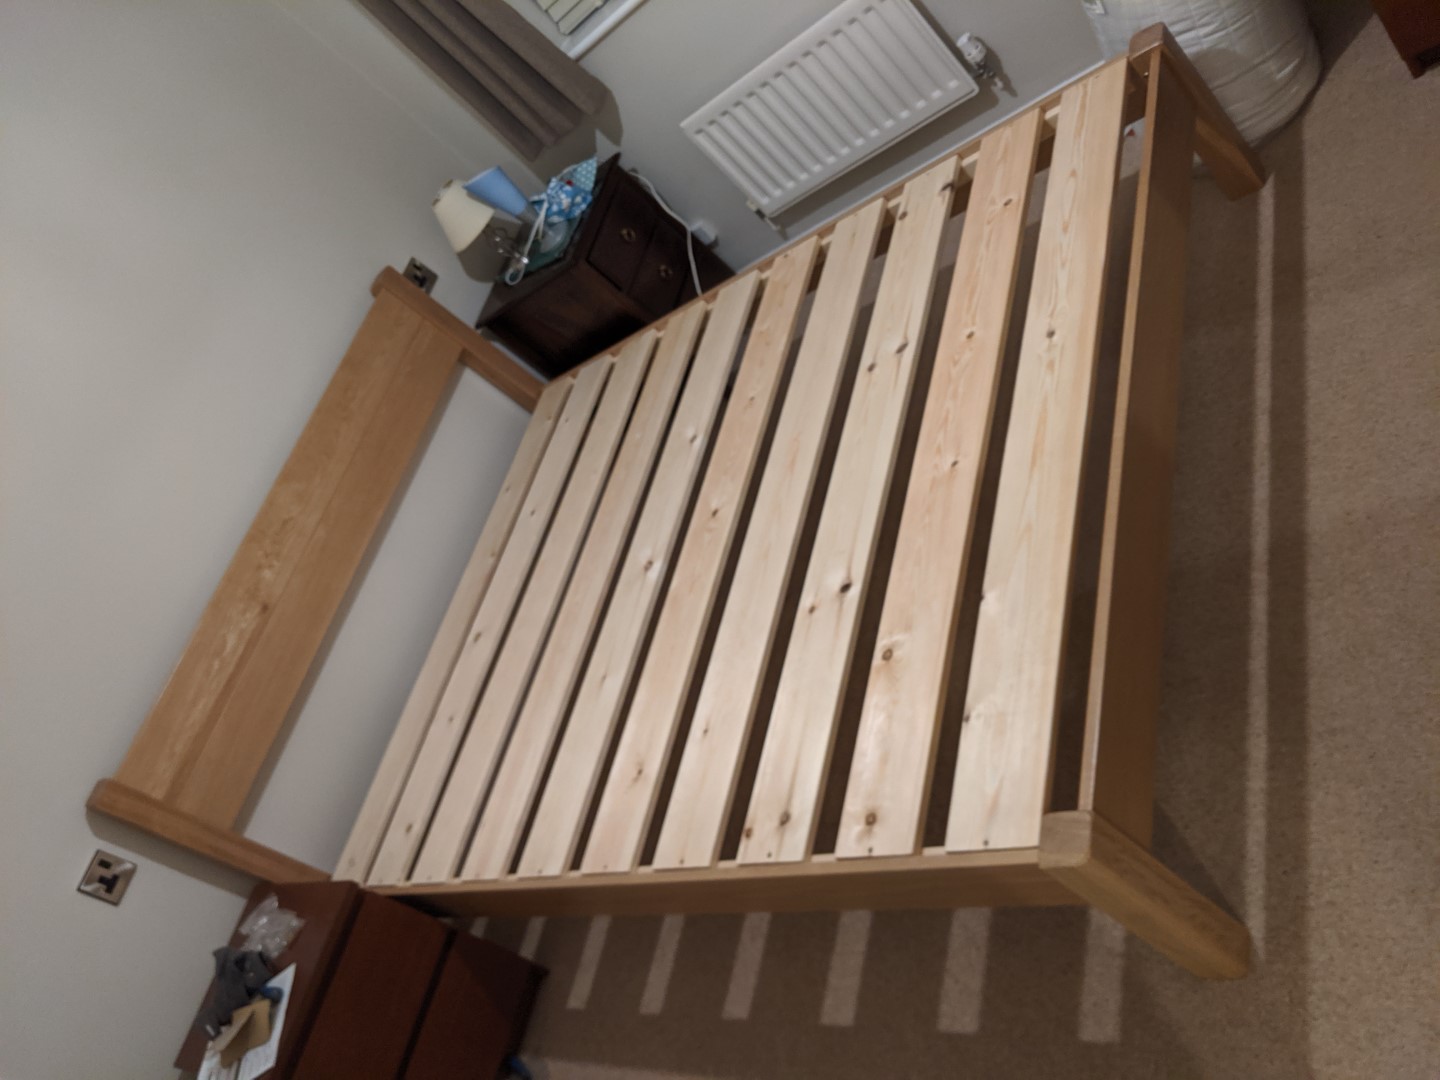 |
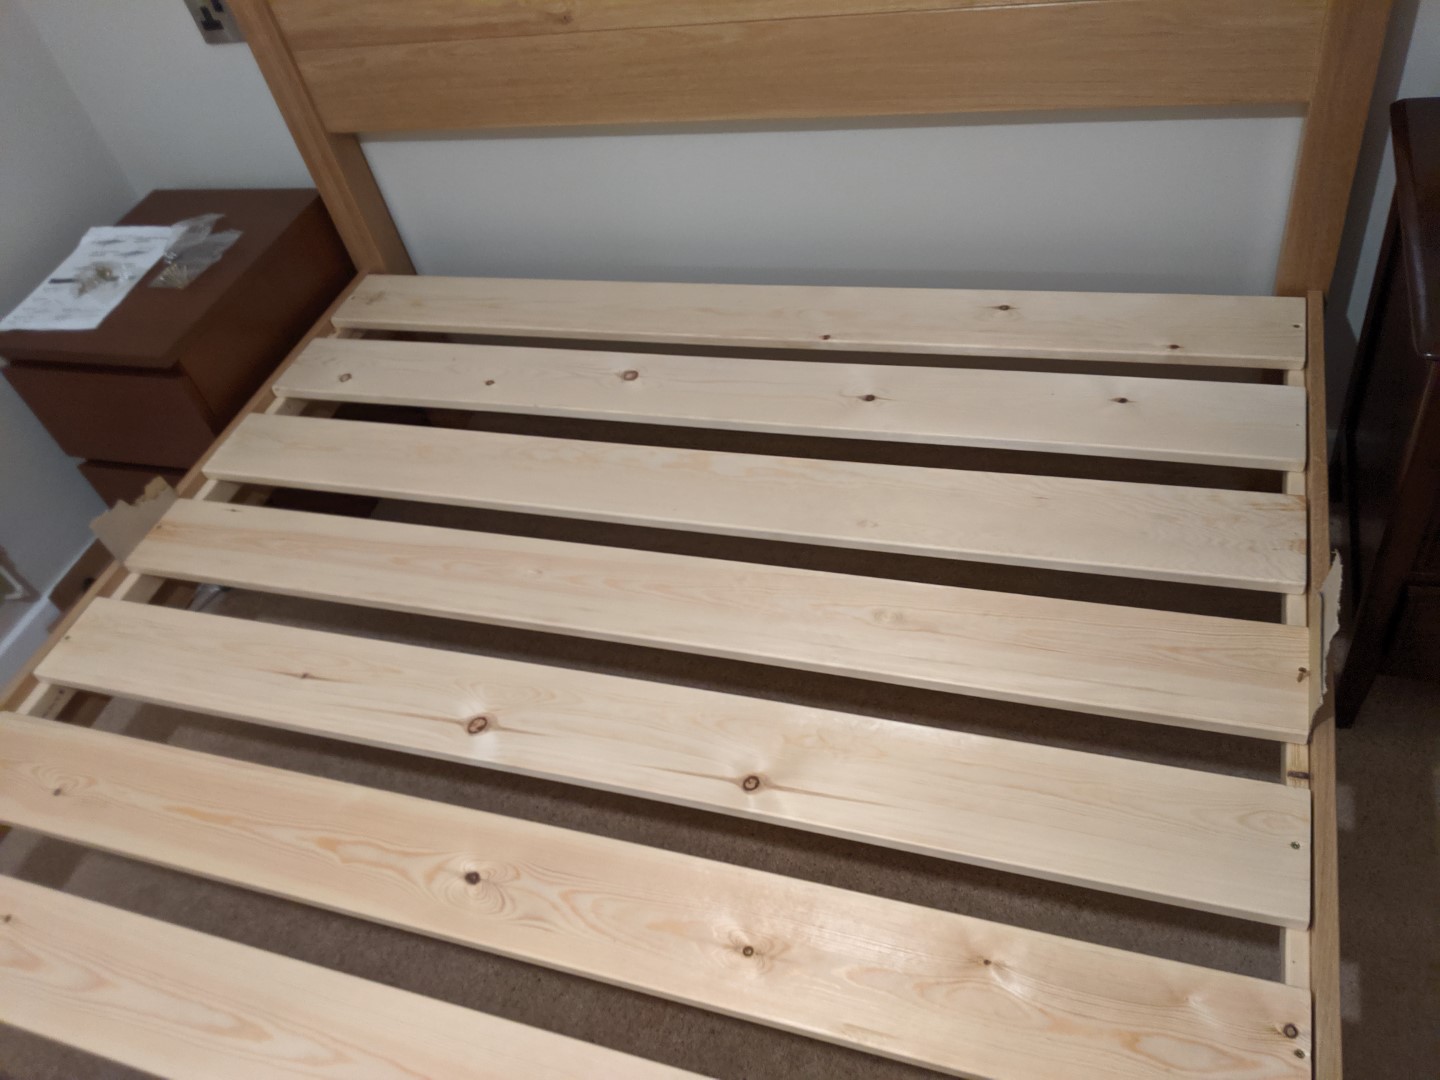
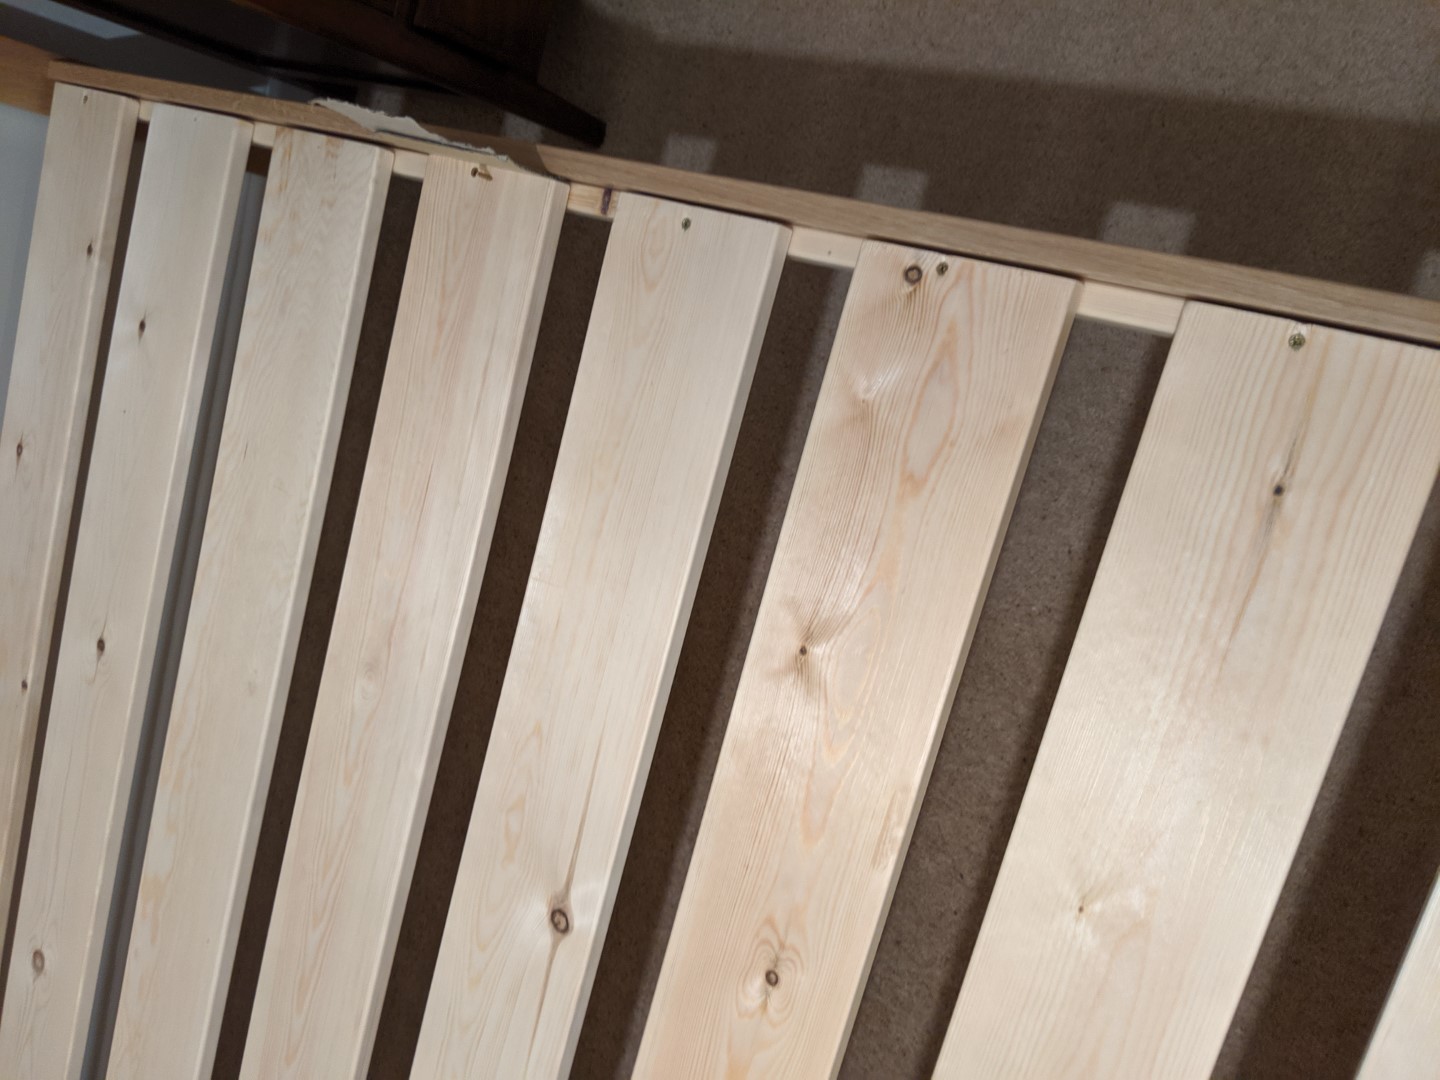
| Spacing the pine slats evenly and using cardboard to pad the ends to ensure the plank is centred before screwing down firmly. | Close up of the slats with cardboard spacer and screw part fitted. | The completed oak bed frame including pine slats. |
 |
 |
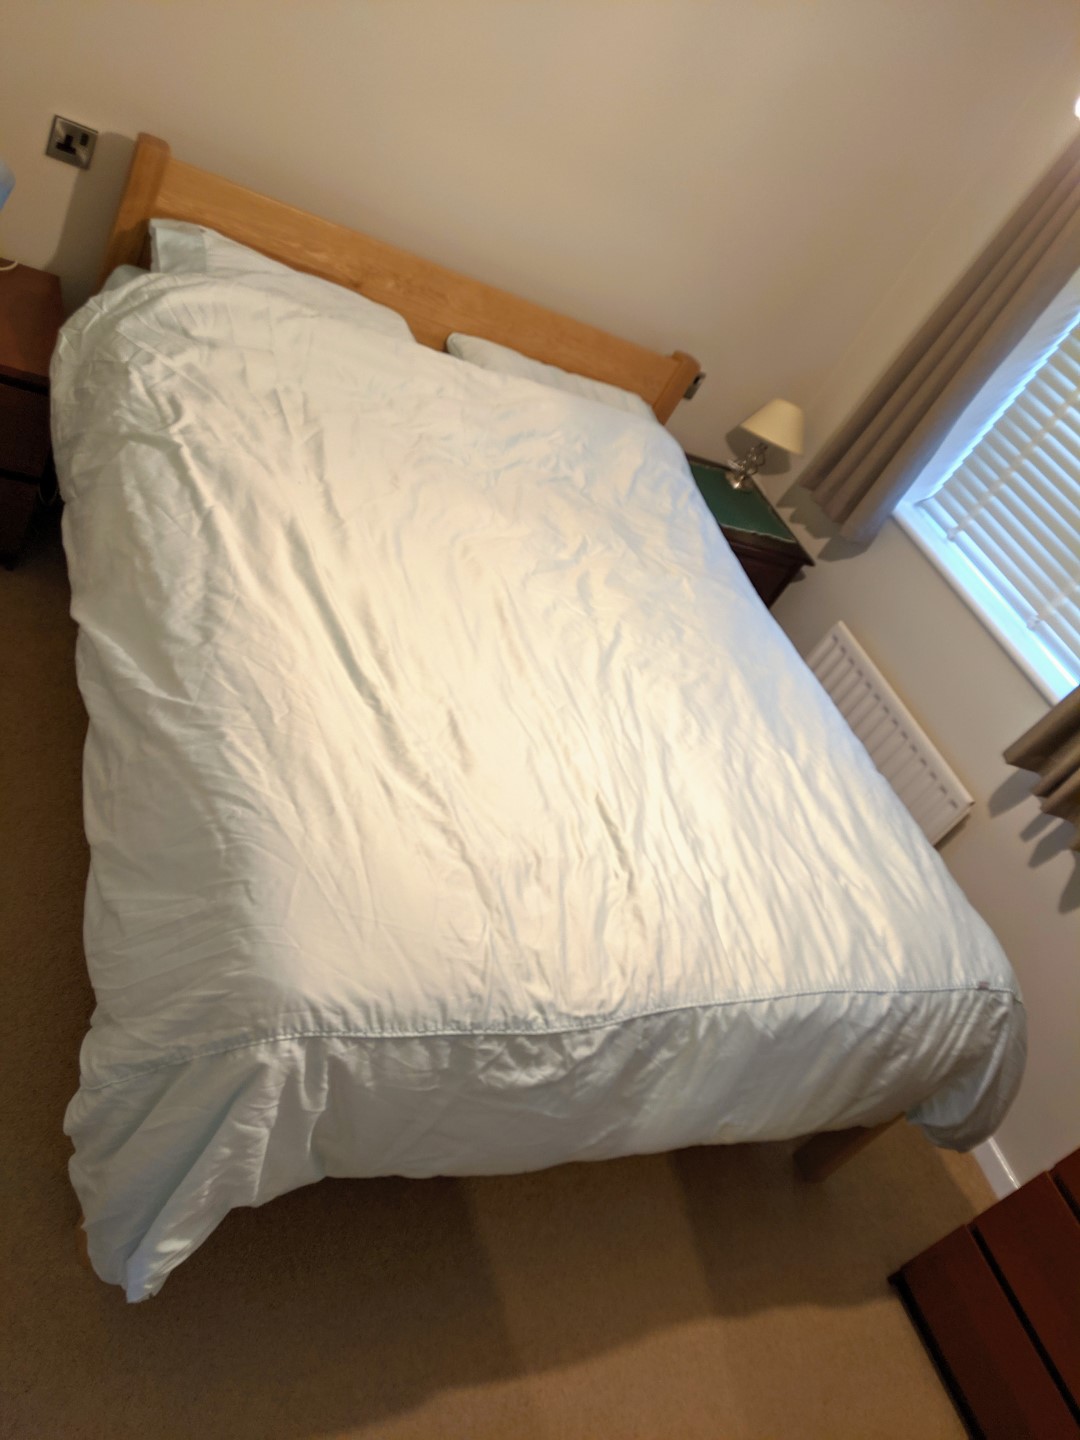 |
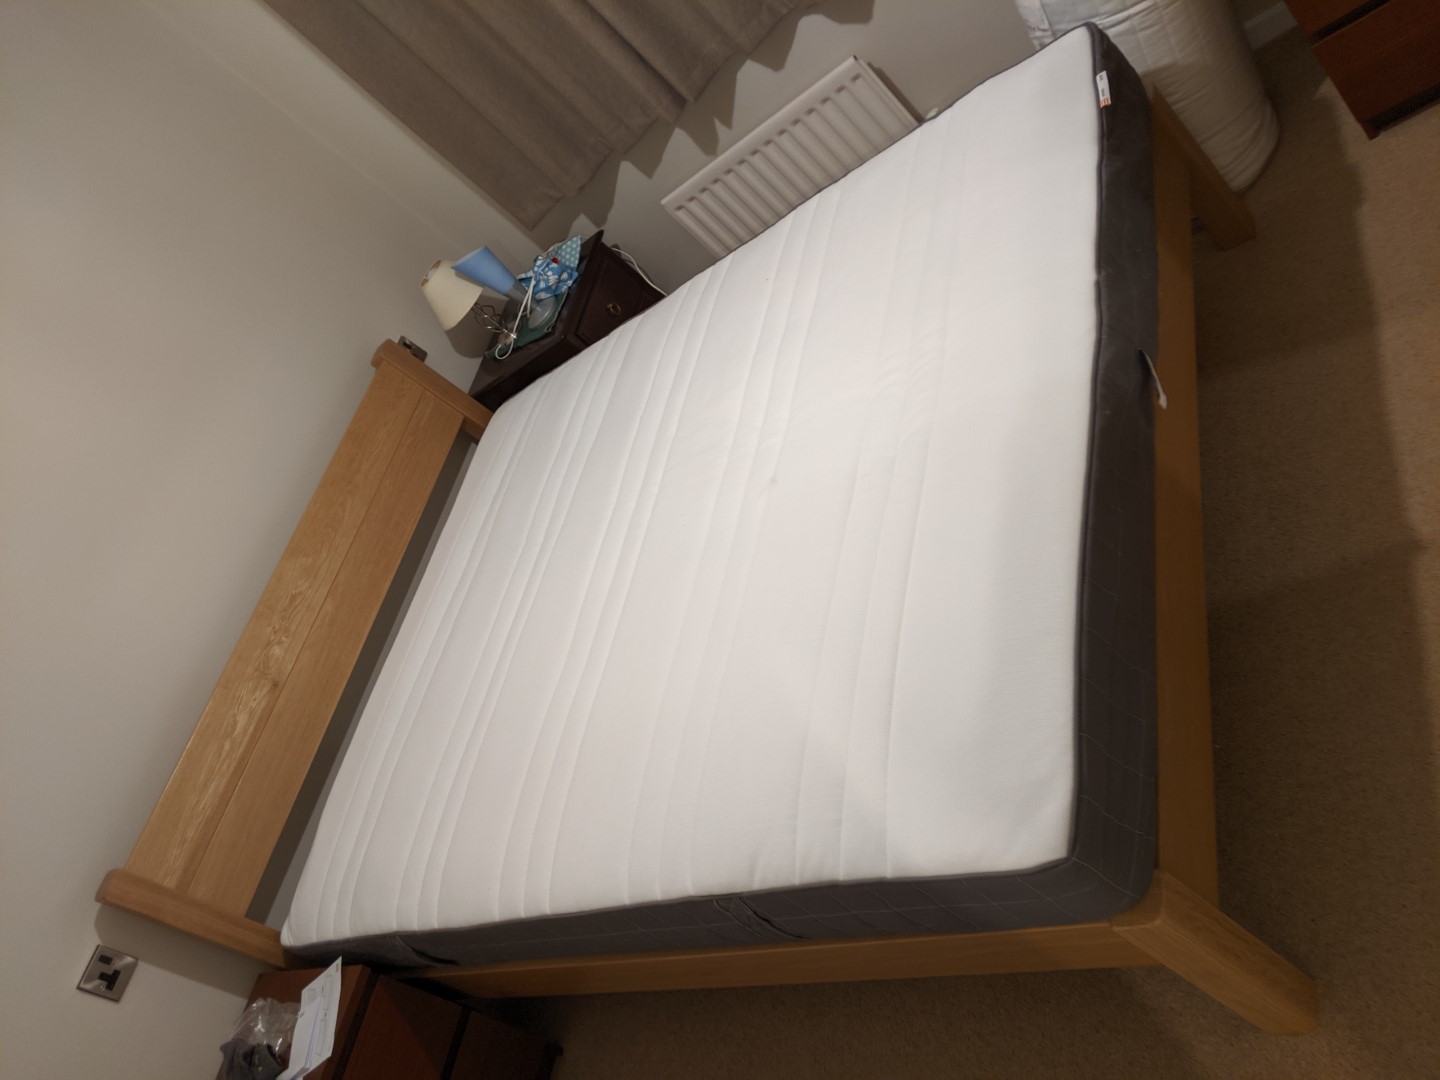
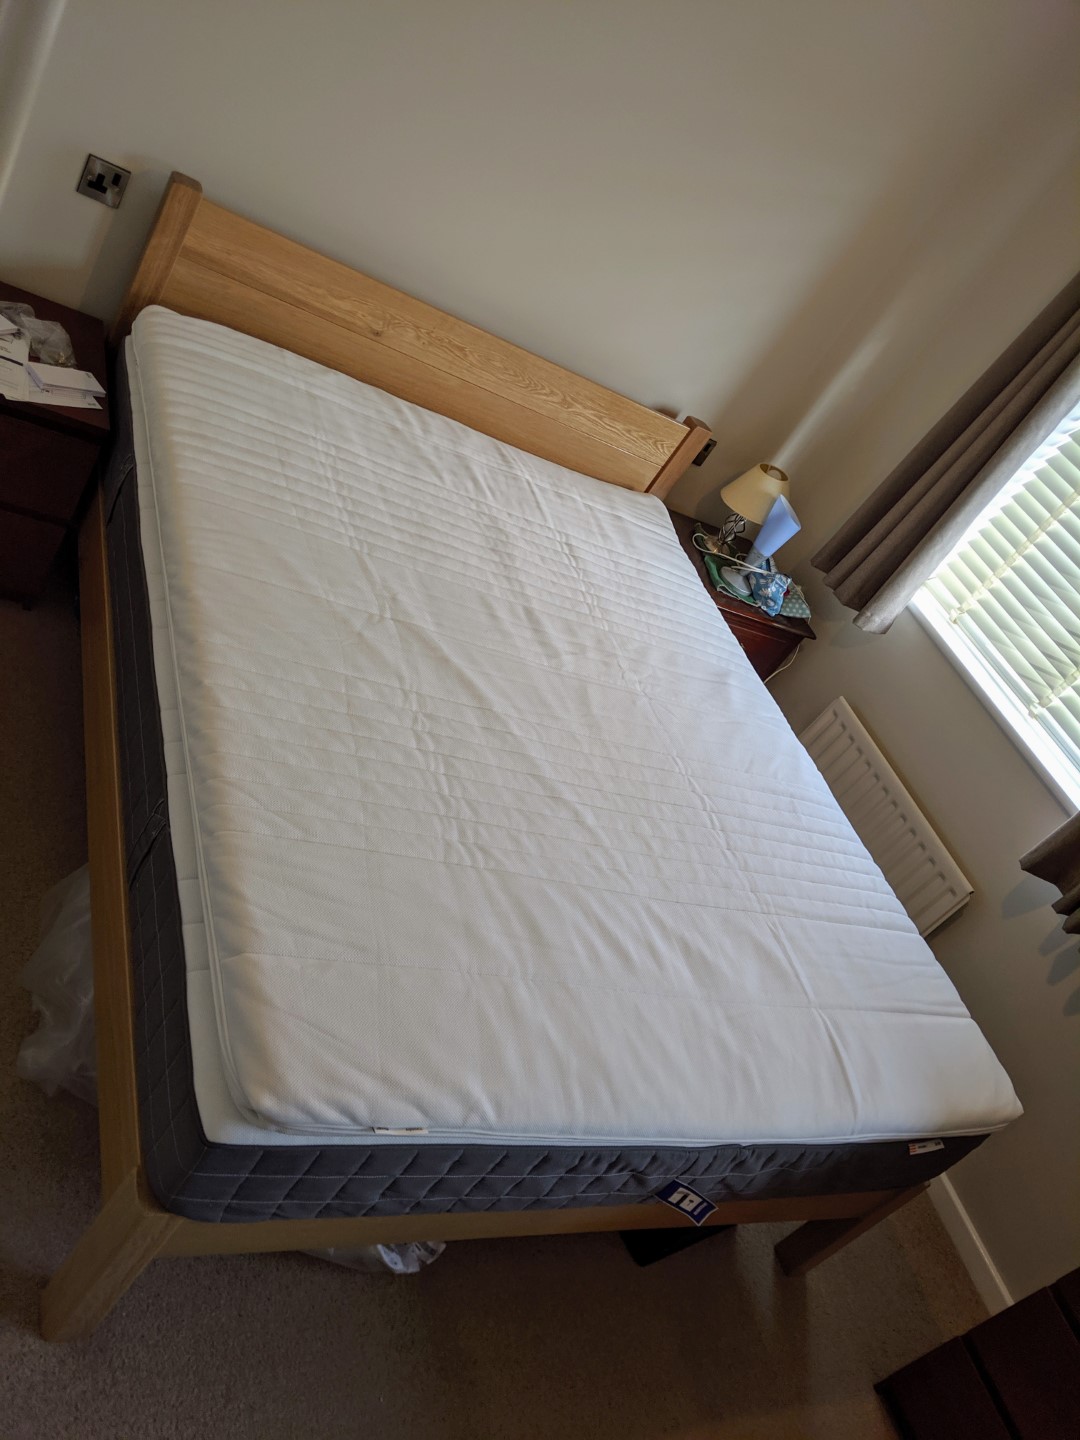
| Completed bed including mattress. | Completed bed with mattress and mattress topper. | Completed bed. |
Conclusion
The instructions have room for improvement, especially with the missing steps. Once assembled the bed frame does have a good solid feel to it. There’s plenty of clearance underneath for storage. The frame has pretty much the same width as the mattress (160cm) so we still have reasonable walkways on either side of the bed. The 20mm thick slats have a lot of movement in them, especially when you consider the width of the bed combined with the weight of the mattress and people on the it. This would suggest that the bed would benefit from the addition of a central support beam to maximise the life of the mattress and slats.