How To Bake A Crusty Loaf
A well tested recipe and step-by-step guide for baking a crusty farmhouse loaf.
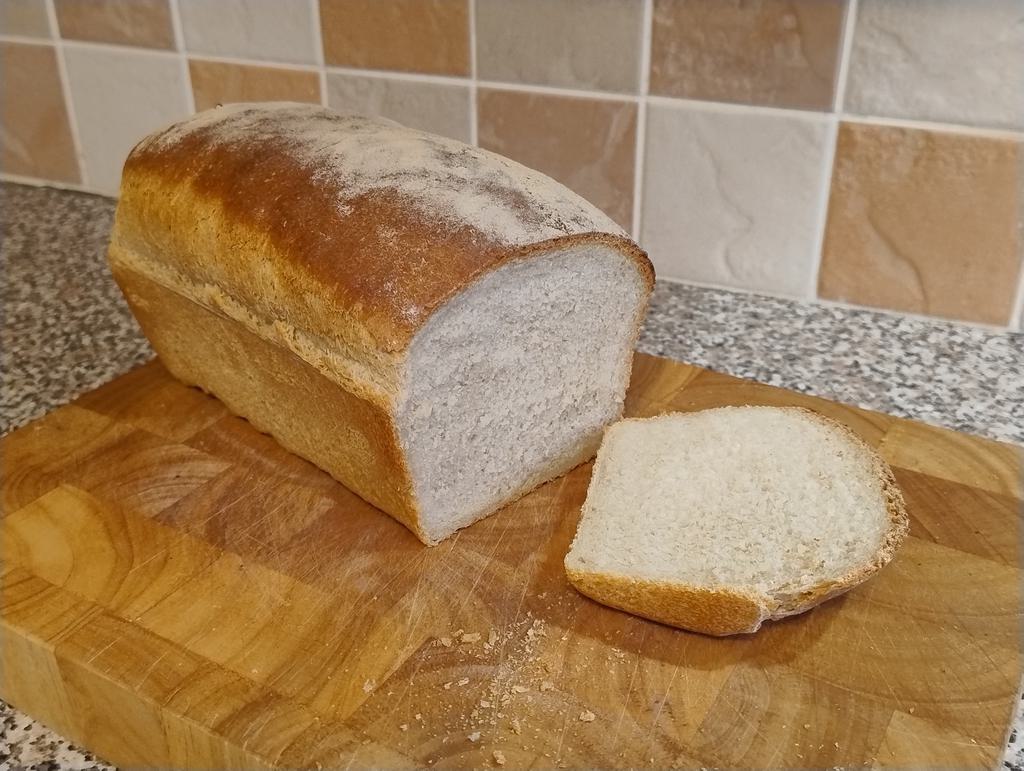
I’ve found this recipe to give repeatably a decent crusty white loaf. It’s based on the Mary Berry Farmhouse Loaf recipe in Mary Berry’s Cookery Course. With additional detail on the method based on techniques demonstrated by Bake With Jack.
The Equipment
- Mixing bowl
- Palette knife or a butter knife
- Measuring spoons (or a tablespoon and a teaspoon)
- Measuring jug
- Weighing scales
- 2lb loaf tin
- Cooling rack
- Tea strainer or small sieve for dusting
- Tea Towel
I use two mixing bowls, one for mixing and one for proving - but you could easily just have one and wash it out prior to proving.
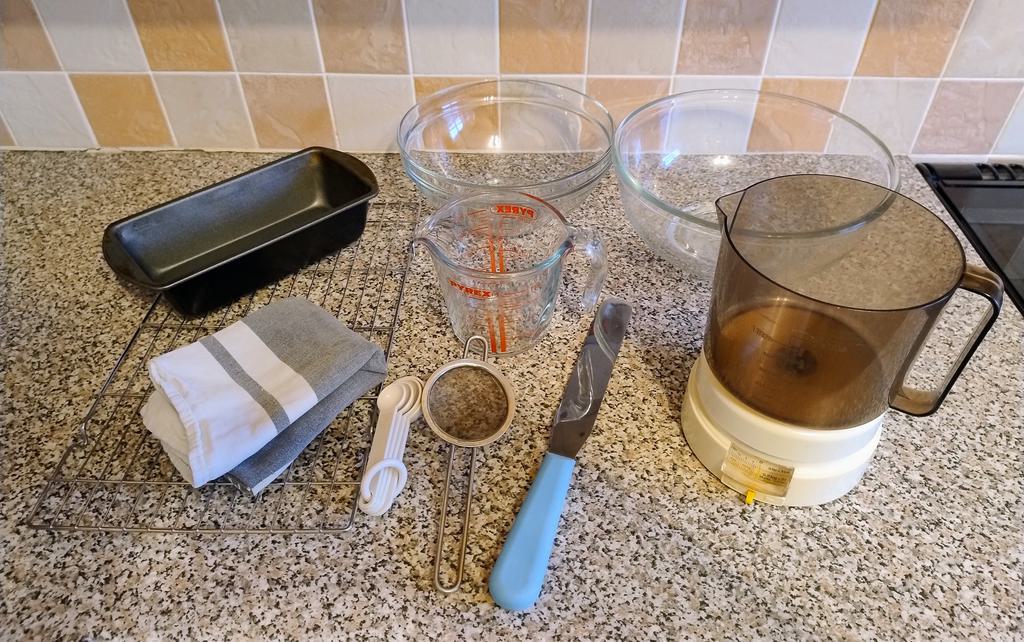 The Equipment
The Ingredients
- 500g strong white bread flour
- 2 teaspoons dried yeast
- 2 teaspoons sea salt
- 300ml water room temperature(ish) - might need a bit more or less
- 1 tablespoon of vegetable oil (sunflower)
For the dried yeast over the years I have used both Allison’s Easy Bake Yeast and Doves Farm Quick Yeast. Both work fine, just make sure it’s still in date (it gets less effective over time and takes a lot longer to prove). Once opened I store mine in the door of the fridge - I’m reusing the Allison’s tub, but it currently has the Doves Farm yeast in it.
For the salt, I have found that sea salt gives a really nice flavour to the bread rather than just table salt.
With the bread flour, I have used different brands (Allison’s, M&S, Aldi) and found they all work really well.
I once forgot to add the sunflower oil and noticed that the finished bread wasn’t crusty - so I think the oil may be what gives it the crustiness.
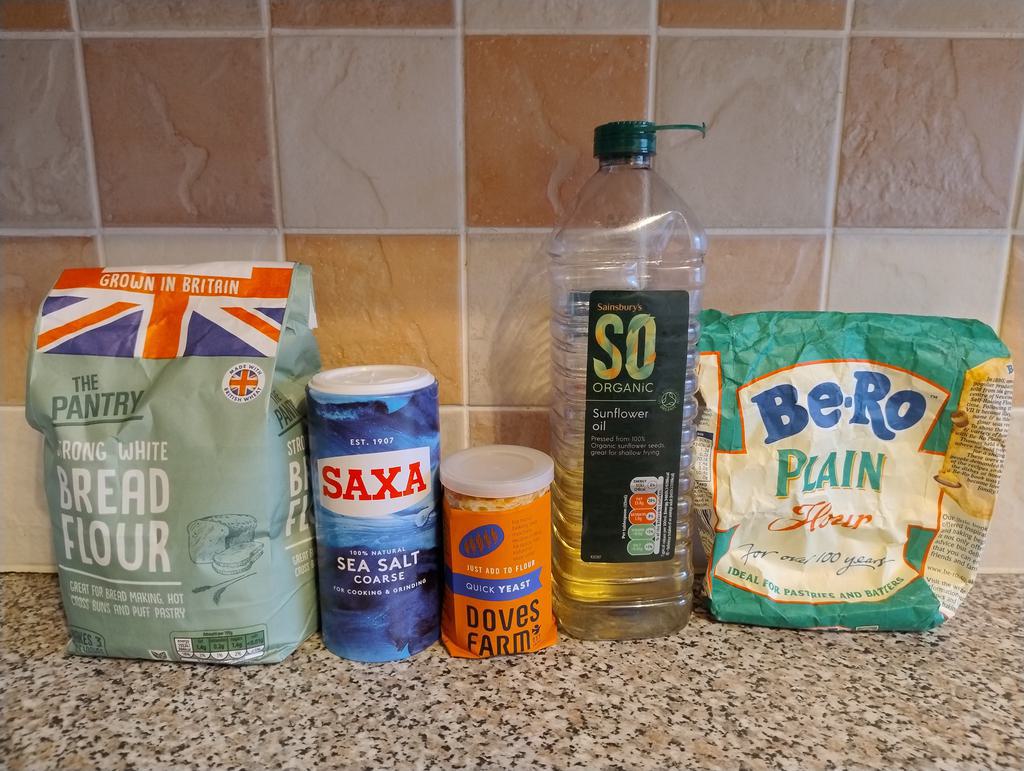 The Ingredients
Weighing Out The Flour
Measure out the bread flour using the scales and tip into the mixing bowl. If the flour has been in the cupboard for quite a while then you may want to sieve the flour into the bowl to remove any potential weevils.
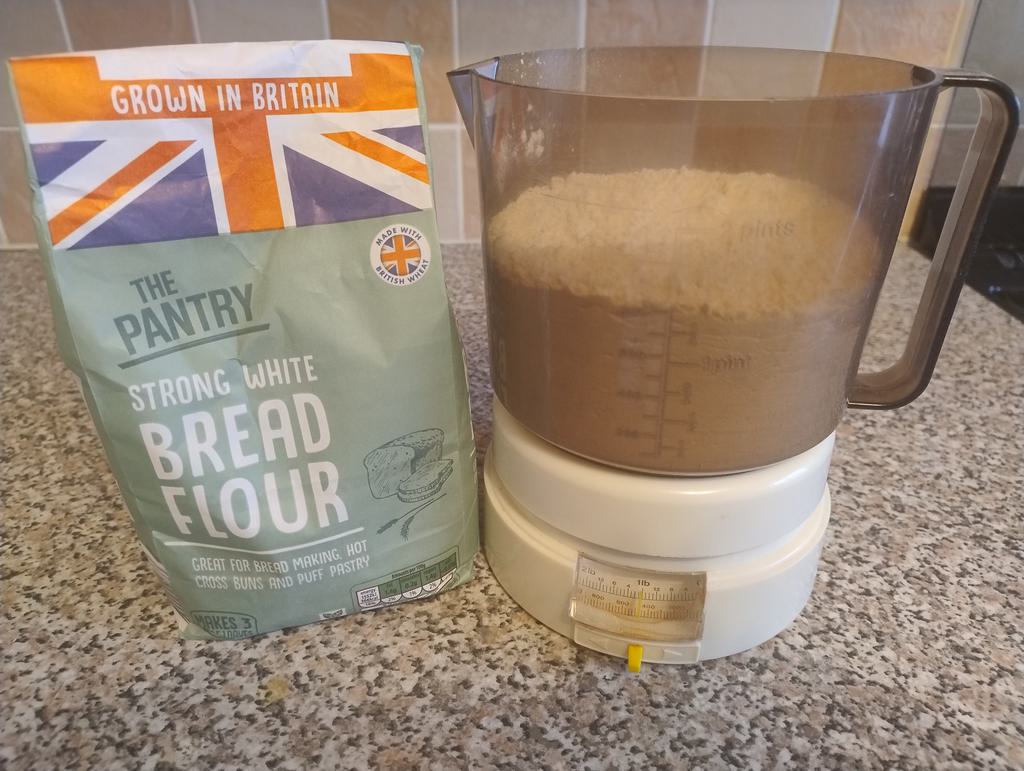 Weighing Out The Flour
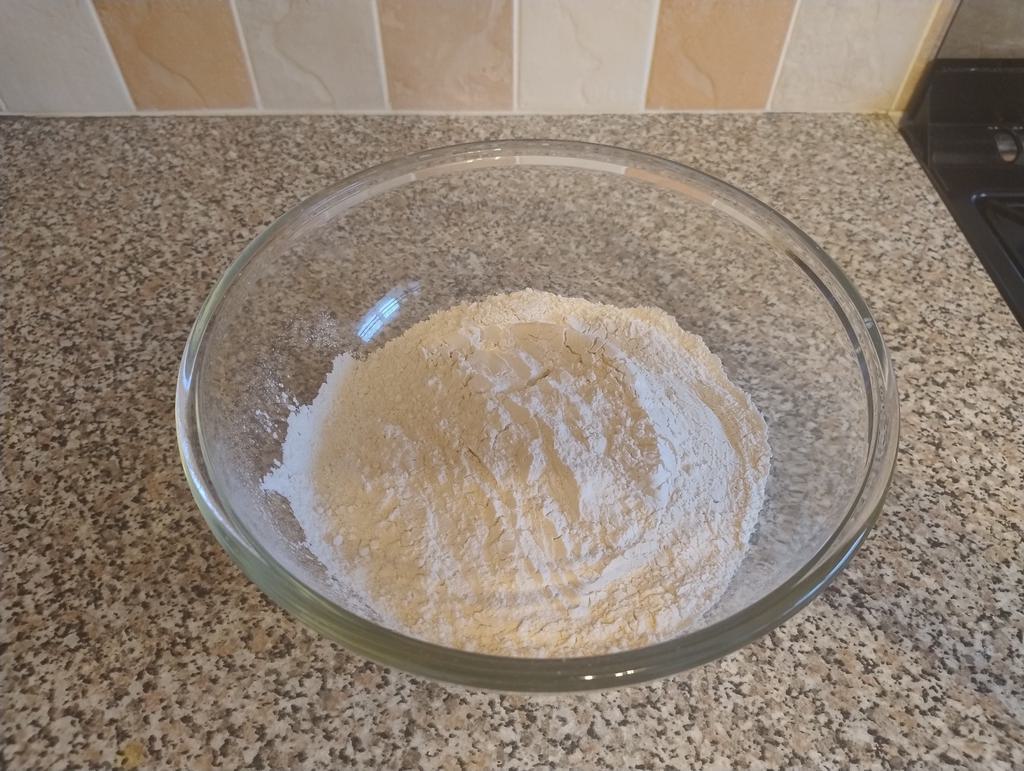 Flour In The Bowl
Adding The Salt
Measure out and scatter the salt across the flour then use the palette knife to mix it in well.
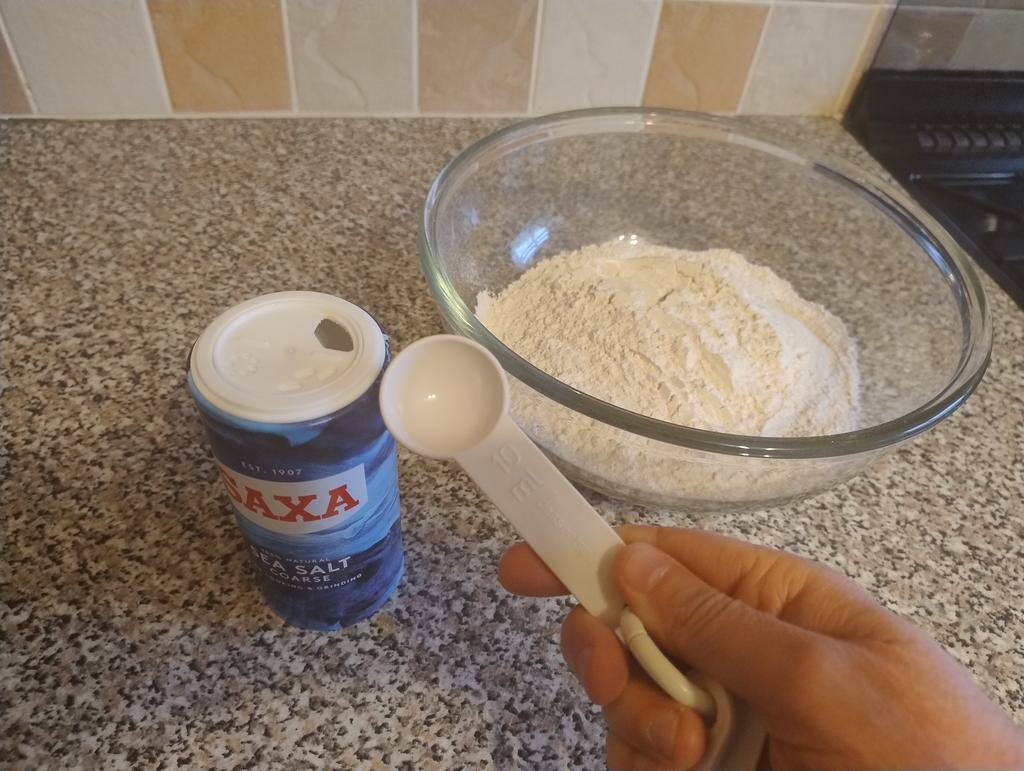 Adding The Salt
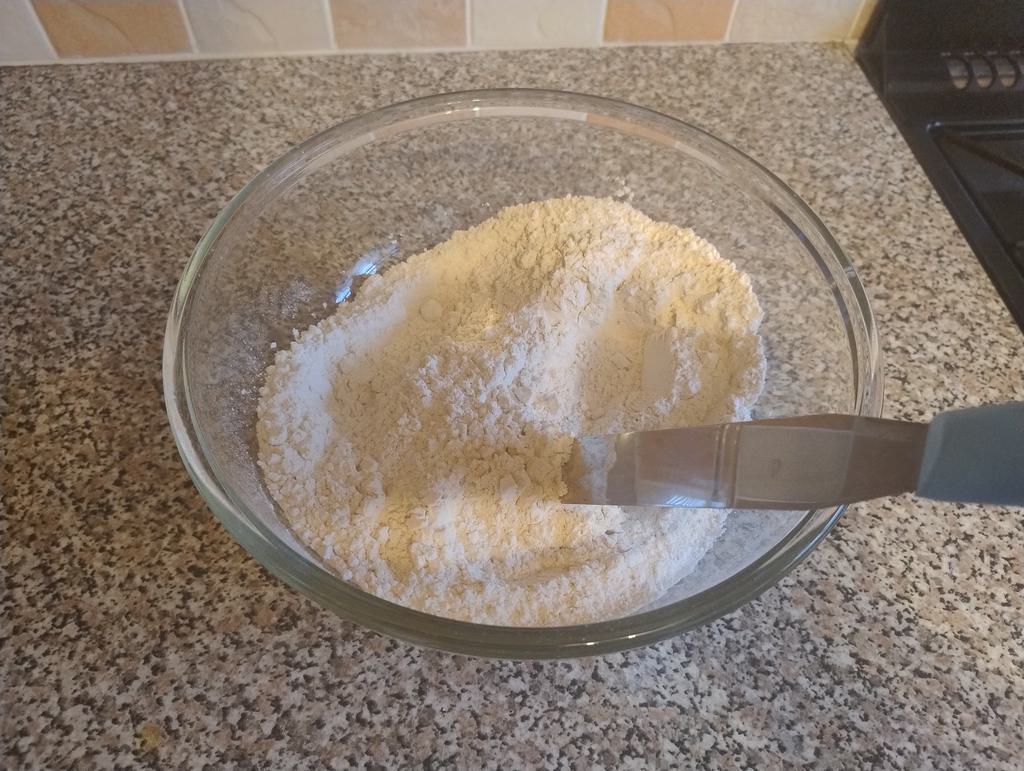 Mixing The Salt
Adding The Yeast
Measure out and scatter the yeast across the flour then use the palette knife to mix it in well.
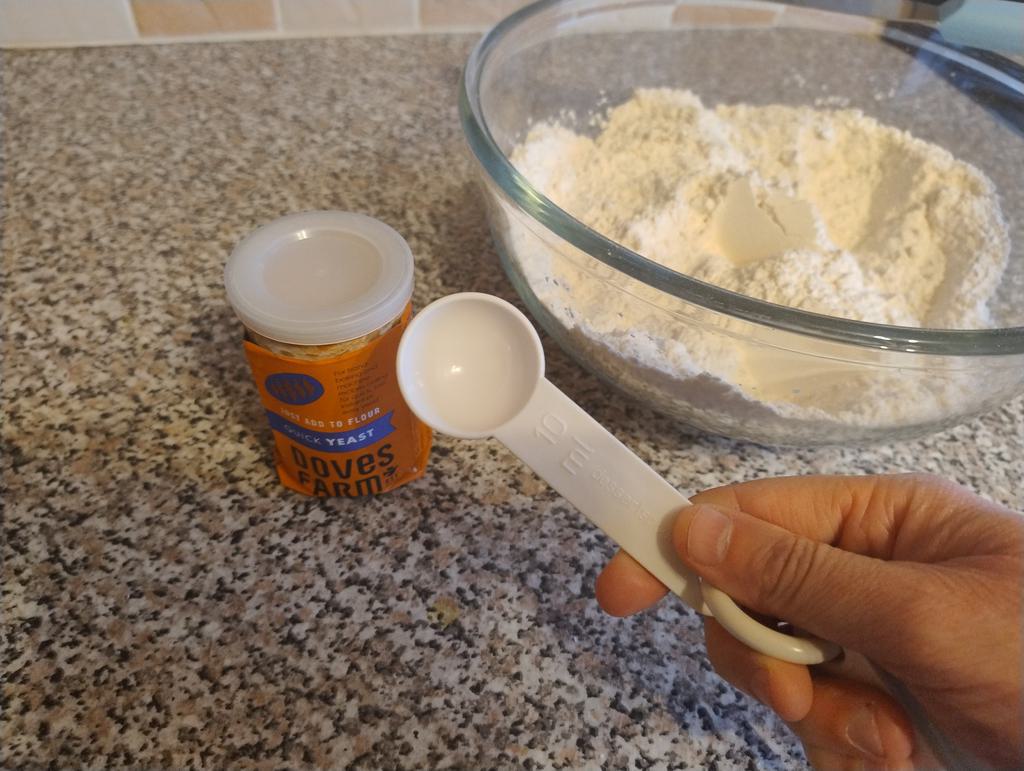 Adding The Yeast
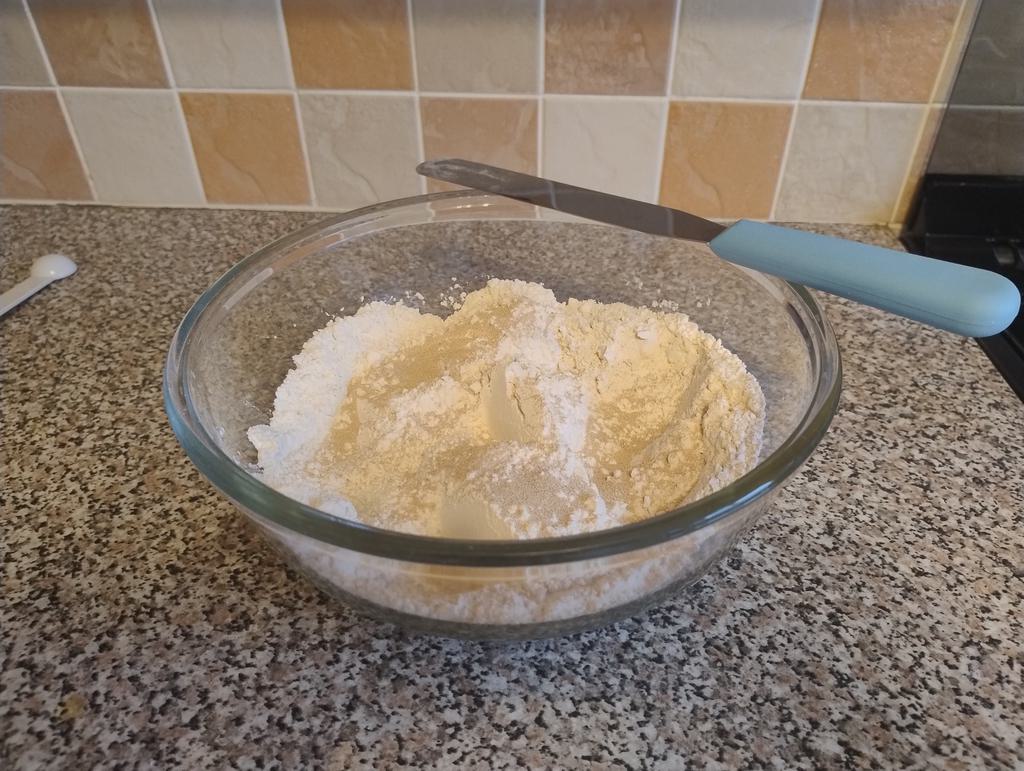 Mixing The Yeast
Adding The Water and Oil
Make a well in the middle of the flour. Pour in most of the room temperature water from the jug - but hold some back for now (we will be controlling the water to get the dough as we want it). Then measure out and pour in the oil.
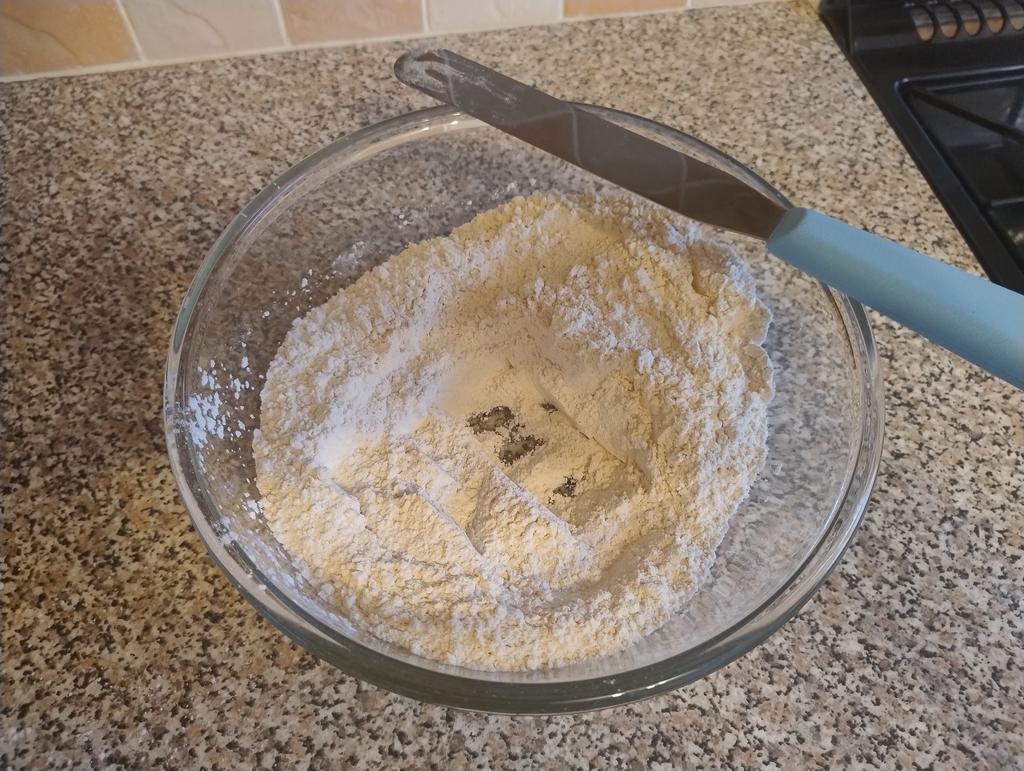 Well In The Flour
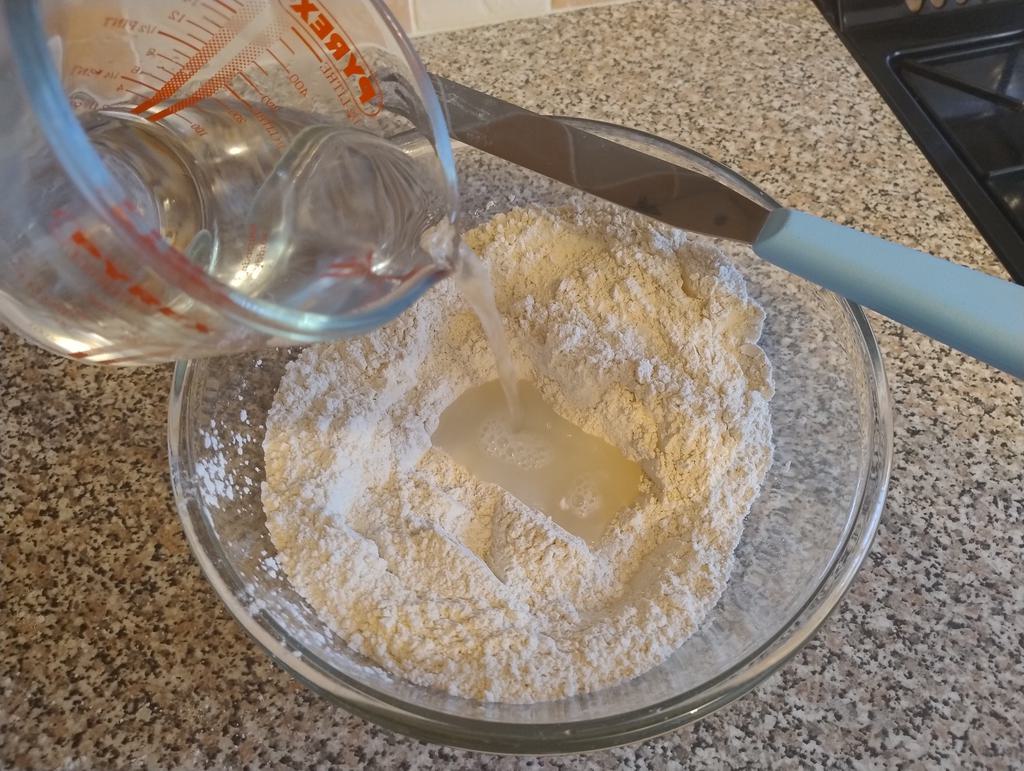 Adding The Water
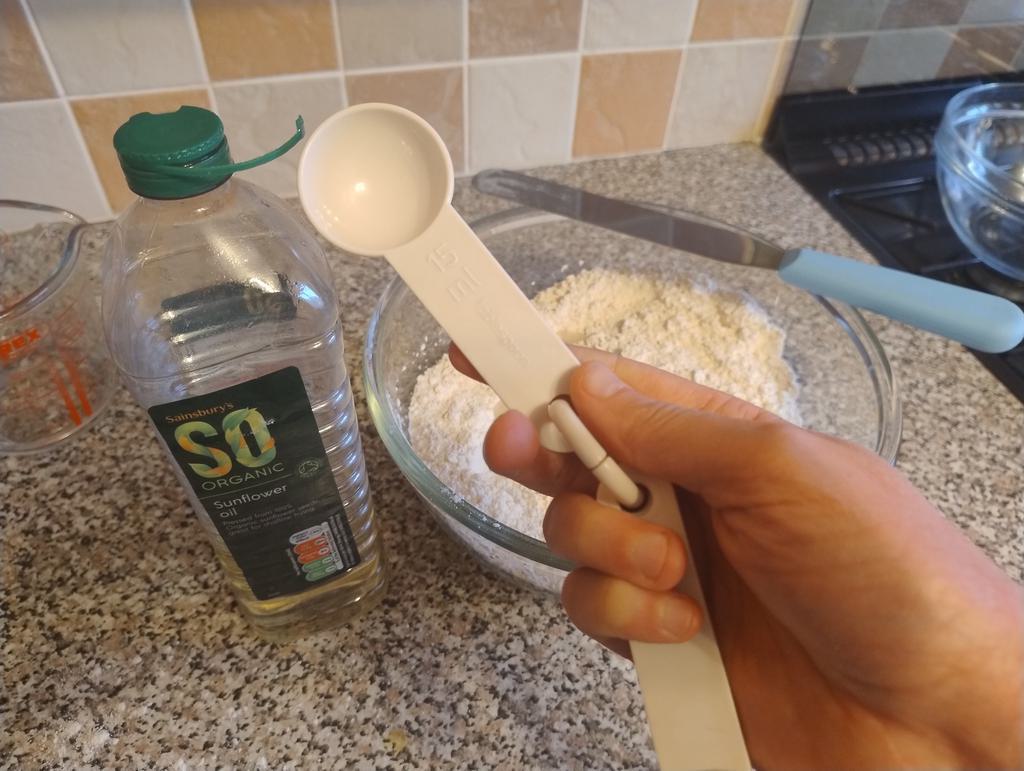 Measuring The Oil
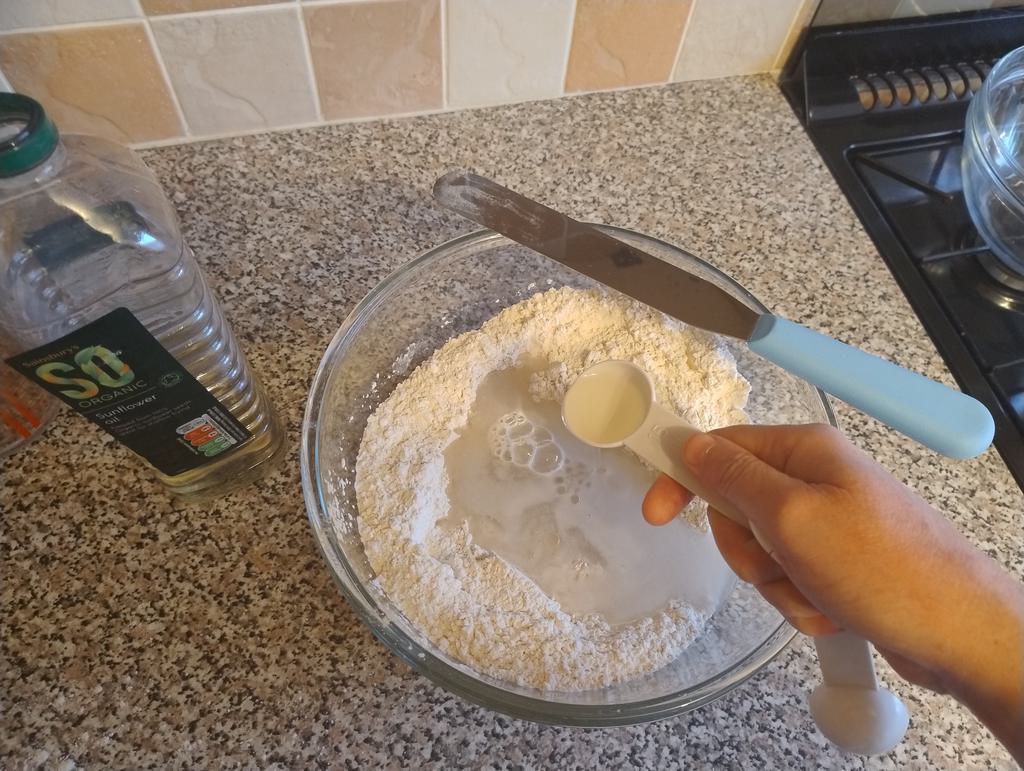 Adding The Oil
Mixing The Water
Run the palette knife through from one side of the bowl to the other. Rotate the bowl a bit and repeat. This will start to combine some of the flour with the water and will give a sort of flaky mix in the middle with dry flour at the edges. You can use a hand to push some of this together, and then adding a bit more water to the edges where the dry flour is, using the palette knife to mix this dry flour with the water. Then again use your hand to combine it. You may need more water than we originally measured out, add a small amount at a time as you are mixing it. Maybe something like a teaspoon worth.
We want to get the dough slightly sticky, better to have it a little too wet to start with rather than too dry as this would make it difficult to knead and for the yeast to do its job of expanding the dough.. In this example I overdid the water so once it’s on the bench you can dust underneath with a little plain flour as you work the dough to make it a little less sticky and get it to the consistency you want.
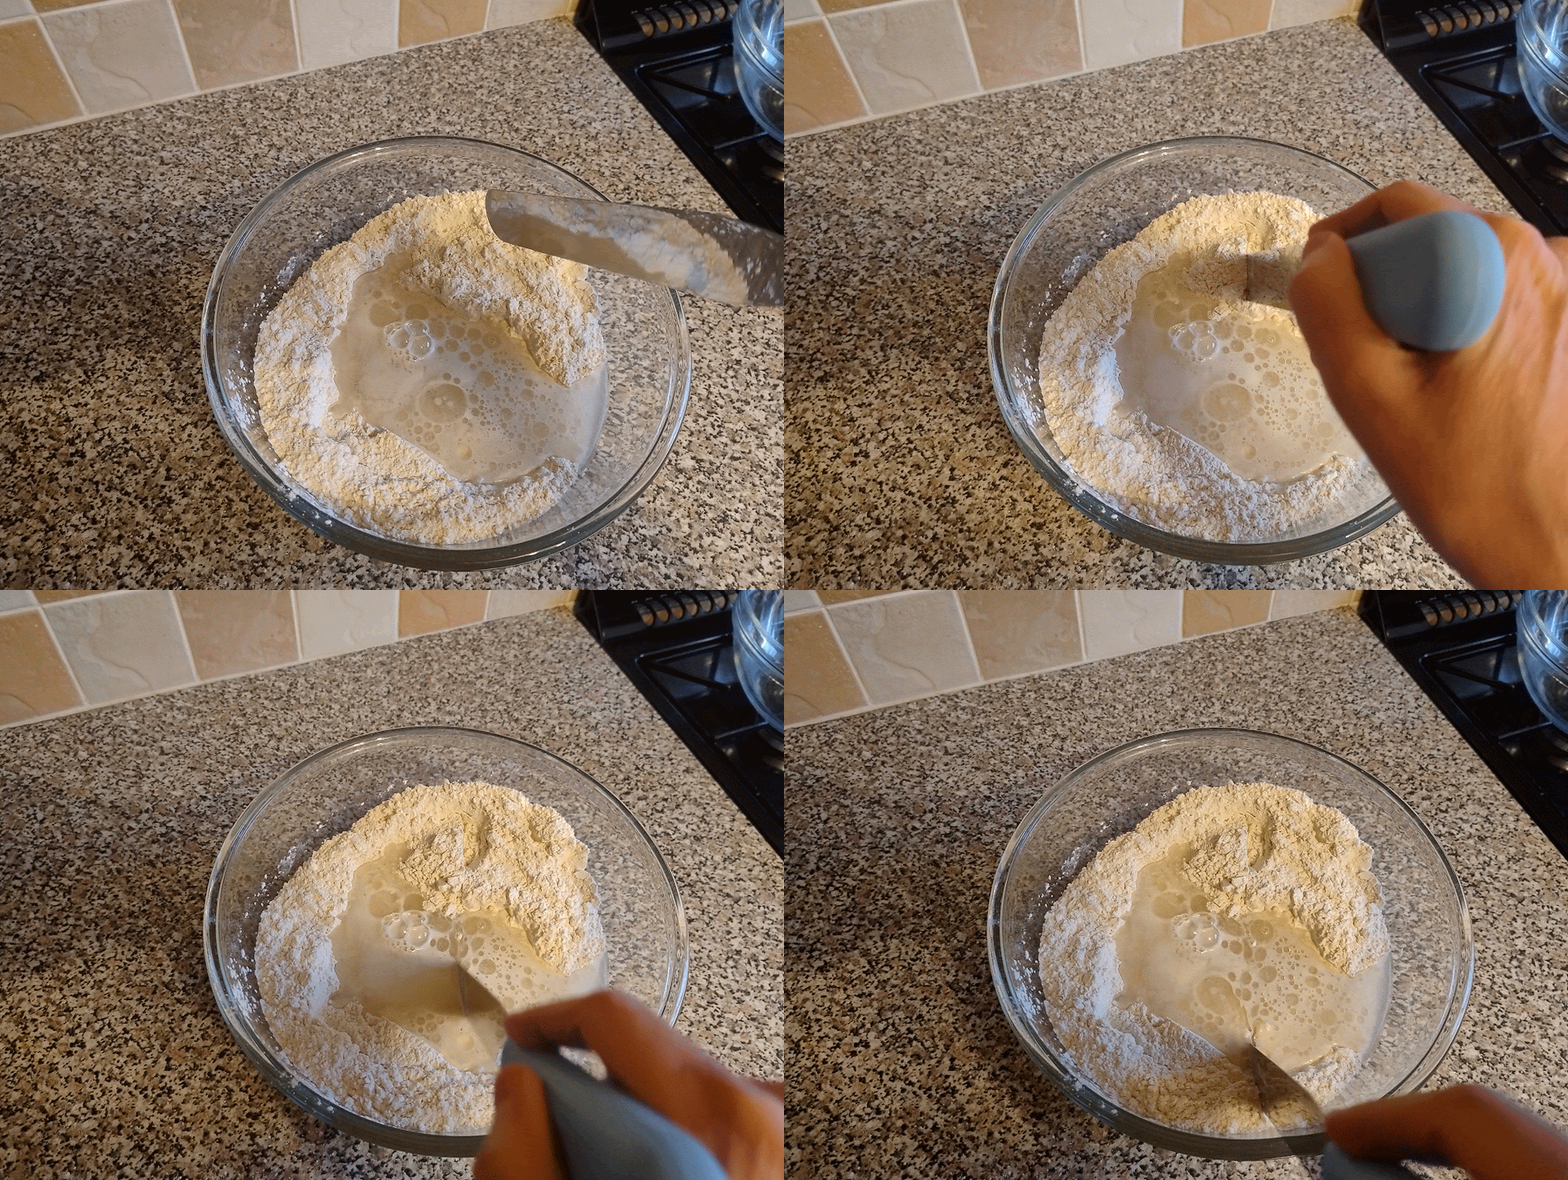 Slicing The Dough
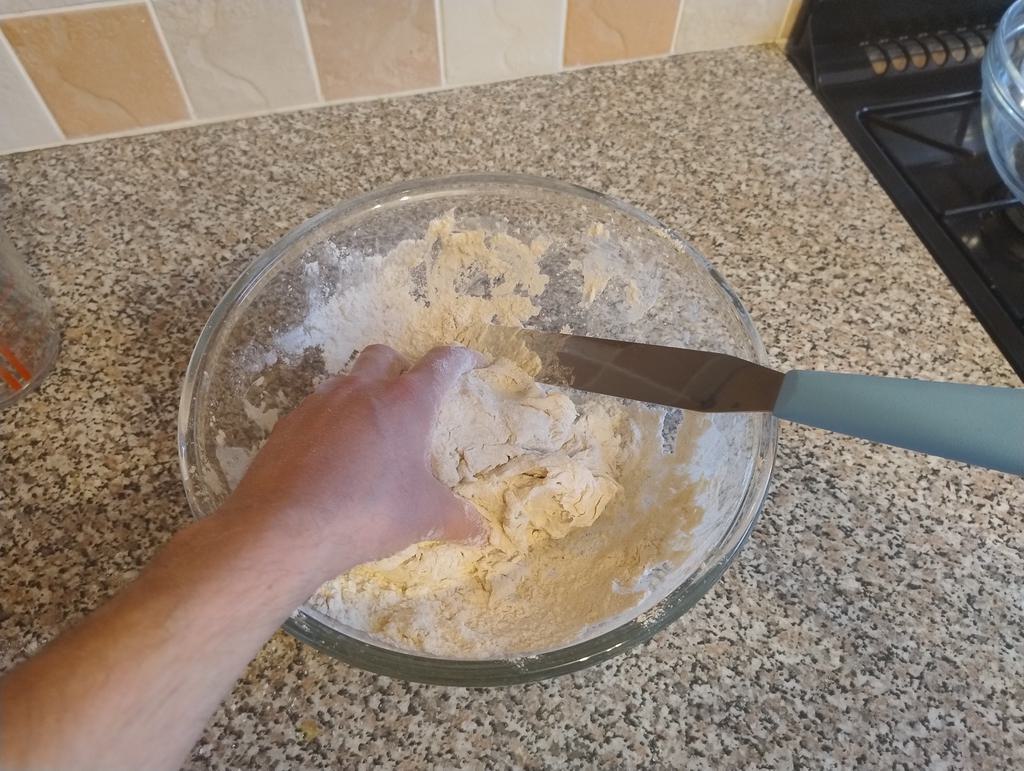 Collating The Dough
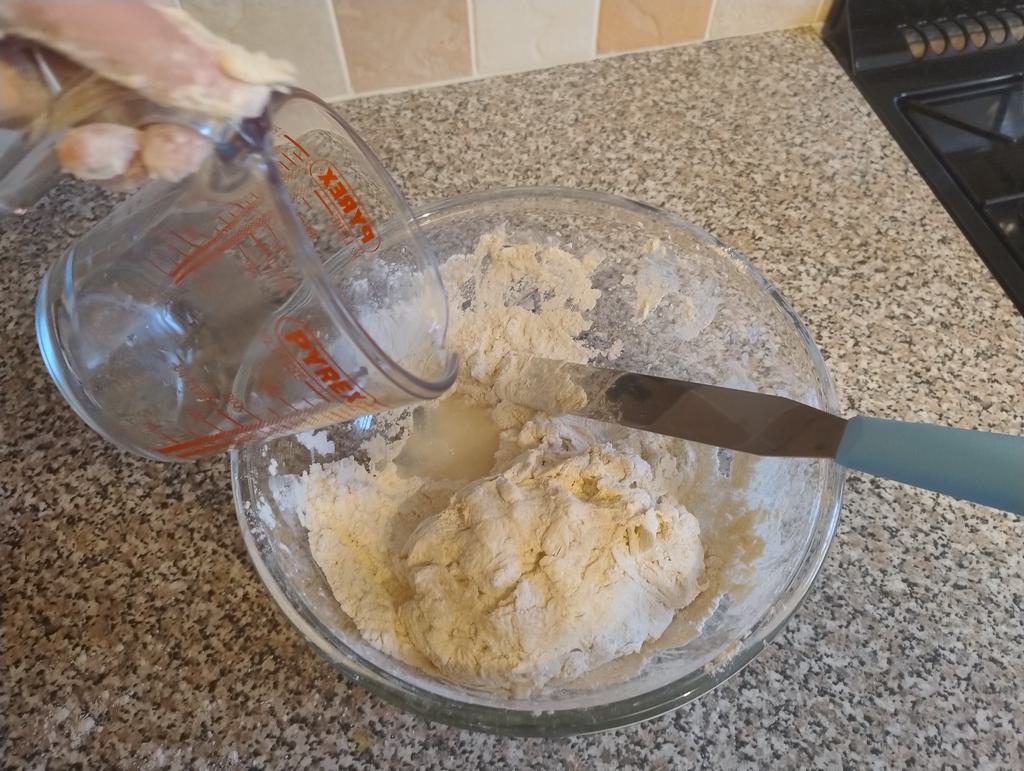 Adding Extra Water
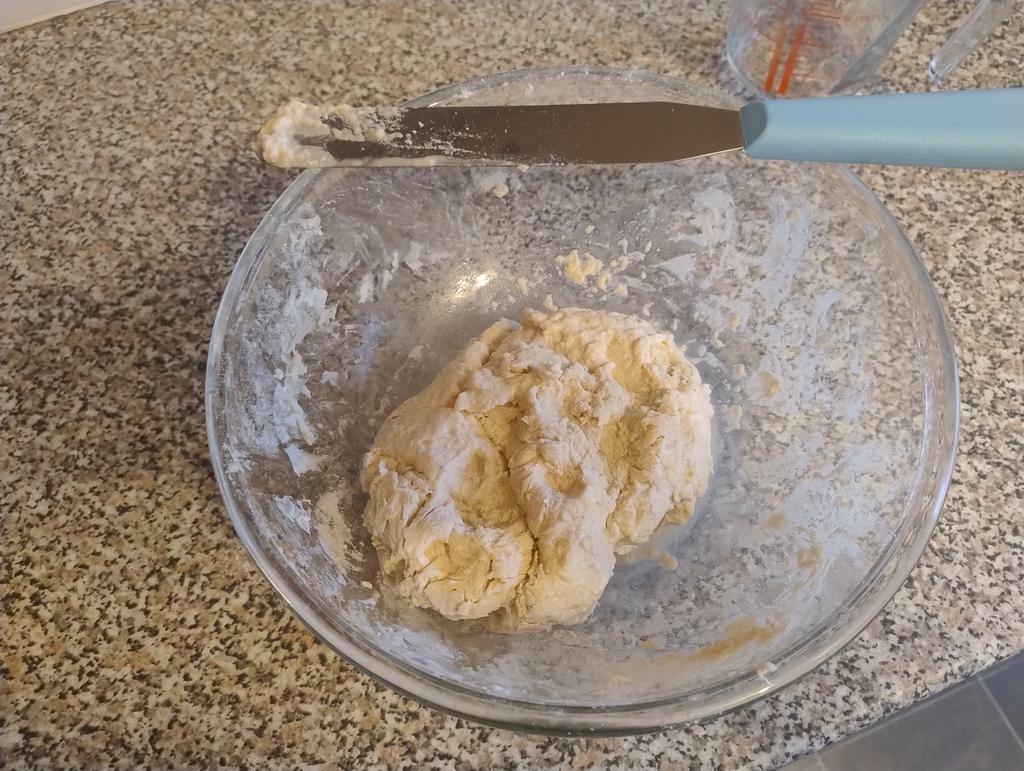 Collated Dough
Kneading The Dough
You can use the palette knife to help scrape up bits of dough that get stuck to the worktop. If the dough is way too sticky then you can also dust underneath with a bit of plain flour. Careful not to overdo this as we want to keep the dough sticky.
The kneading technique I’ve found easiest, and with good results (it doesn’t dry out the dough) is to pull the dough up from the far edge, pull it up and towards you, then squish it down on the top centre of the ball. Then use both hands to rotate it slightly (say 45 degrees) and repeat. Do this for around 10 minutes.
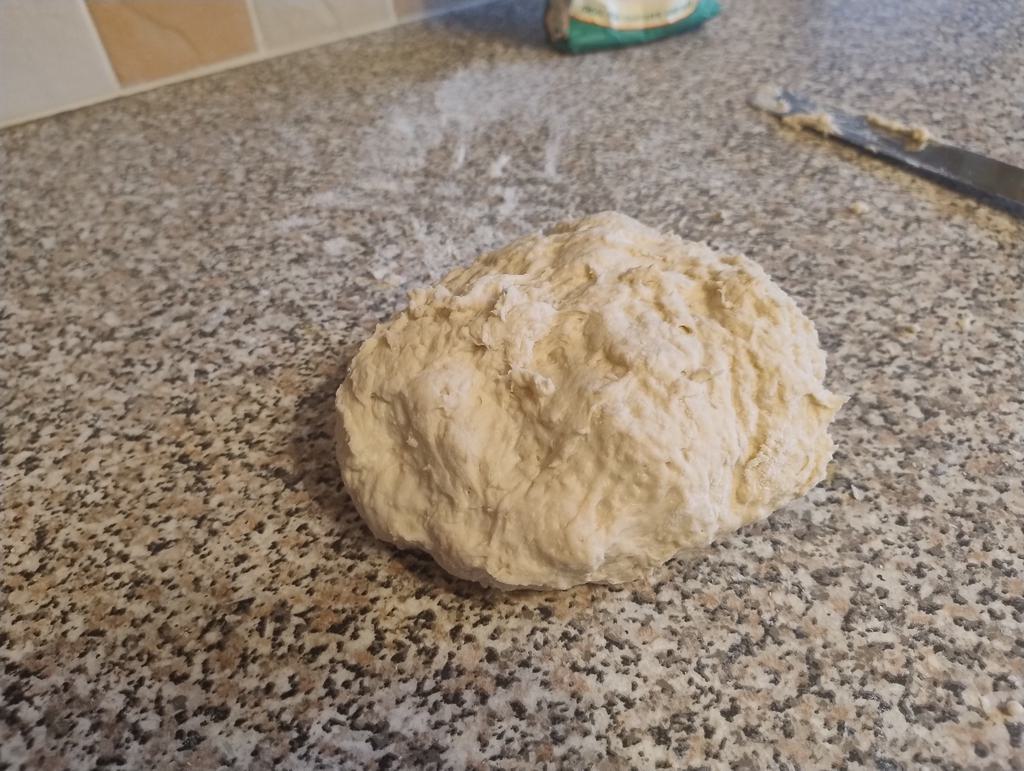 Collated Dough On Bench
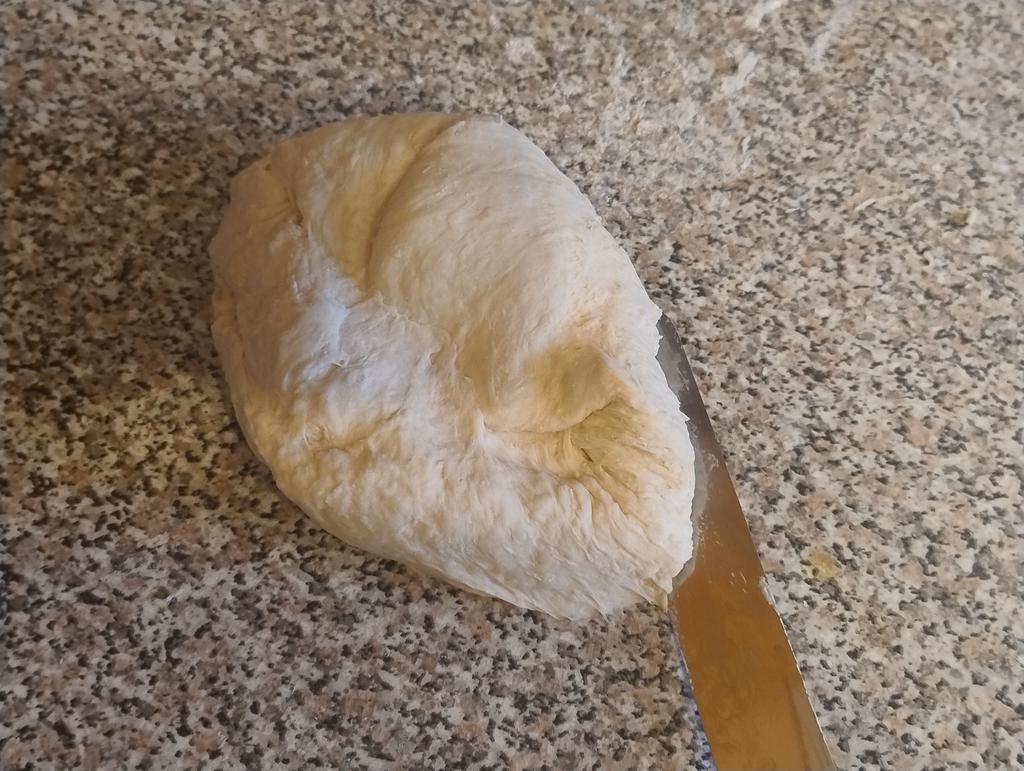 Using The Palette Knife When Kneading
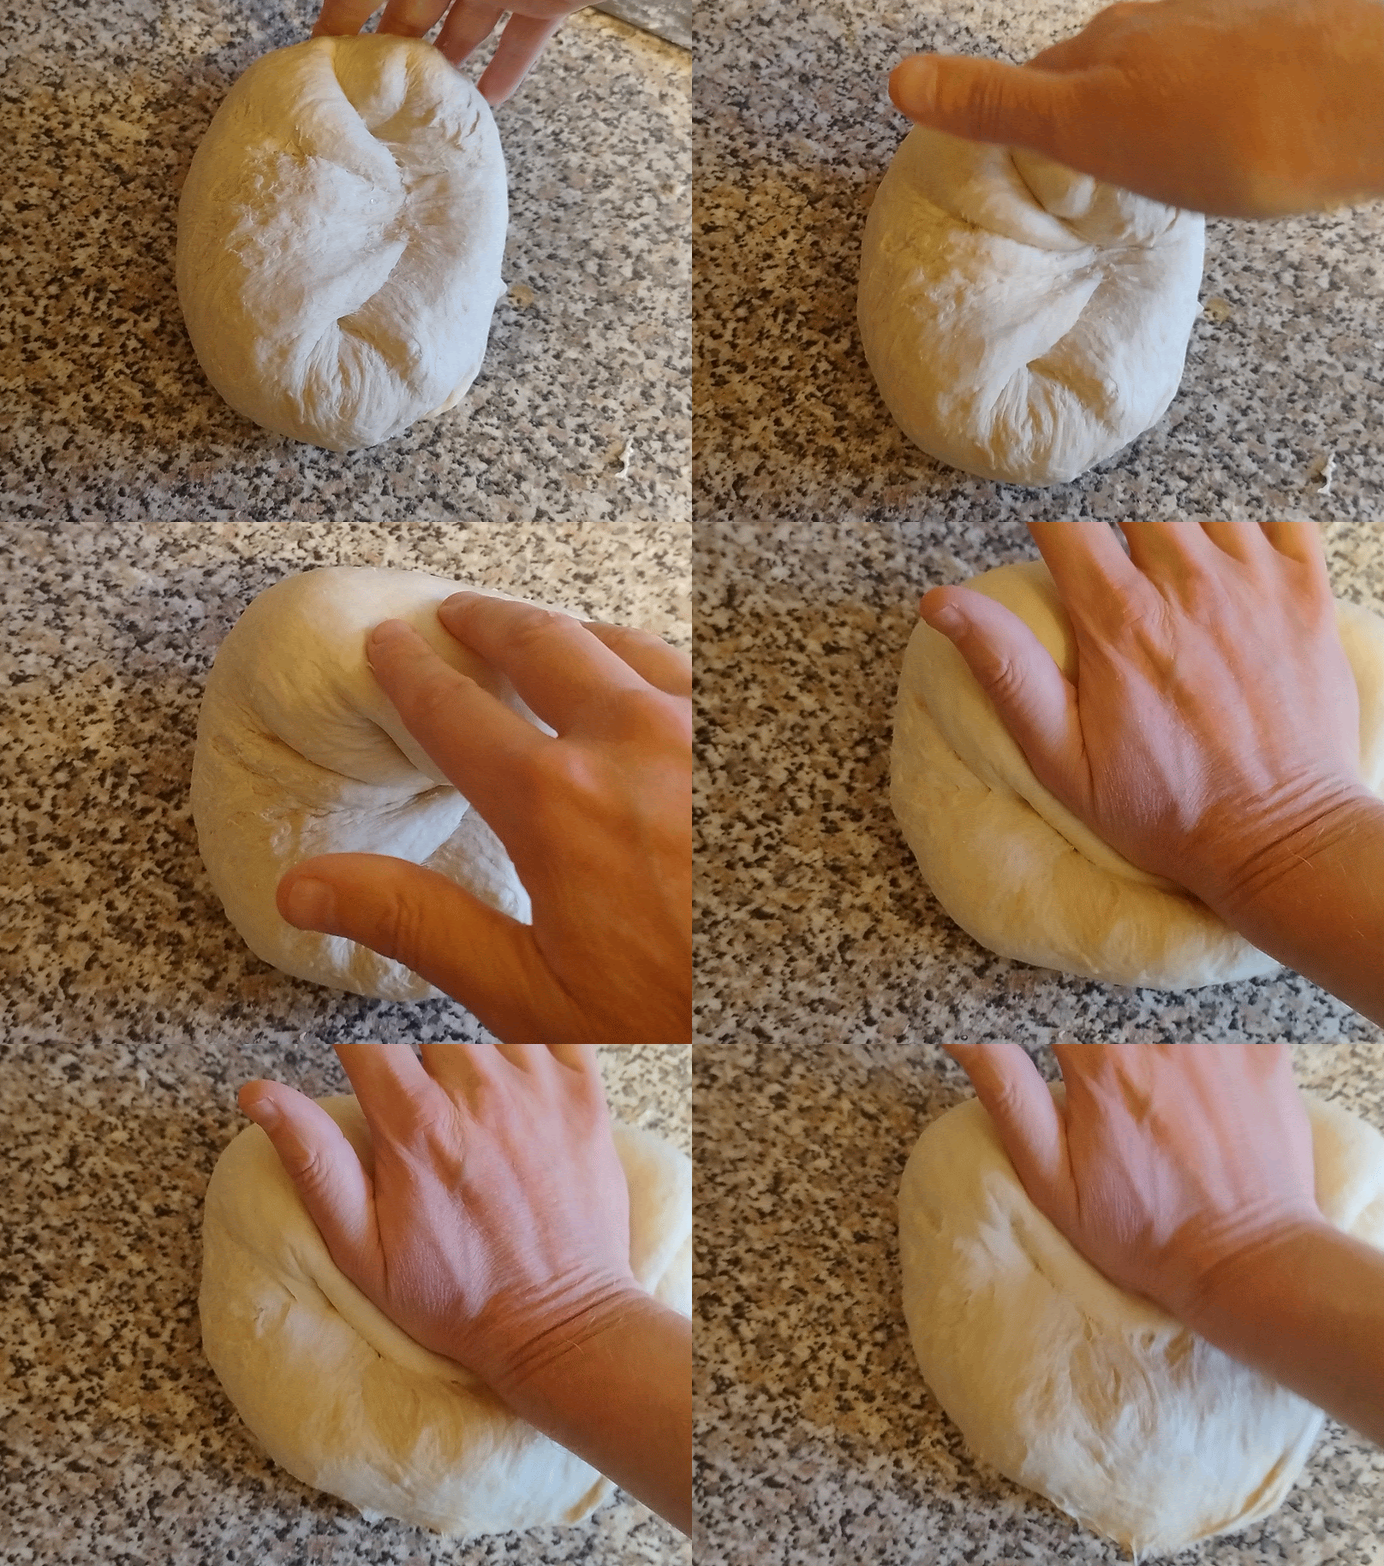 Kneading Technique
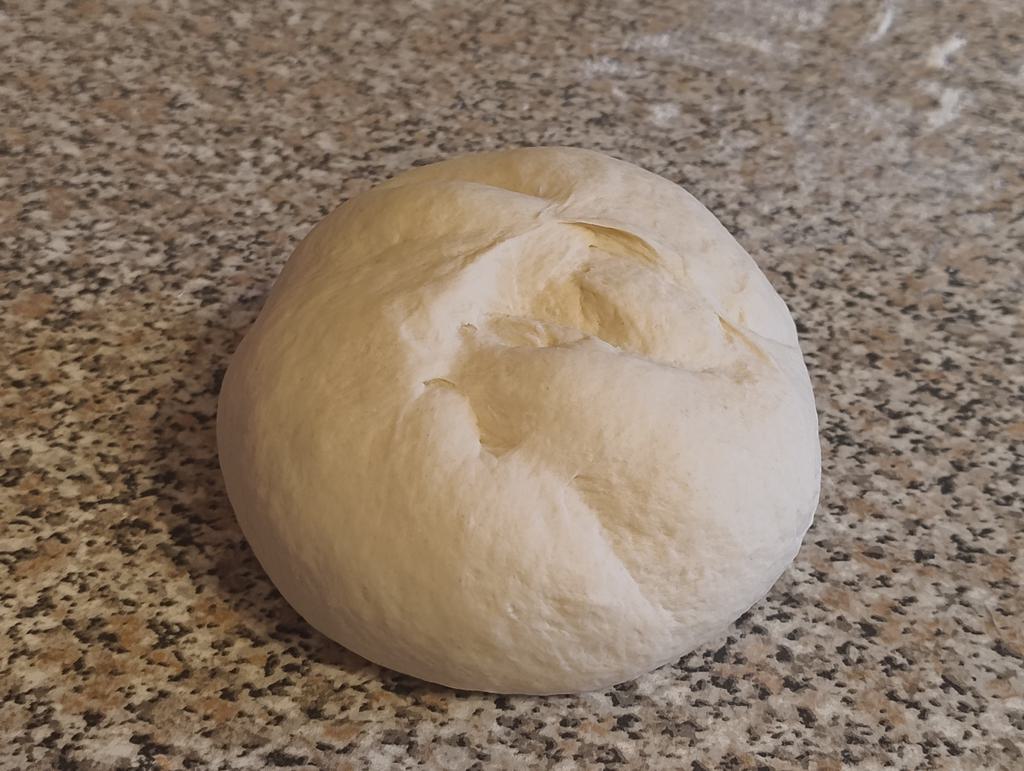 Kneaded Dough
Greasing The Bowl and Bread Tin
Add some oil to the bowl and tin, then use a piece of kitchen roll to spread it evenly around the surfaces.
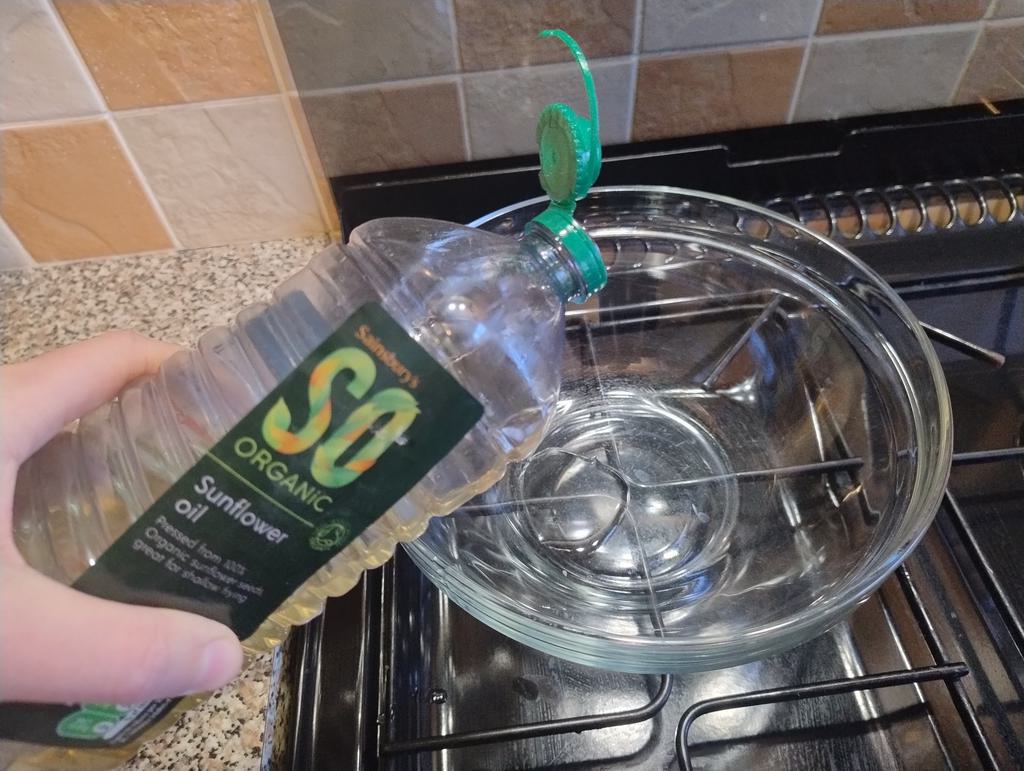 Greasing The Bowl
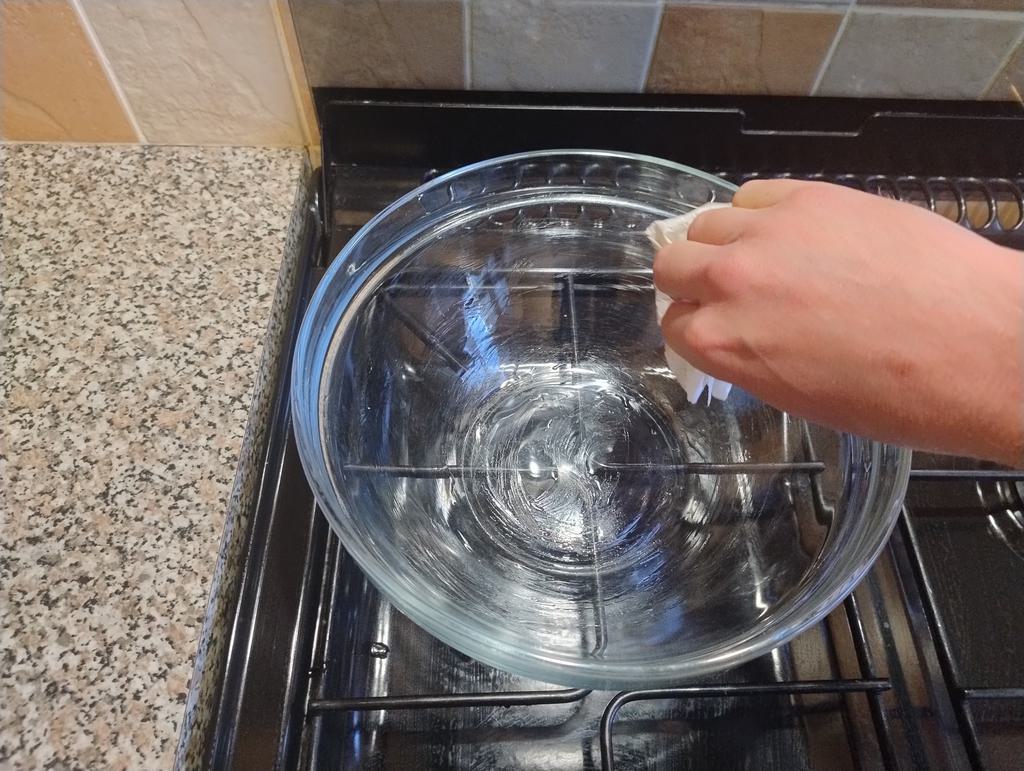 Greased Bowl
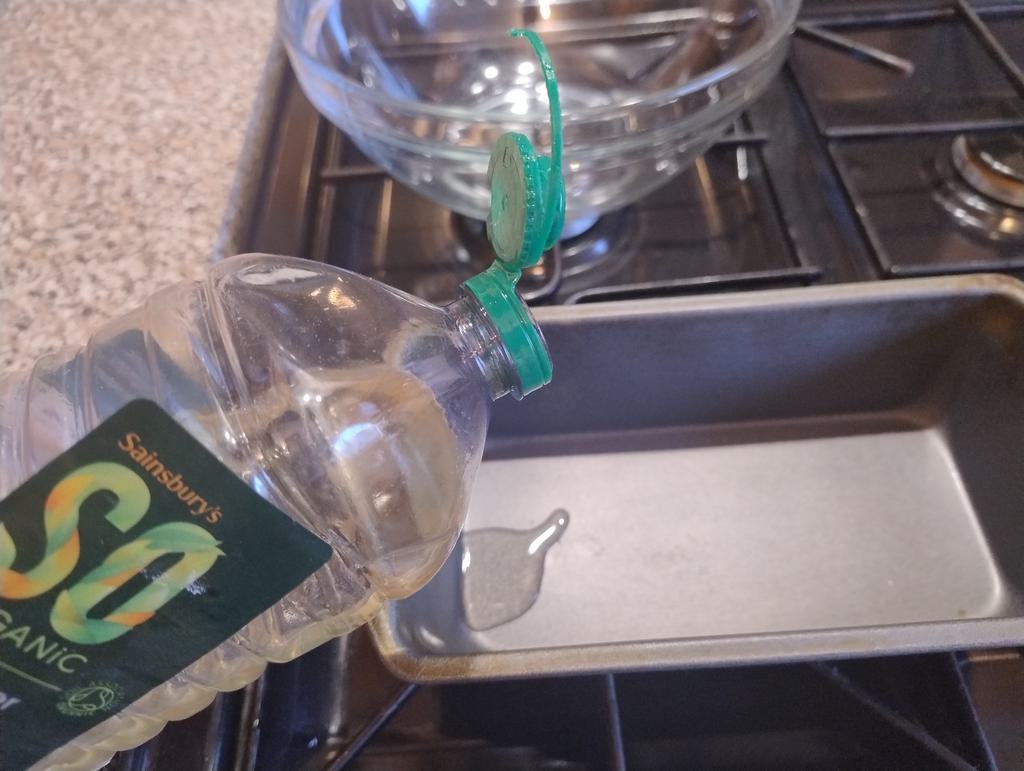 Greasing The Loaf Tin
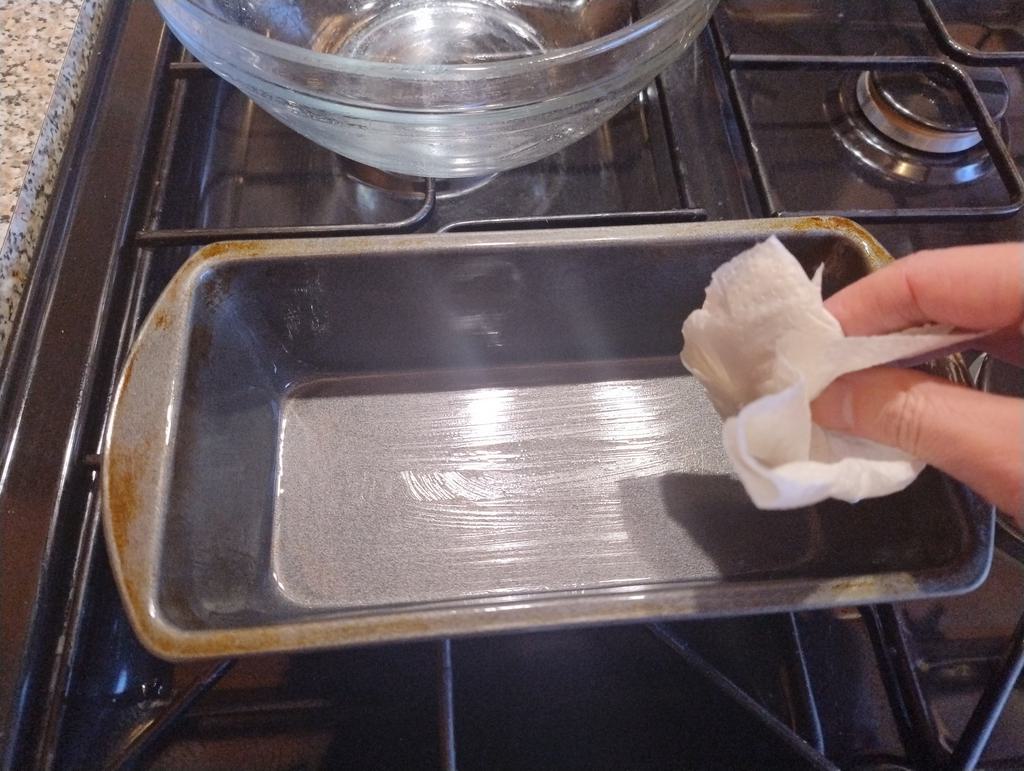 Greased Loaf Tin
Proving The Dough
Put the ball of dough into the greased bowl. Take a tea towel under the tap then wring it out so it is damp still (not dripping wet, but not over dry). Place it over the bowl with a crease on the top (room for the dough to expand). Leave it at room temperature for around 90 minutes. The actual time needed will vary. It’s important here that you aren’t fixed on the time, rather more on when the dough is ready. On a cold day it will take longer, this just takes patience and is worth it. Once the dough has doubled in size then we’re ready to knock it back.
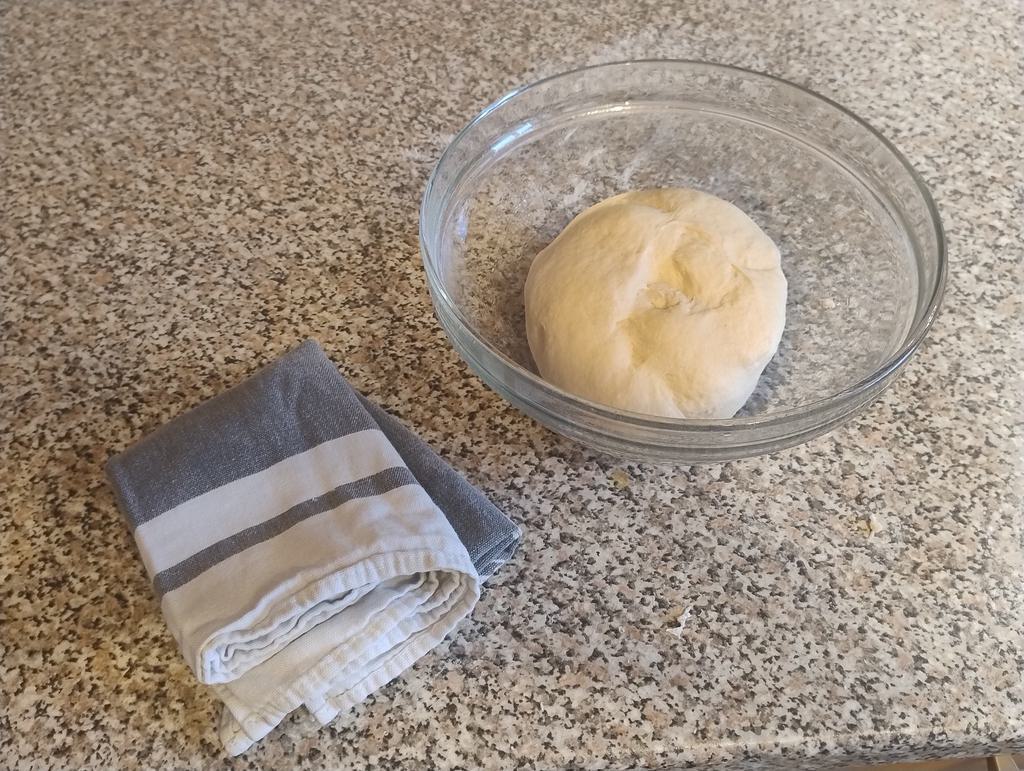 Dough Into Bowl For Proving
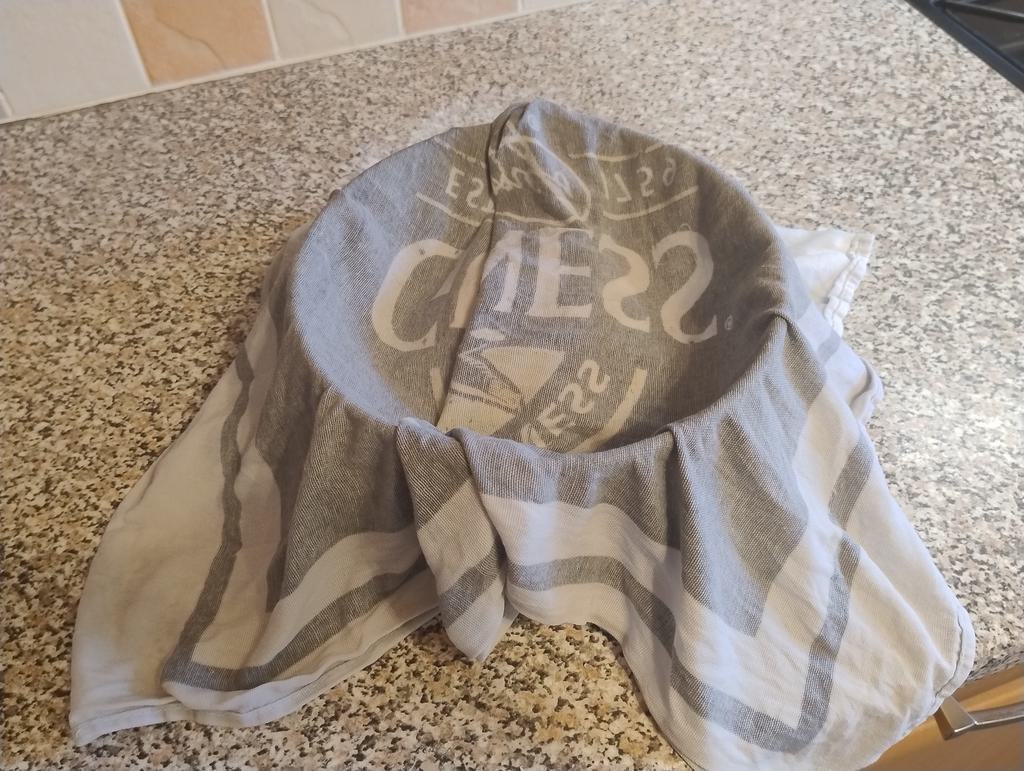 Damp Towel Covering Dough In Bowl For Proving
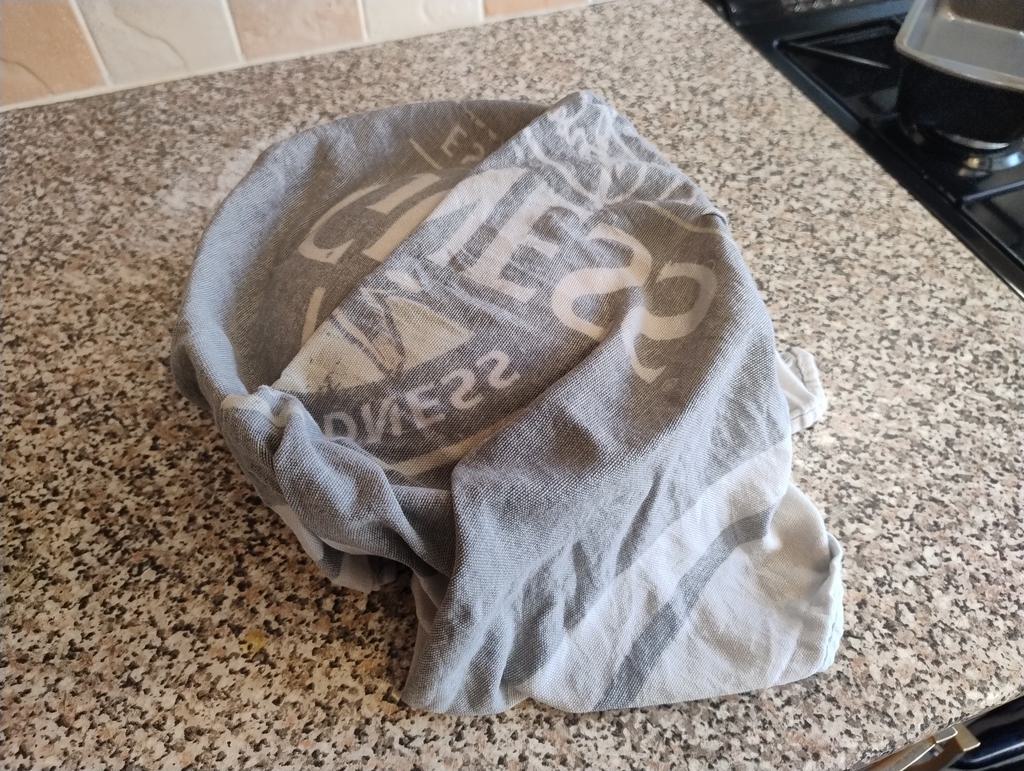 Towel Covering Proved Dough In Bowl
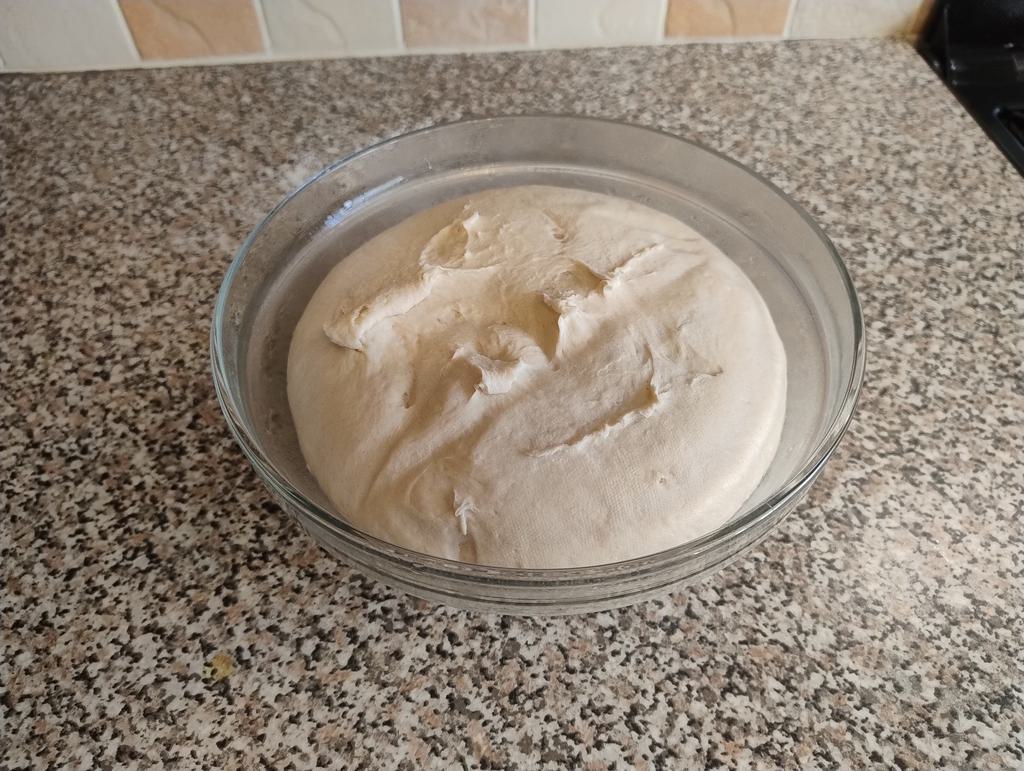 Proved Dough In Bowl
Knocking Back
Tip the dough out onto the bench again. The technique we’re using here is well demonstrated by Bake With Jack on YouTube: 122: How to Shape a Loaf for a Tin - Bake with Jack. Using your fingertips prod at the dough until it is flattened out evenly and with a diameter bigger than the length of the loaf tin.
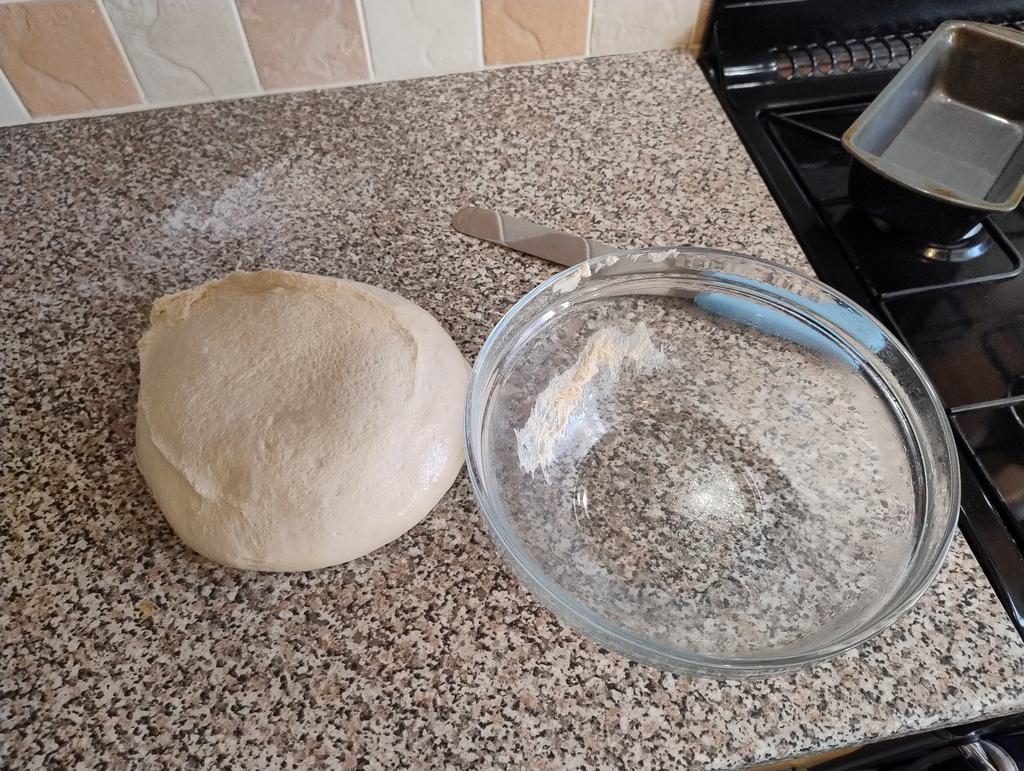 Proved Dough On Bench
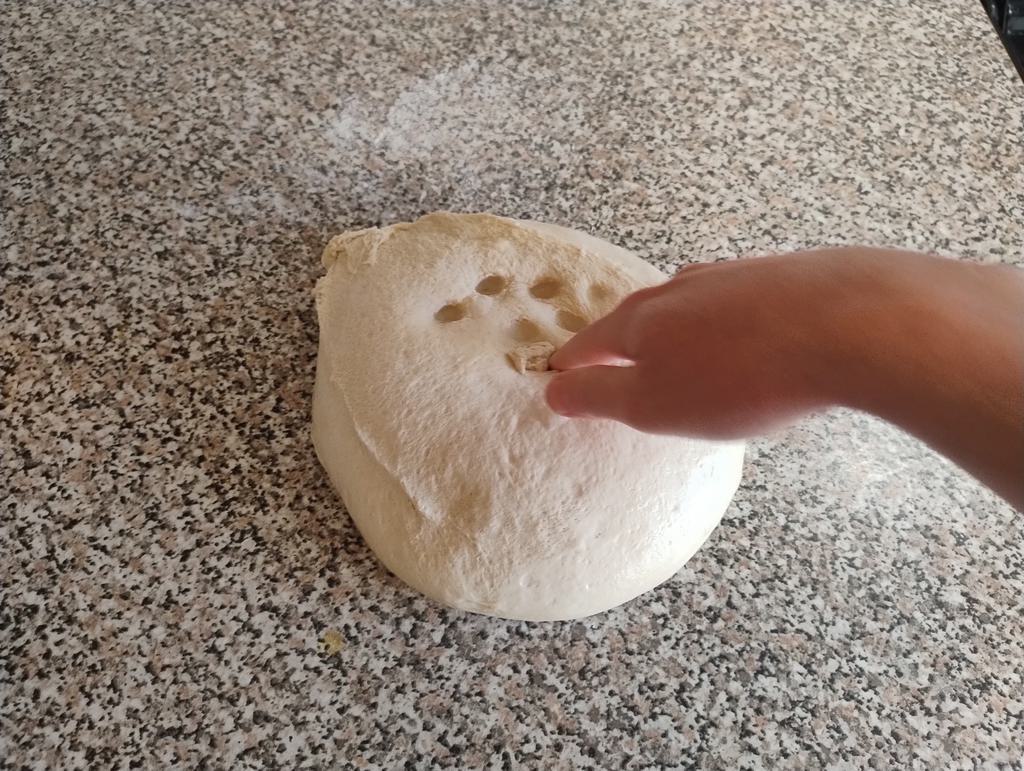 Knocking Back
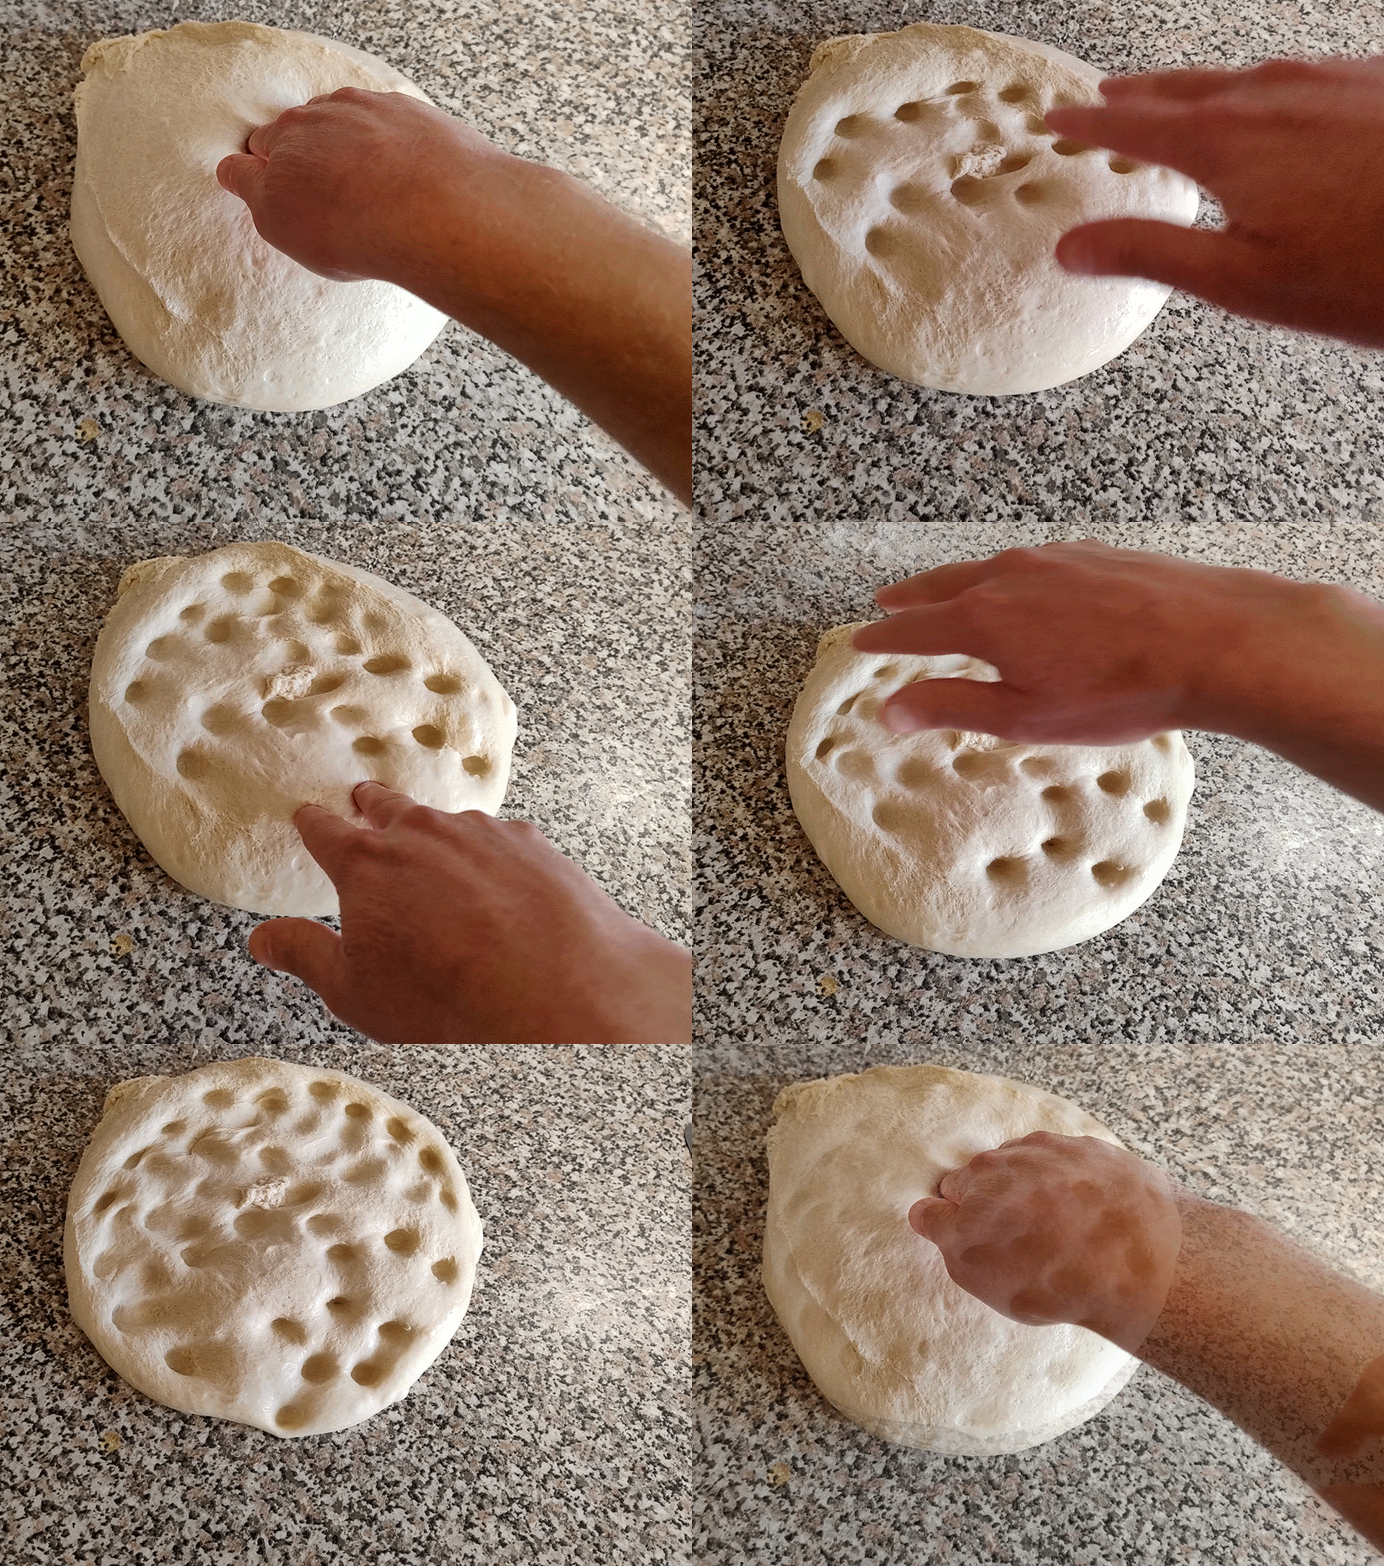 Knocking Back Technique
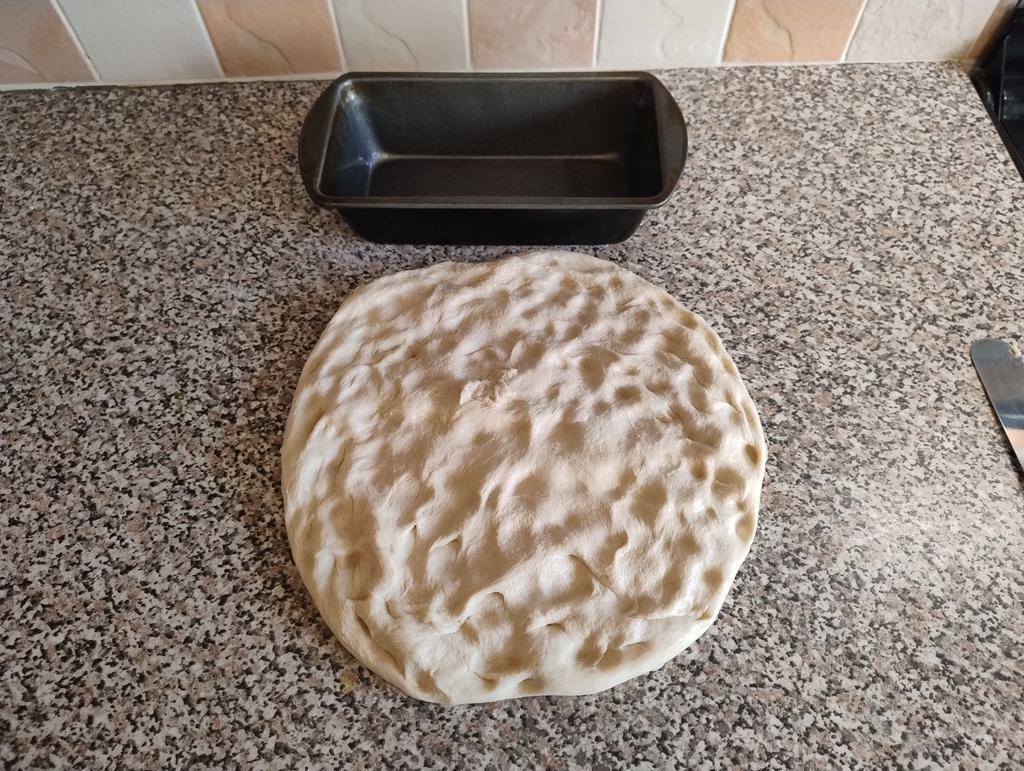 Knocking Back Complete
Shaping The Dough
Fold over the left and right sides such that the end furthest from you is narrower and the end nearest you is just less than the inside length of the tin.
From the farthest end, then roll a bit over towards you, and press the edge down into the dough. Push away from you, roll over, and press the edge again. Repeat until it has rolled all the way towards you.
You may need to use the palette knife to scrape up the dough if it gets stuck to the bench. Before popping it into the tin, I have found that very lightly dusting the bottom and sides with some flour will prevent it from sticking in the tin after baking. Pop it into the loaf tin.
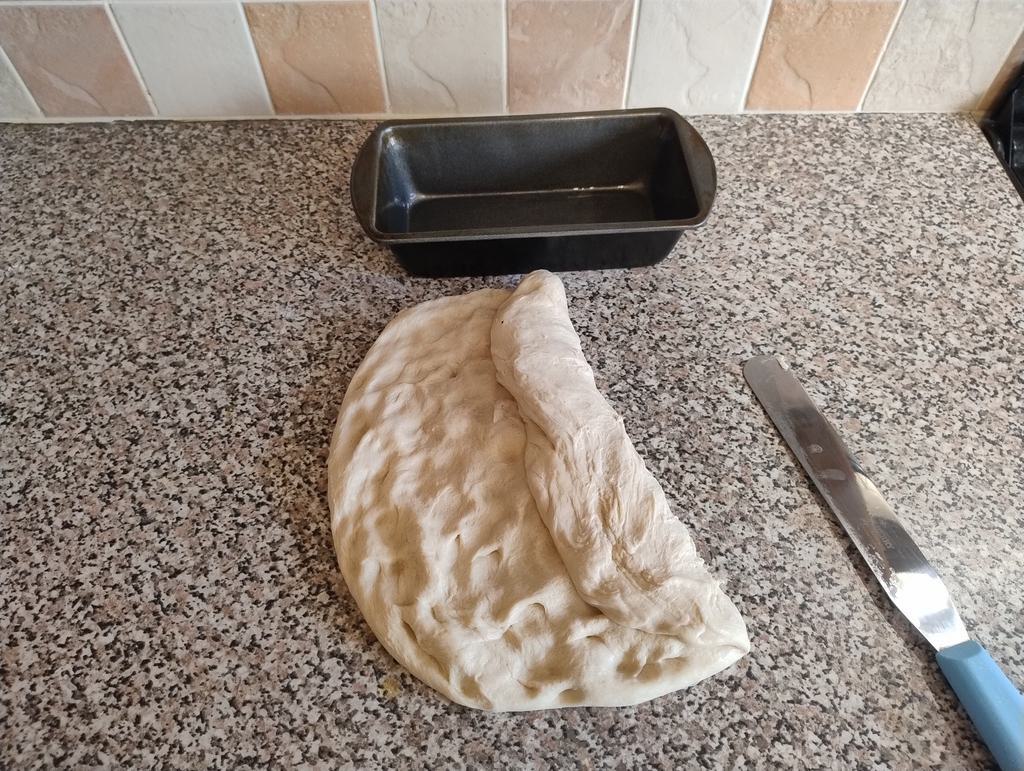 Folding Dough First Edge
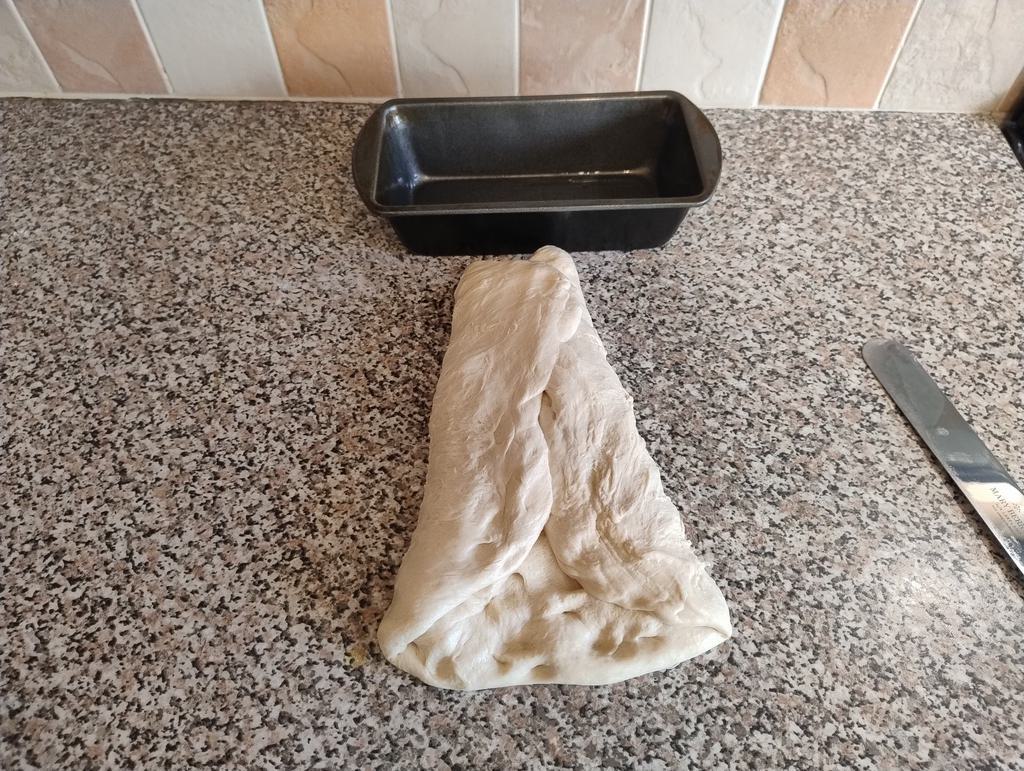 Folding Dough Second Edge
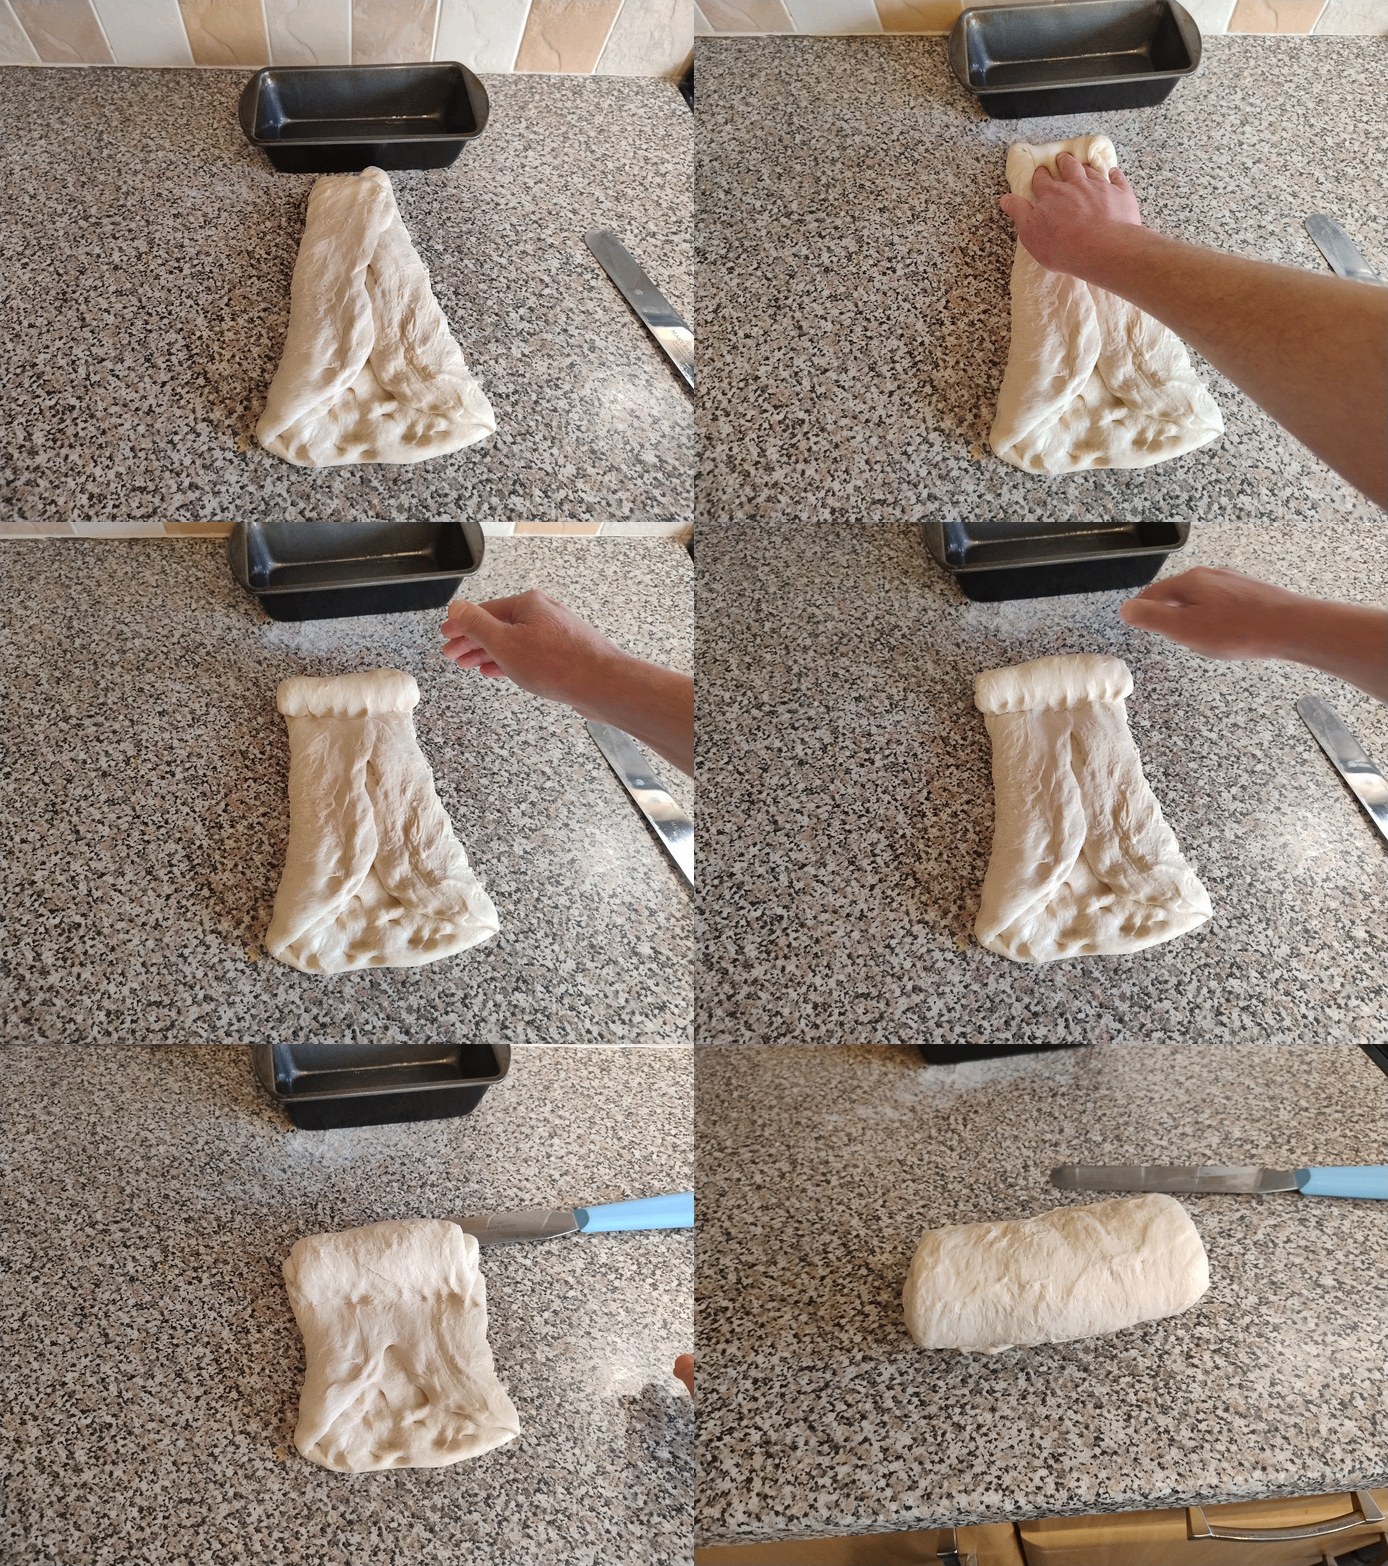 Rolling Loaf Technique
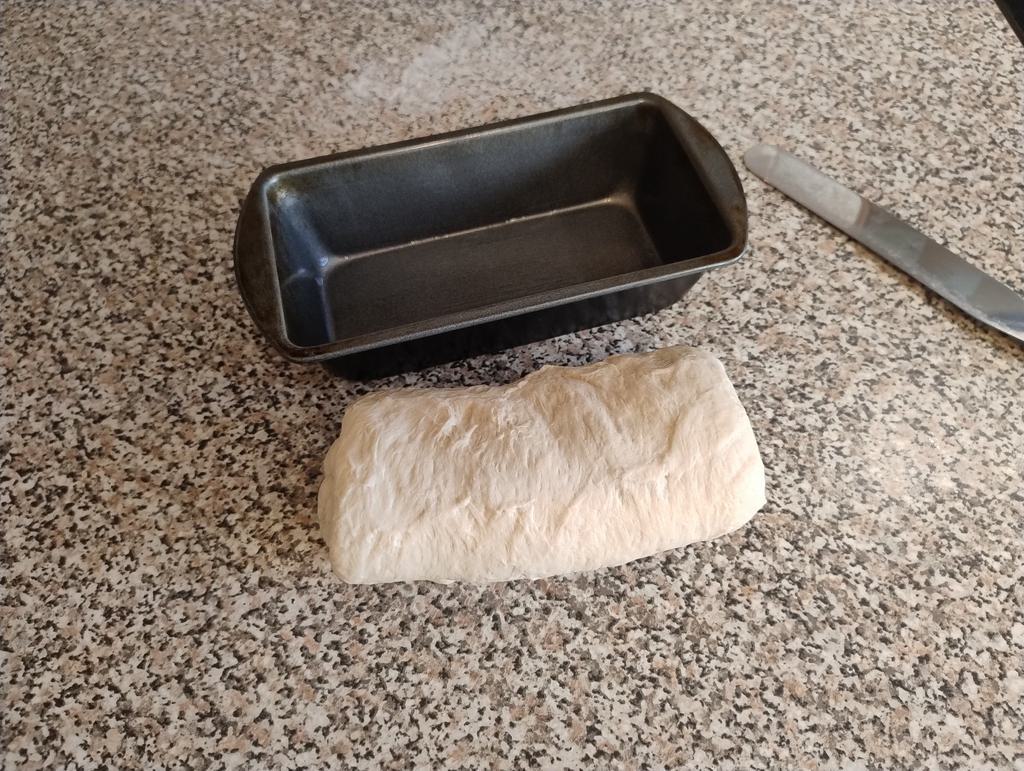 Rolling Loaf Complete
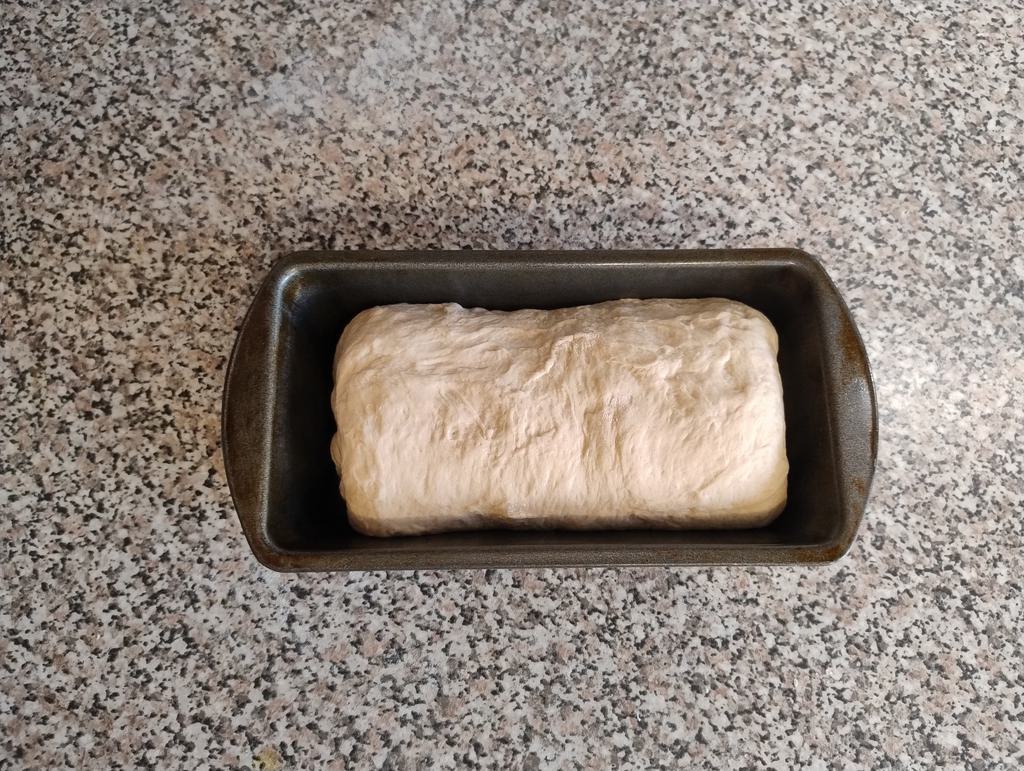 Rolled Loaf In Tin
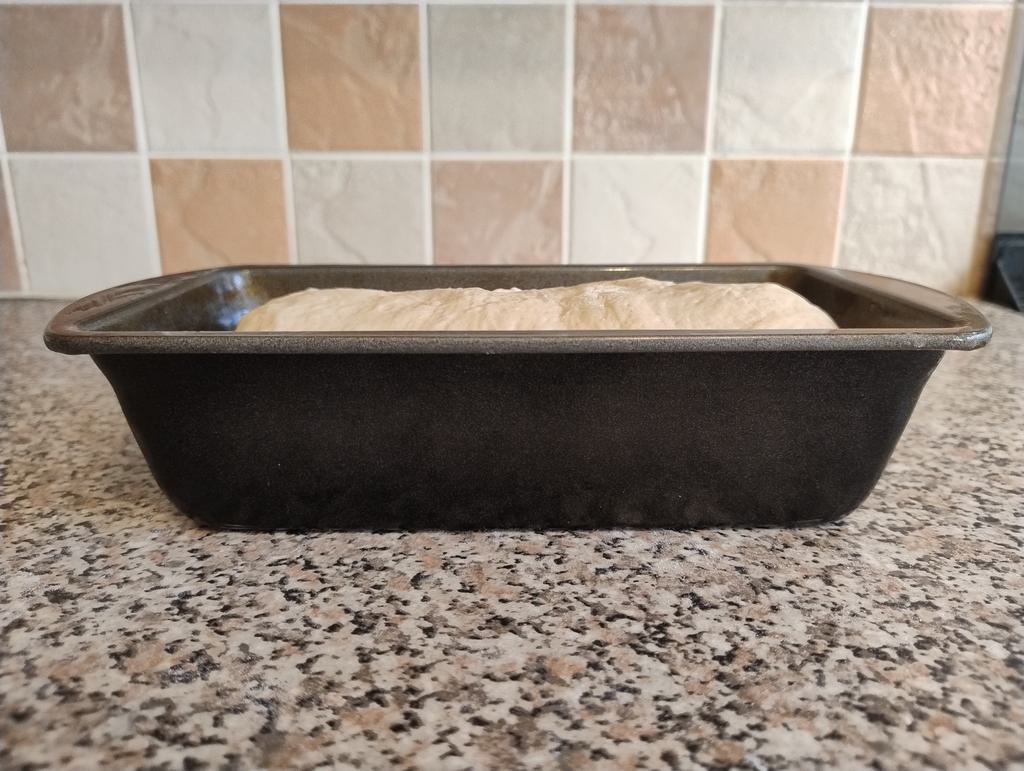 Rolled Loaf In Tin Side View
Second Proving
Cover again with the damp tea towel and leave to prove. We want the dough to be out of the top of the tin. Try around 30 minutes to start with. Again on a colder day it may need an hour.
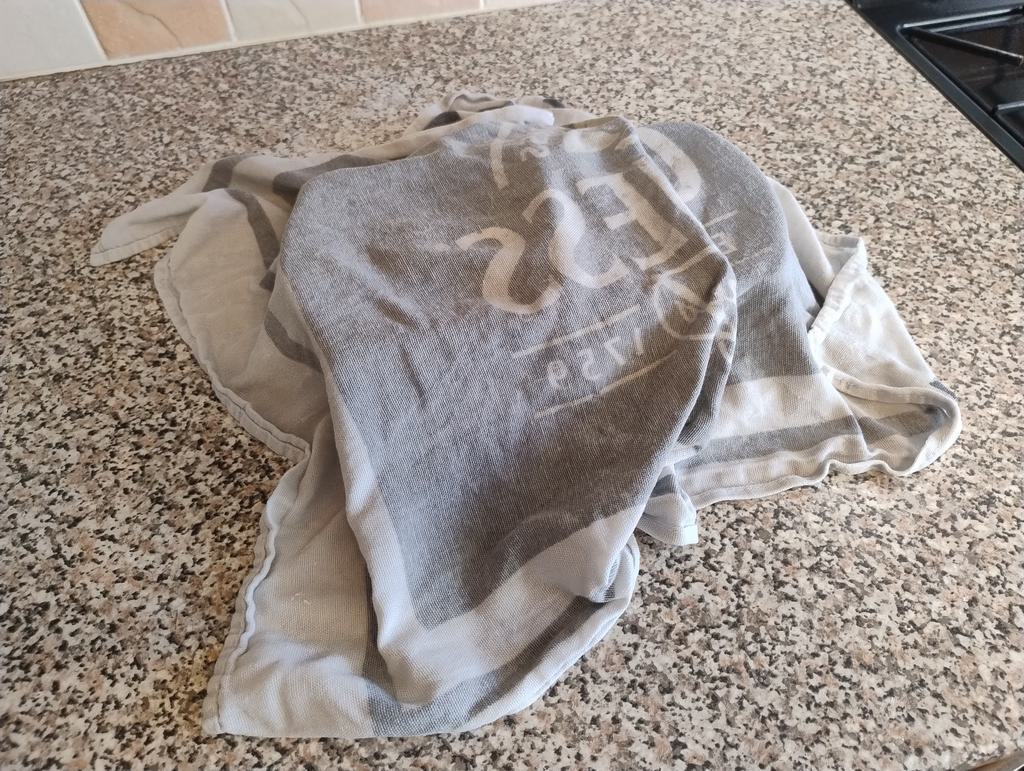 Damp Towel Covering Dough In Tin For Proving
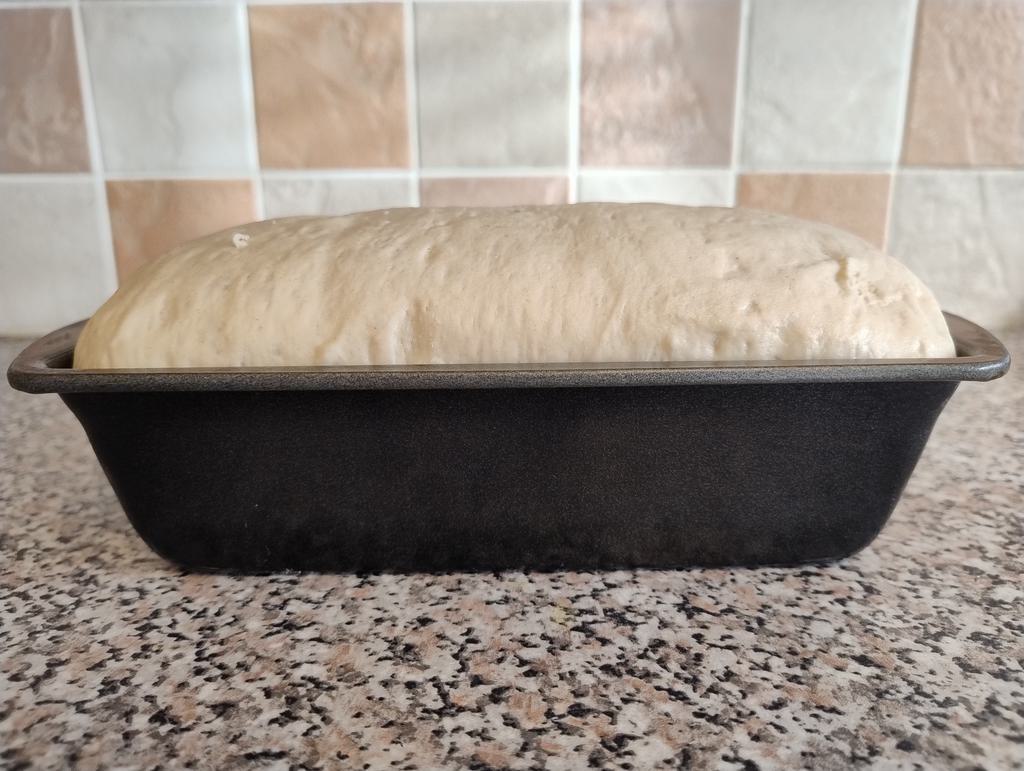 Proved Rolled Loaf In Tin Side View
Baking
Preheat the oven to Gas Mark 8. Use the tea strainer or sieve to dust some flour on the top of the dough. Then put in the oven. 10 minutes at Gas Mark 8 (450degF / 230degC / 210 degC Fan). Then a further 30 minutes at Gas Mark 6 (400 degF / 200 degC / 180 degC Fan).
When the bread is baked, tip it out onto the cooling rack, you can tap the bottom to check that it sounds hollow and done. Leave it to cool.
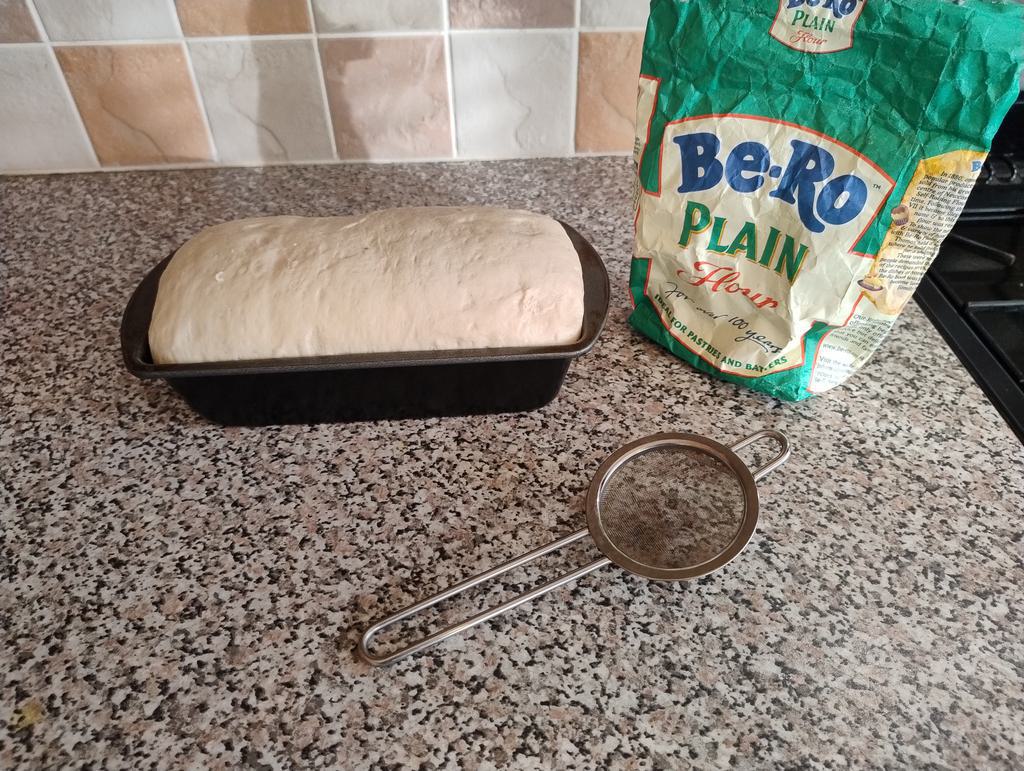 Ready To Dust The Loaf
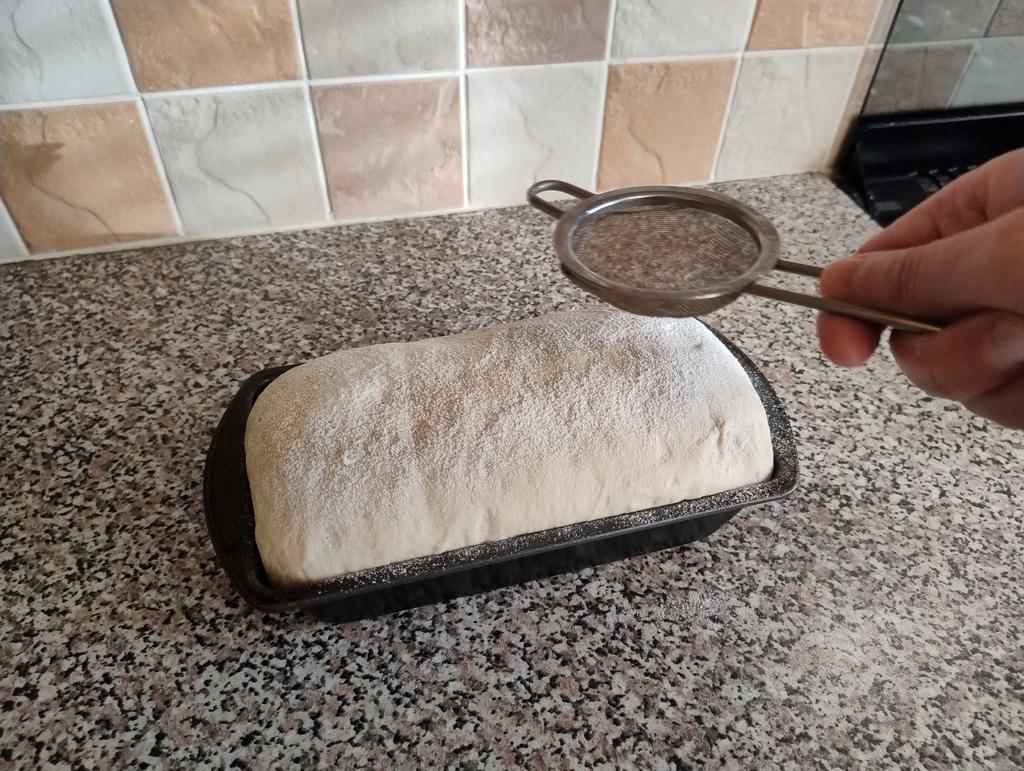 Dusting The Loaf
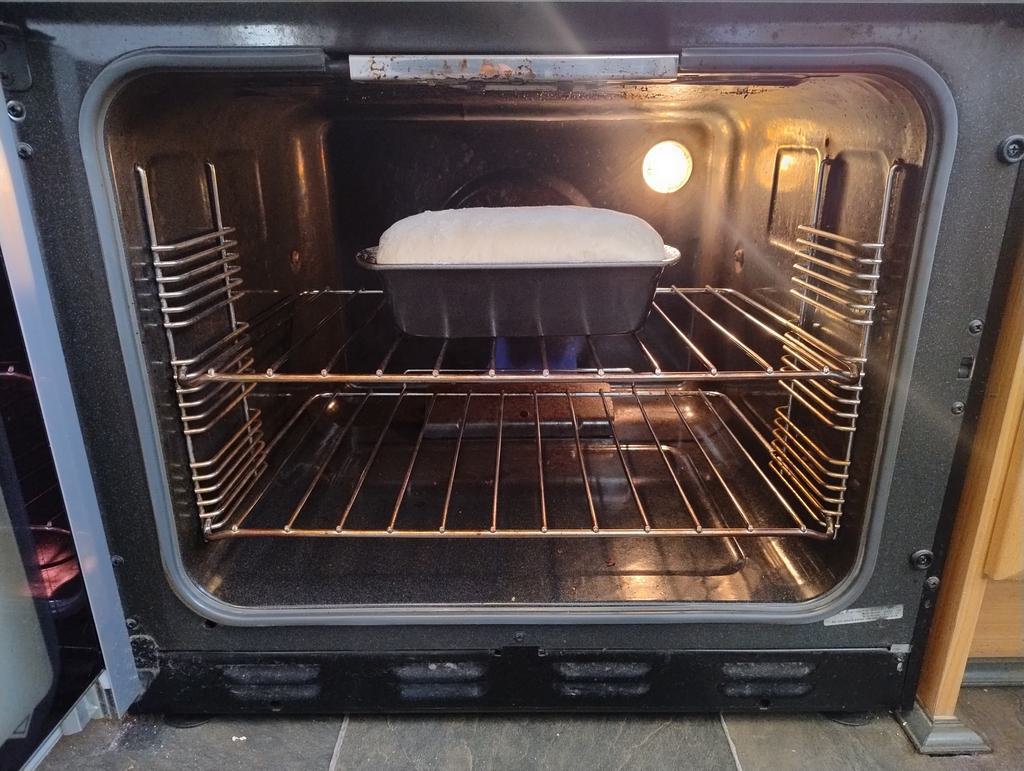 Loaf In The Oven Start
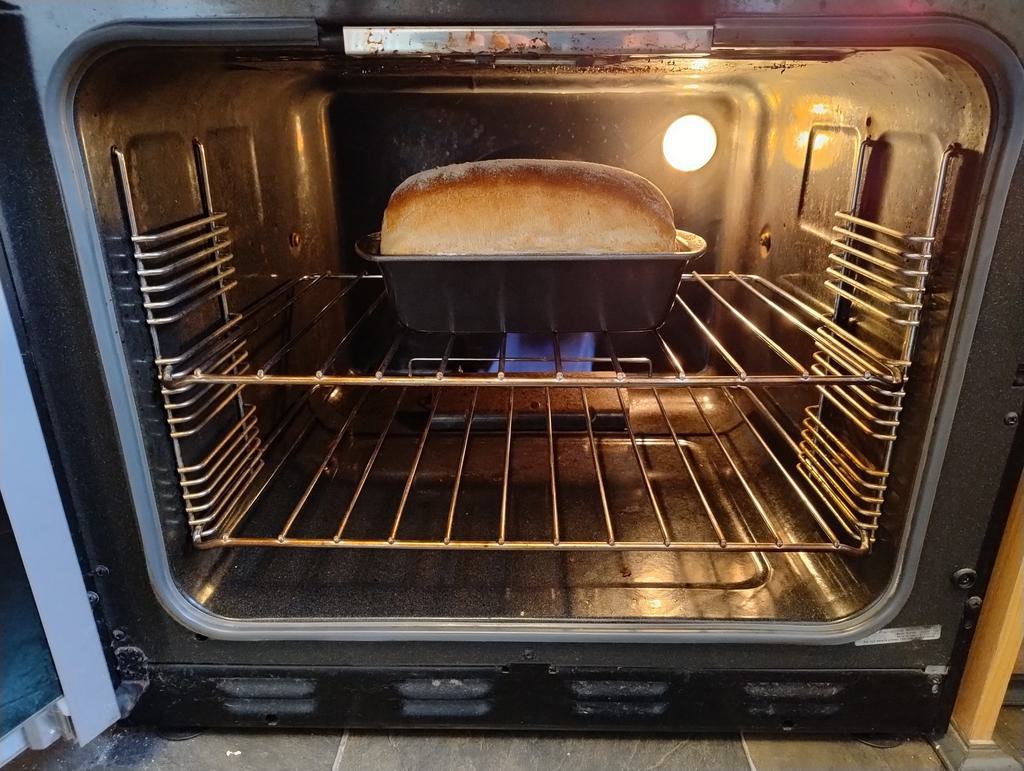 Loaf In The Oven End
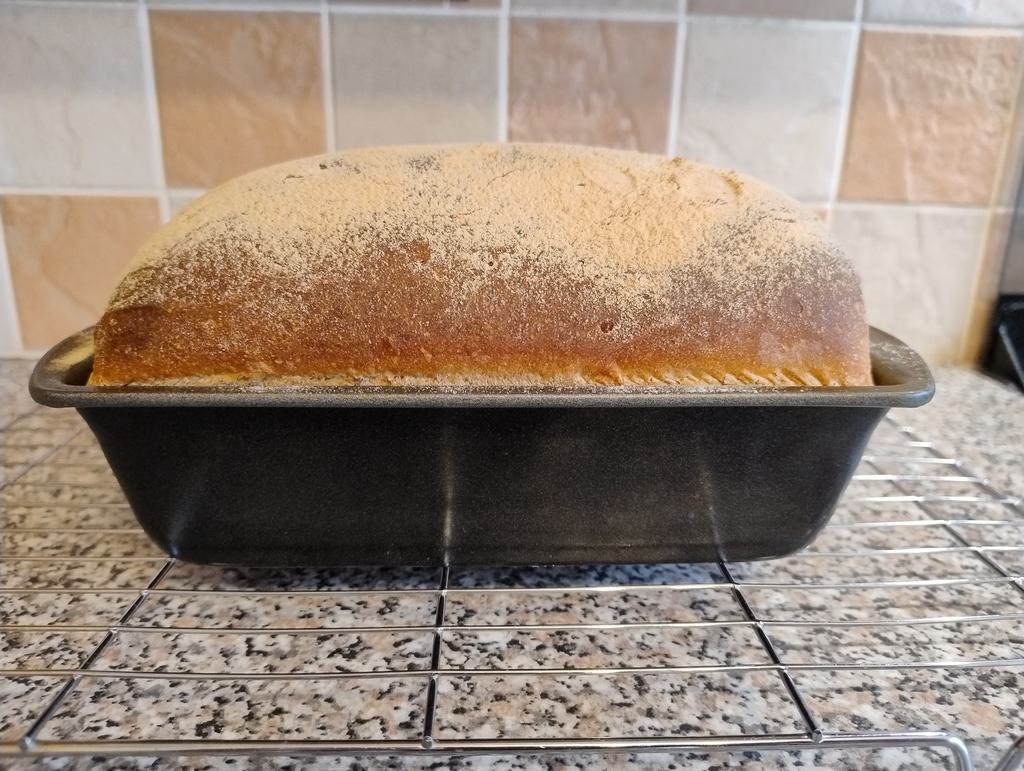 Baked Loaf In The Tin Side View
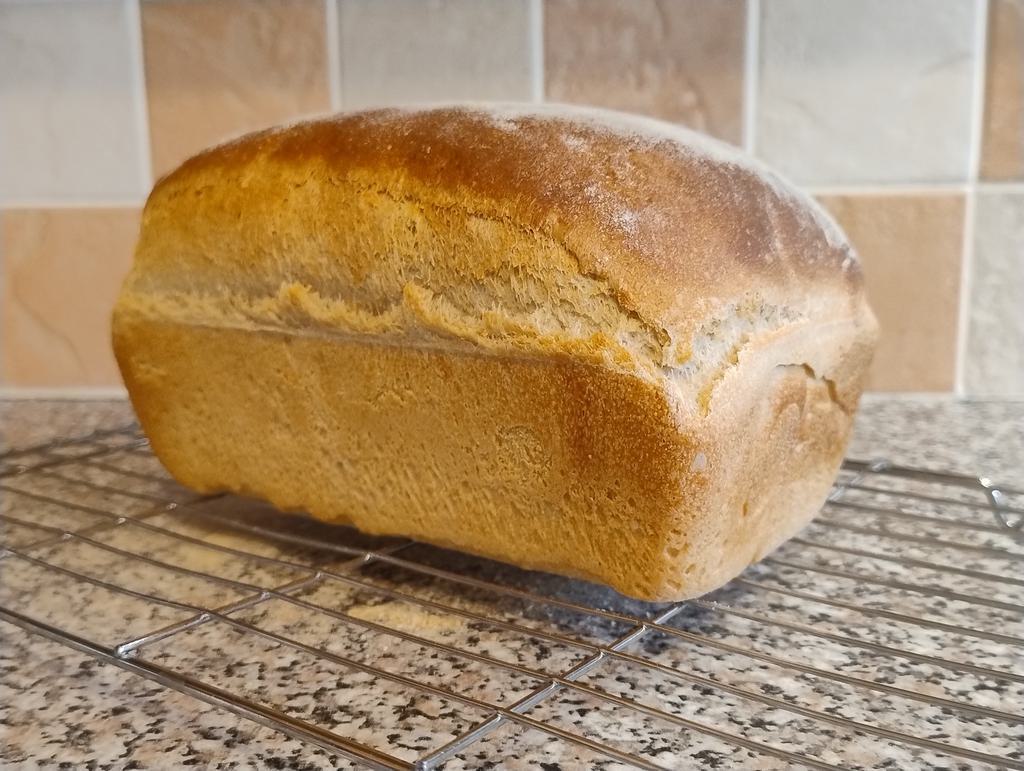 Baked Loaf On Cooling Rack
Enjoy
I really enjoy it on the first day whilst it still has that nice crustiness. Thickly sliced with butter and bramble jam and a good cup of tea.
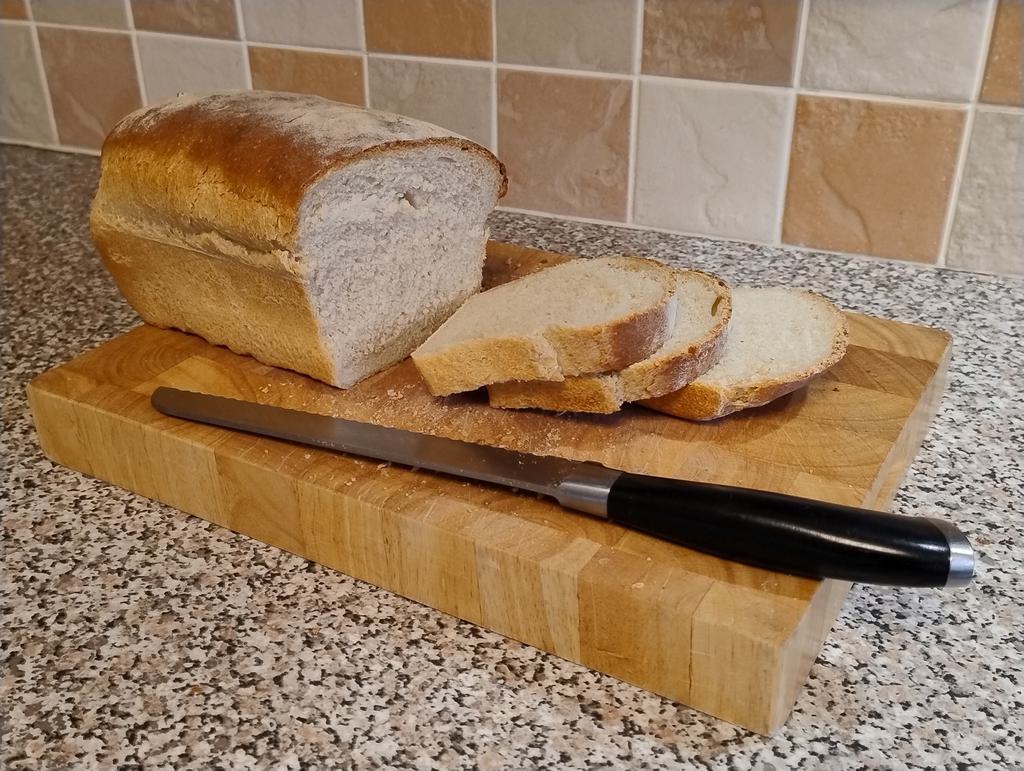 Slicing The Loaf
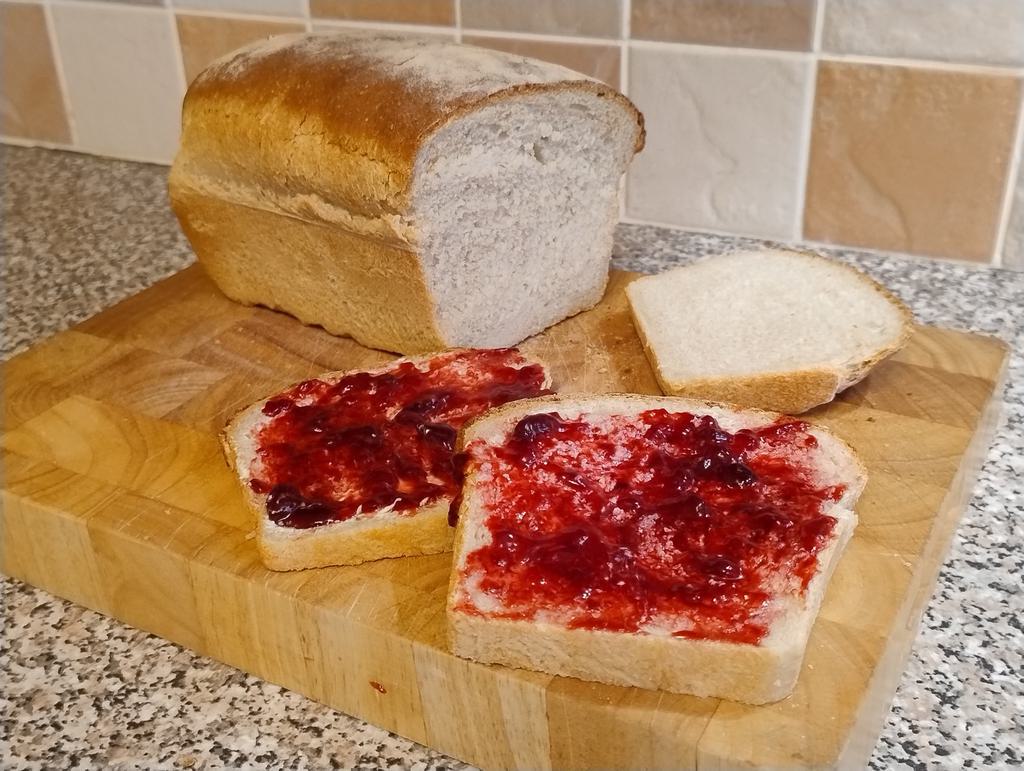 Bread And Jam